
Levels are a loose part that allow children to bump up against–and play with–STEM concepts and vocabulary. They pair nicely with block play, ramp play, dramatic play, and the construction of blanket forts and other structures.
Back in my family child care days, I knew a kid who spent hours walking around, placing the level on surfaces, and exclaiming things like “that looks good”, “this needs adjusting”, and “We better level this.” His grandfather was a finish carpenter and last I heard this kid had his own business building custom fences.
Did level play push him in that direction? Probably not, but it may have helped.
Advice For Selecting And Using Levels
Here are a few tips if you’re new to mingling kids and levels.
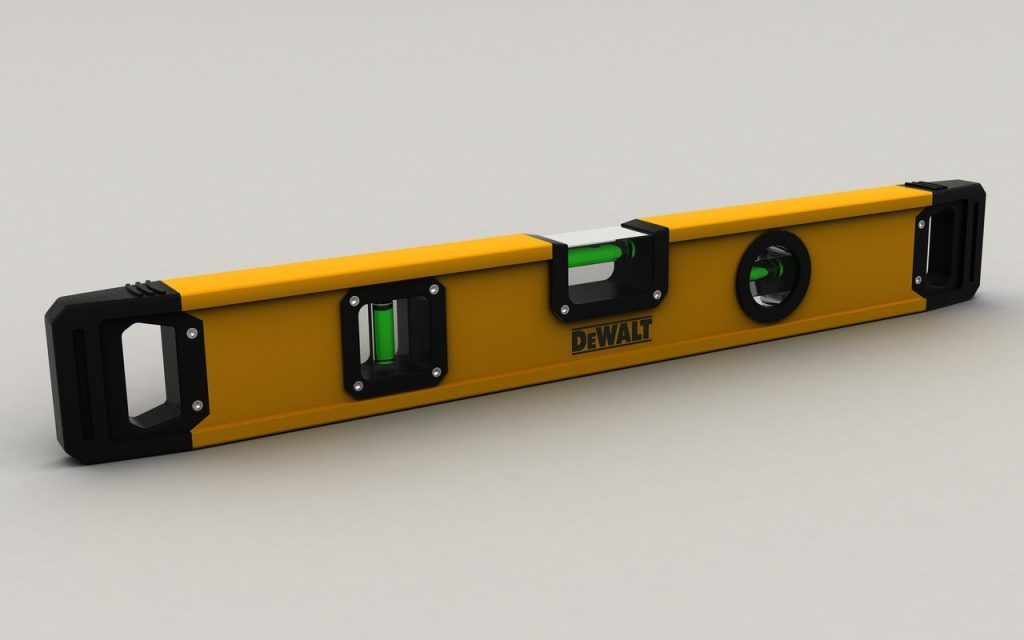
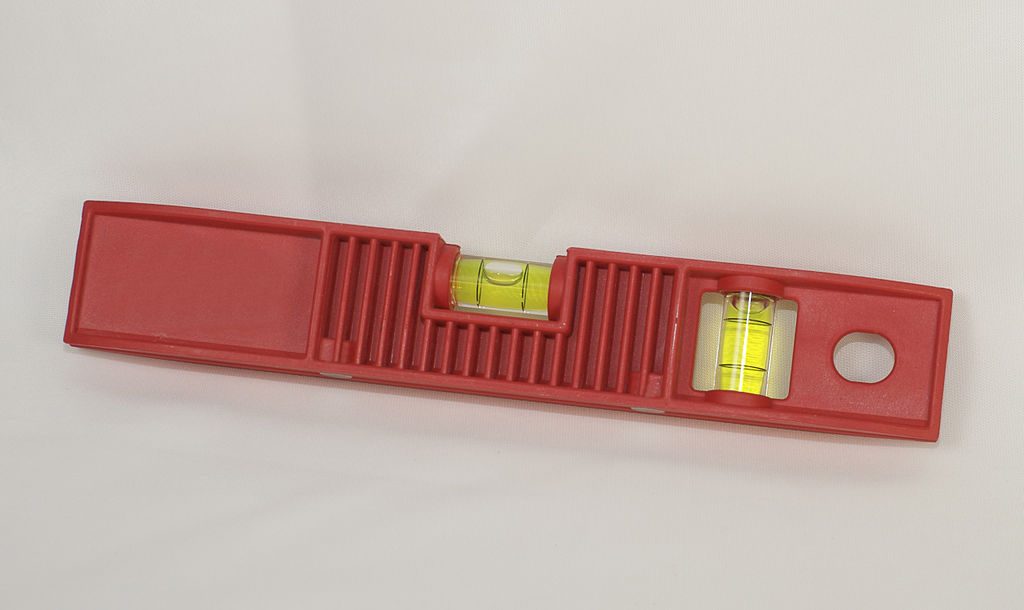
- Go For Cheap–When it comes to tools, I usually advise early learning programs to avoid the cheapest options because their quality won’t stand up to kids. In the case of levels, go with the cheapest versions you run across. They tend to be plenty durable. They aren’t as accurate as more expensive versions, but for play that won’t matter much–unless you plan to let the kids lay out the foundation for the program’s new addition.
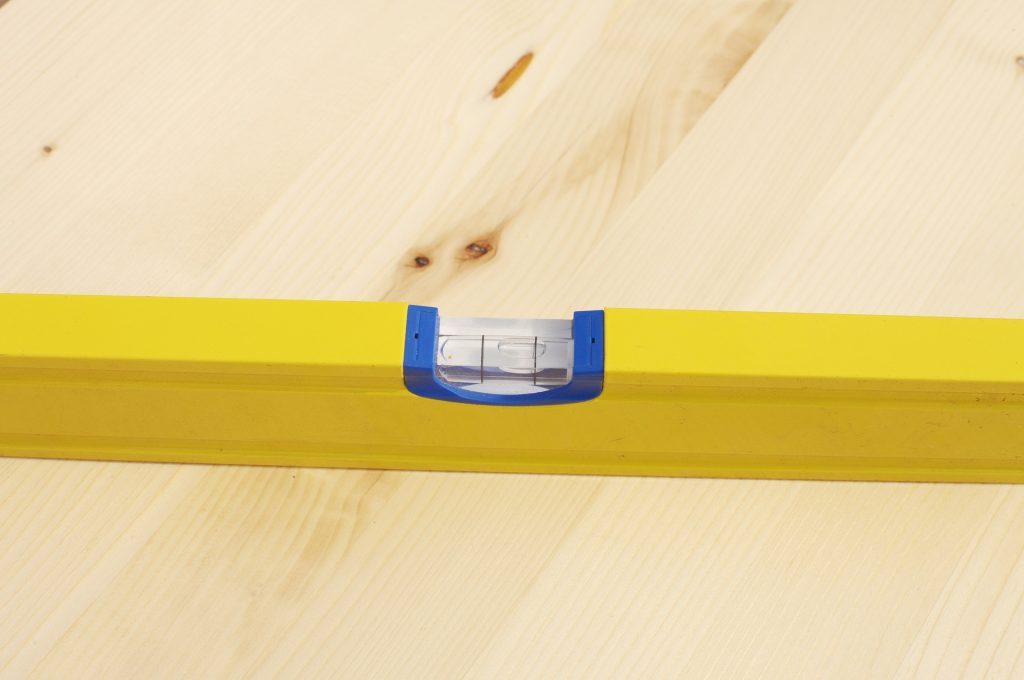
- Go For Bright–Opt for brightly colored levels. Especially if they’ll be used outside. It just makes them easier to find when it’s time to put the tools away, and easier to avoid tripping over when left lying around.
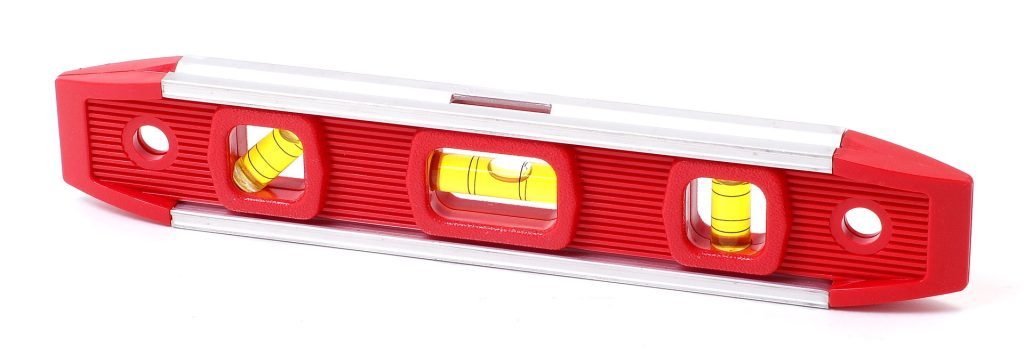
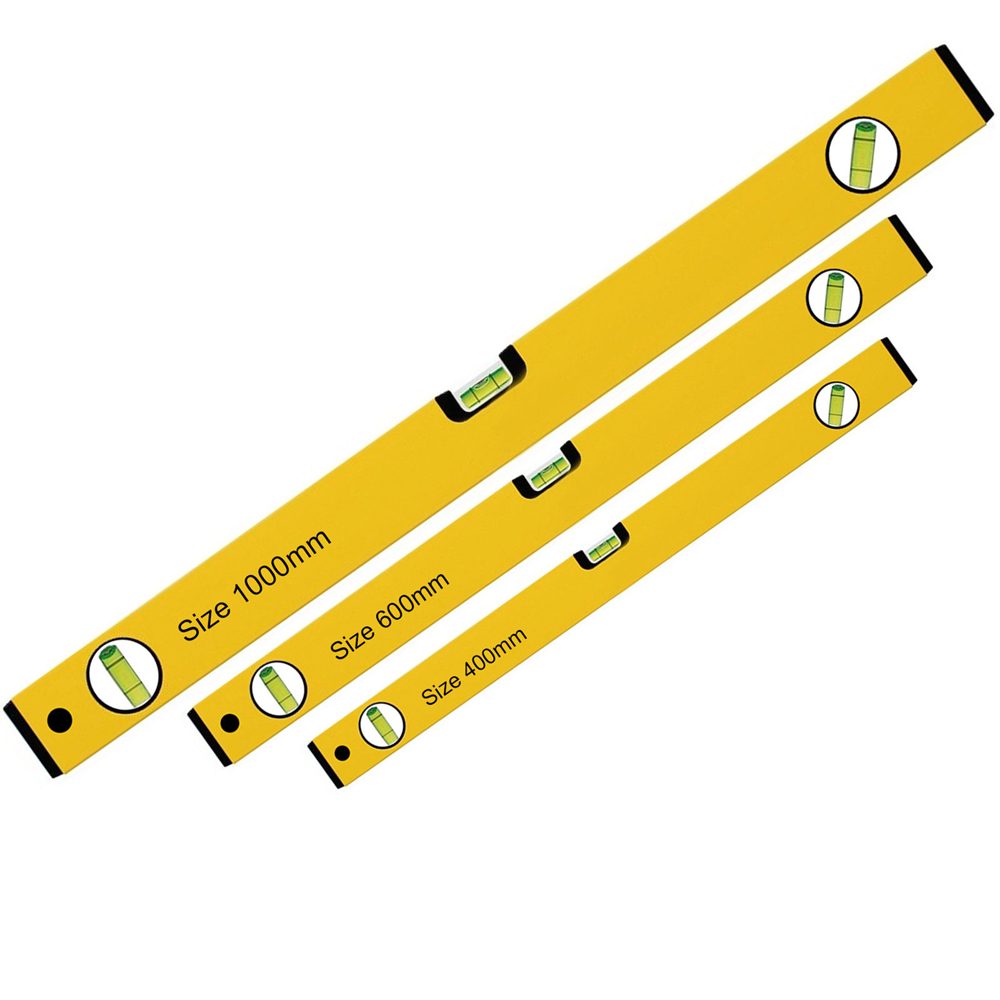
- Consider Length–Levels come in all sizes. Avoid anything longer than 24 inches (0.61 m) or so in most cases. Shorter levels are easier for kids to handle and the longer ones are more expensive. That said, if a retiring carpenter offers to donate a 6-foot-long level, don’t say no. Kids could have a ton of fun with one.
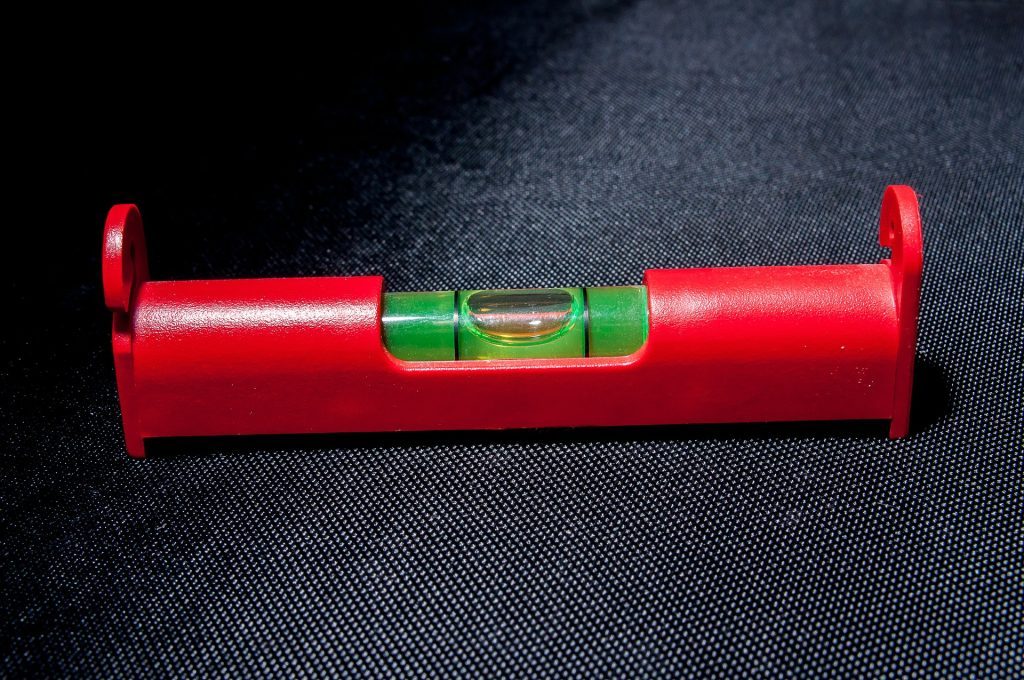
- Consider A String Level–These things only cost a couple dollars. You’ll need some string. Hang the level on the string, pull the string taut, and you can check for levels over great lengths.
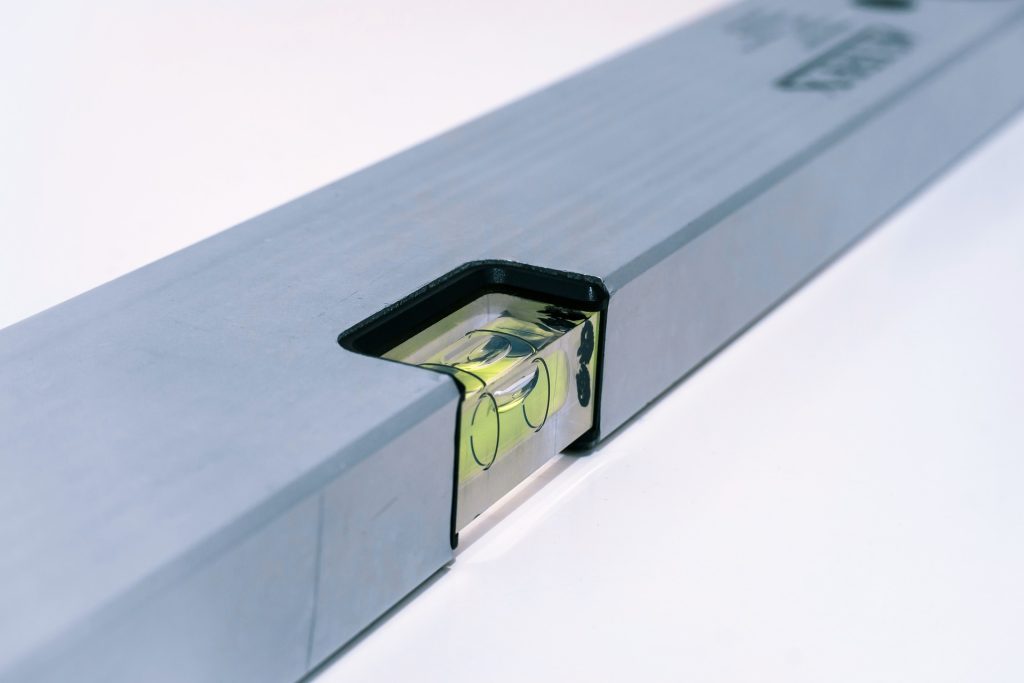
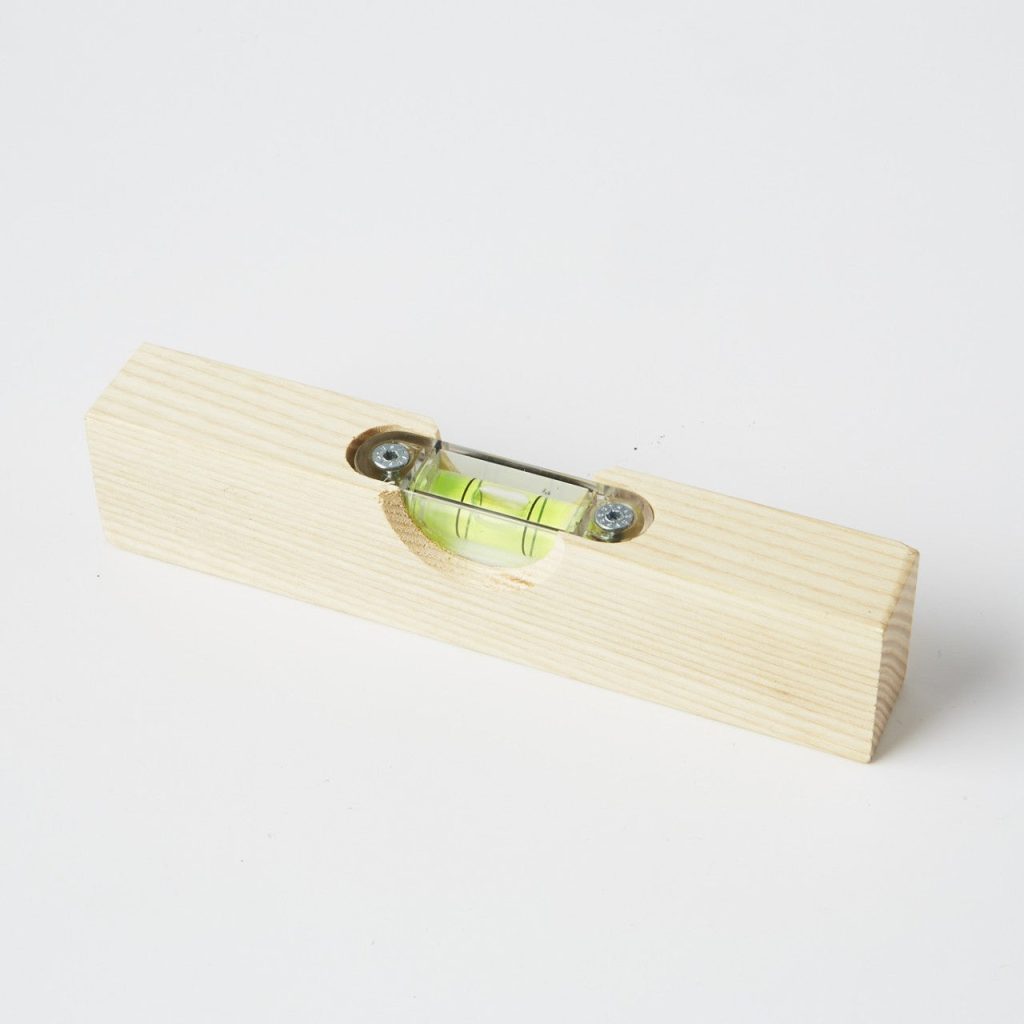
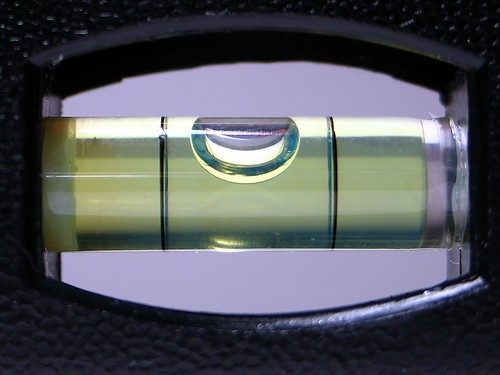
- Watch The Bubble–It’s pretty intuitive, but in case you don’t know: When the level is horizontal, you’re checking for level. The thing you’re checking is level when the bubble is centered. Many levels have multiple bubbles and allow you to check to see if items are plumb (straight up and down) or inclined at a 45-degree angle.
Finally, here are some links to some tool related posts here at Playvolution HQ:
- Selecting Woodworking Tools For Kids Part 1: Safety Gear
- Selecting Woodworking Tools For Kids Part 2: Pounding Tools
- Selecting Woodworking Tools For Kids Part 3: Measuring, Marking, And Leveling Tools
- Selecting Woodworking Tools For Kids Part 4: Clamps
- Fire pits and power tools good for preschoolers
- This playground encourages kids to use tools, get dirty, and let their imaginations run wild
- Using mechanical tools improves our language skills
Contribute content to Playvolution HQ
Brought to you by Explorations Early Learning
Browse Trainings


Post Author

Jeff Johnson is an early learning trainer, podcaster, and author who founded Explorations Early Learning, Playvolution HQ, and Play Haven.
Leave a Reply