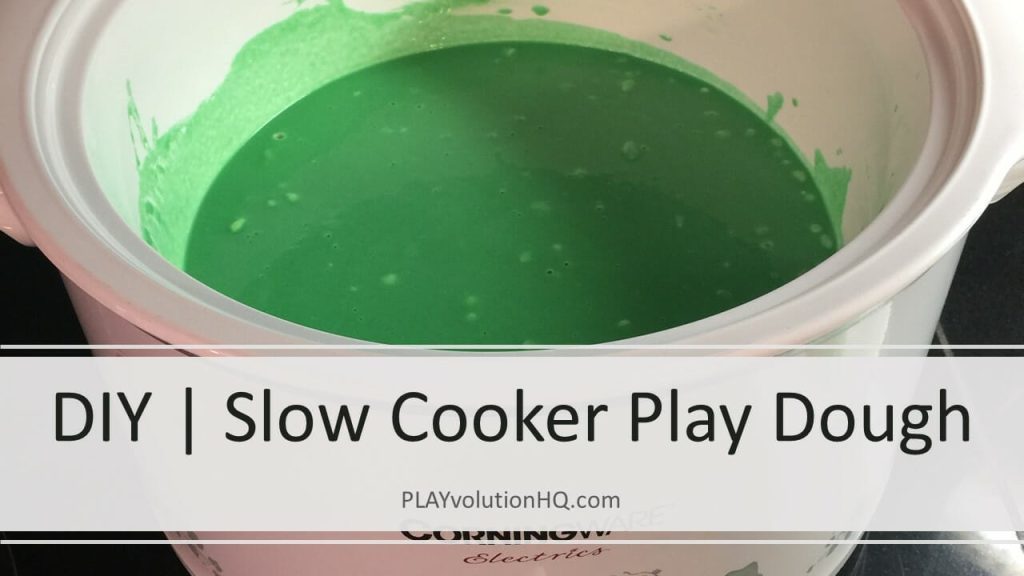
Slow Cooker Play Dough Overview
Here’s a slow cooker play dough recipe we put together after hearing from some caregivers that they can’t make the play dough recipe we shared last year with kids because they can’t let kids get near a stove.
While we believe that small groups of children with an attentive caregiver can safely work together in a kitchen, we also know the educrats demands must be honored. With that in mind, we did some experimenting and found the recipe works great in a slow cooker. Our hope is that this variation allows more caregivers to let kids help with this great STEM activity.
Here’s the process:
Slow Cooker Play Dough Supplies
- 3 Cups Flour
- 1.5 Cups Salt
- 3 Cups Water
- 5 Tablespoons Cooking Oil
- 6 Teaspoons Cream of Tarter
- Liquid Water Color or Food Coloring If You Want Colored Play Dough
Slow Cooker Play Dough Tools
- Slow cooker
- Heat-resistant spatial
- Assorted measuring cups and spoons
- A countertop or tabletop
- Timer
Slow Cooker Play Dough Process
Now, let’s make some slow cooker play dough:
Mix The Dry Goods
- Add the Flour, Salt, and Cream of Tartar to the slow cooker.
- Mix well. Your goal here is to evenly combine the three dry ingredients.
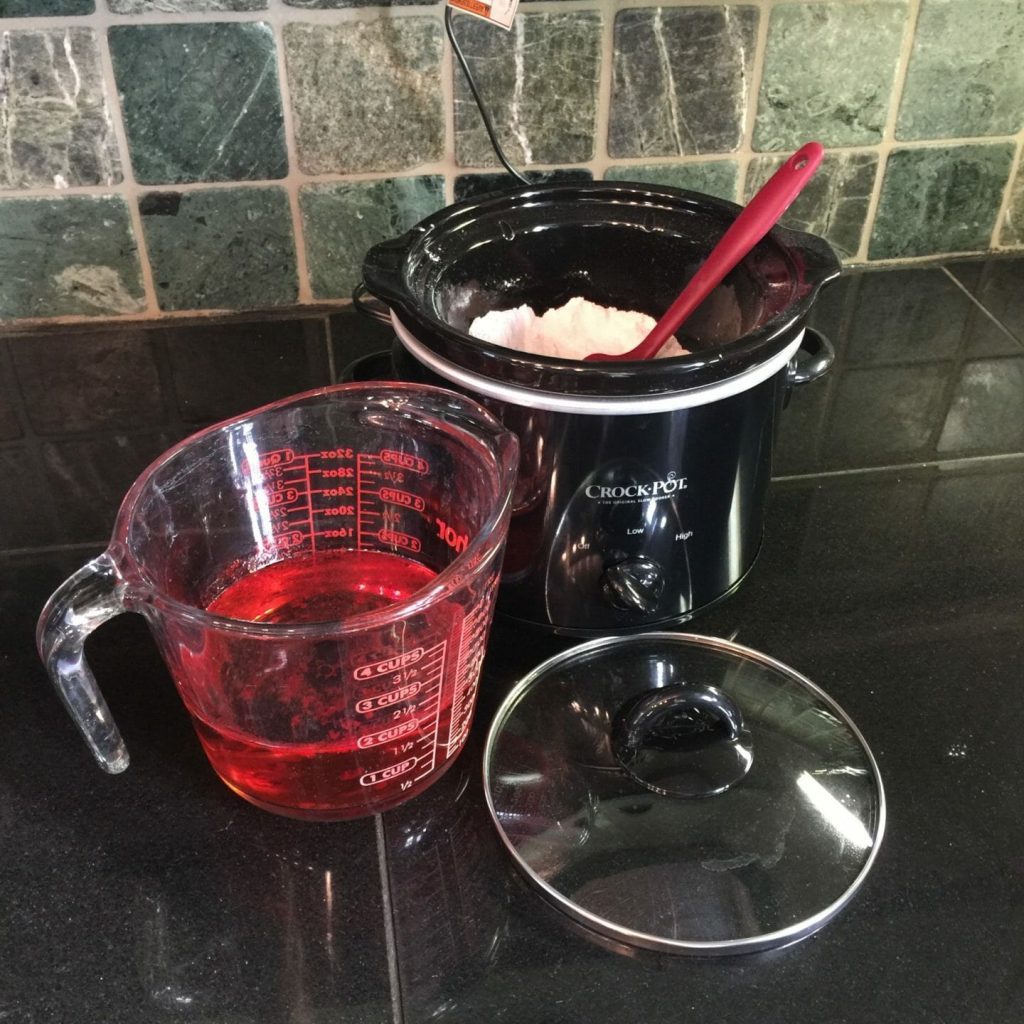
Add The Liquids
- Add the Oil to the dry goods in the slow cooker.
- Add Water and Coloring to the slow cooker. Determining exactly how much coloring to add is more art than science, AND adding the correct amount of liquid is really important. Here’s how to make sure you get it right: make sure Water + Coloring = 3 cups. No more. No less.
- You could use an electric mixer, but doing it by hand is pretty simple. Using a mixer ends up taking more time and work since you have to get the mixer out, clean it, and put it away.
- Mix the dry goods and liquids until most of the lumps are gone.
Heat It Up
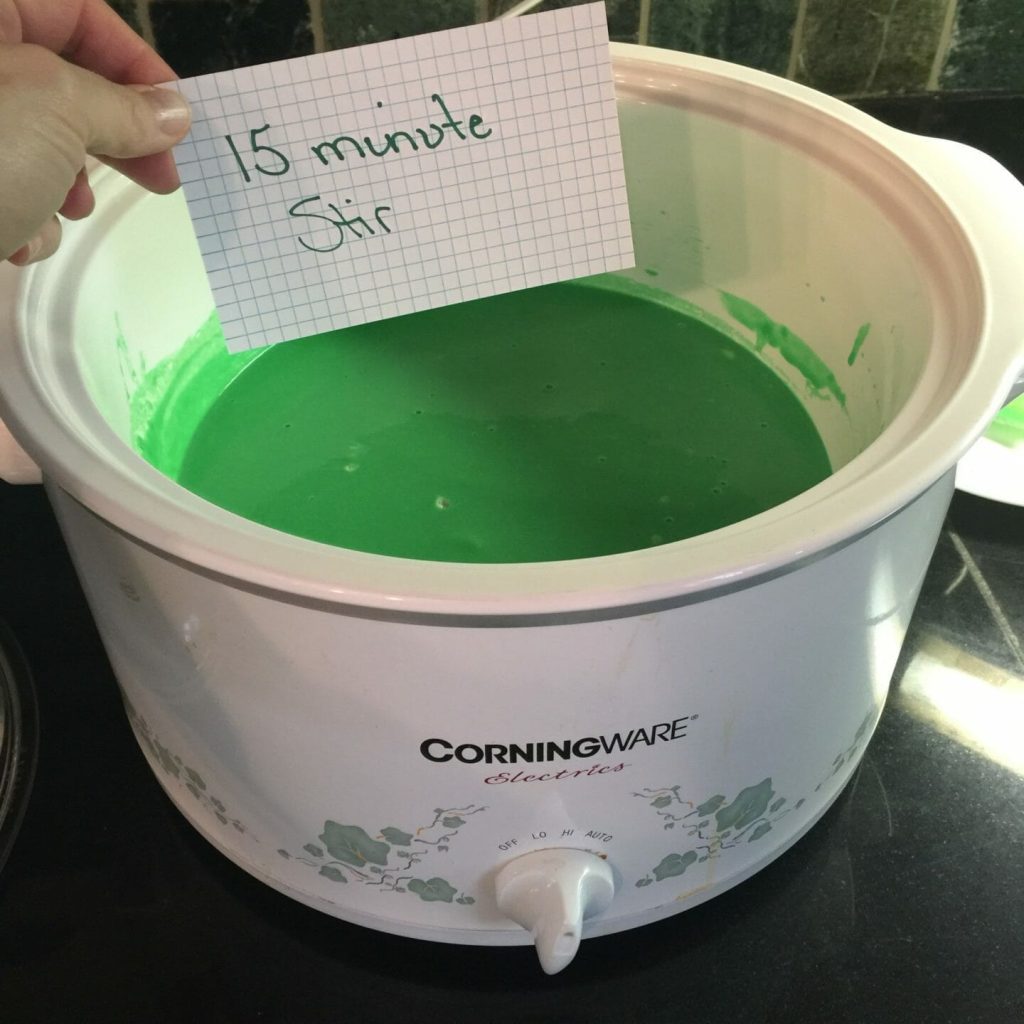
Once everything is thoroughly mixed, set the slow cooker heat to Low, put on the cover, and set a timer for 15 minutes.
When the timer goes off, remove the lid and give the soon-to-be play dough a good stir, scraping it from the sides and bottom. Then set the timer for another 15 minutes.
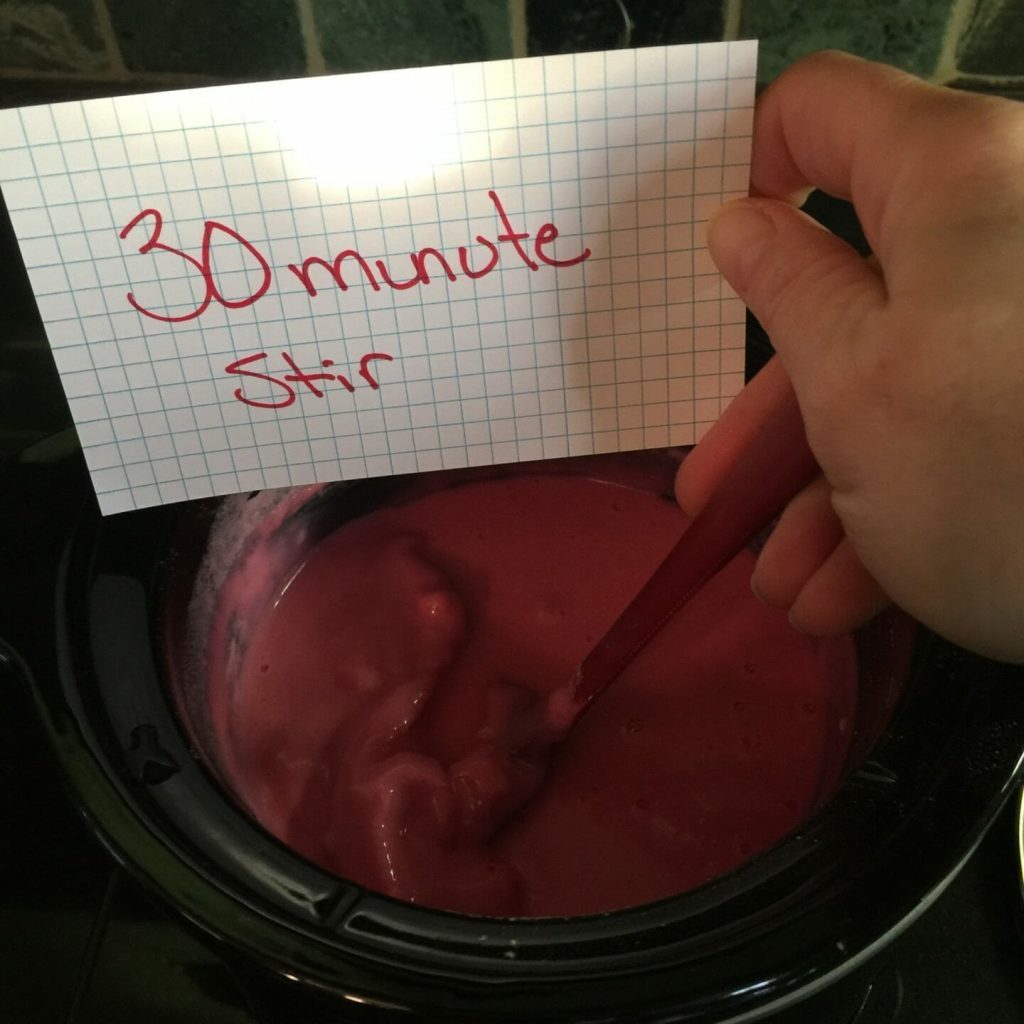
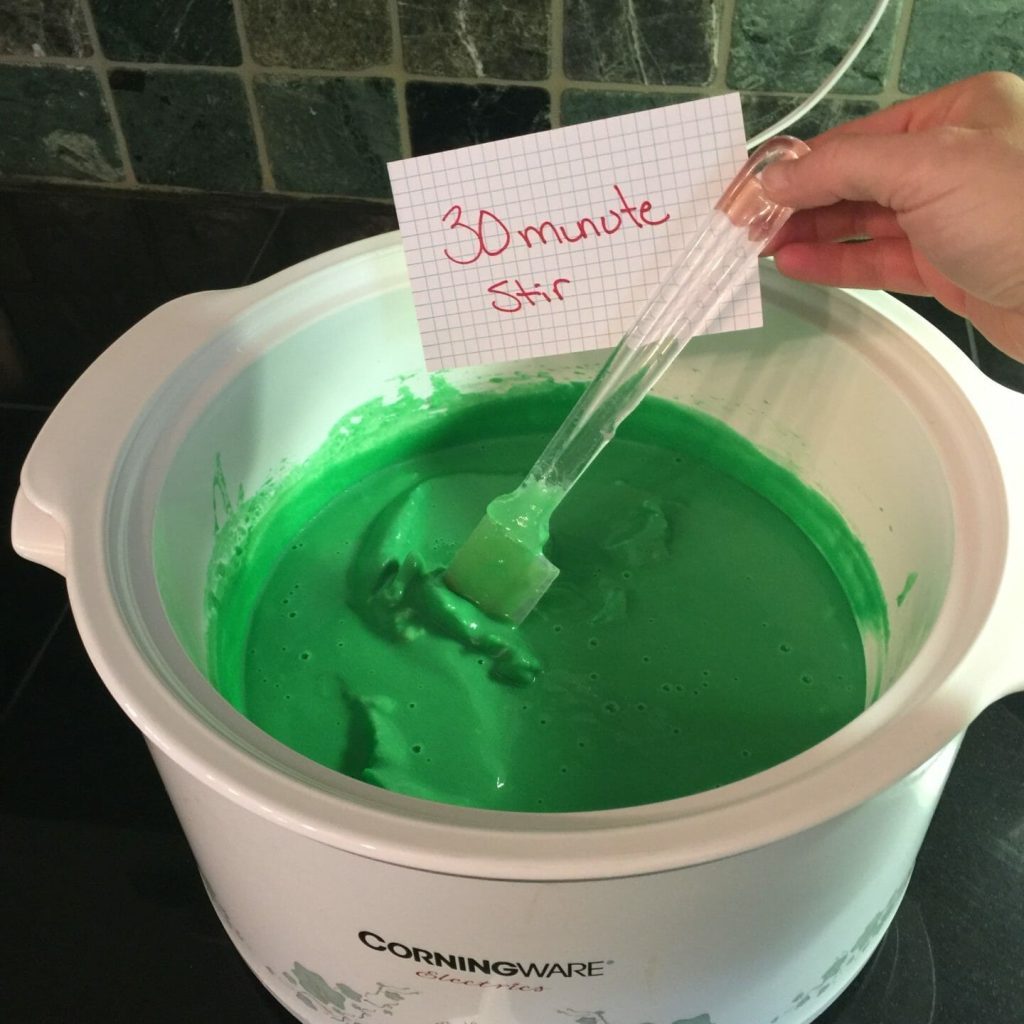
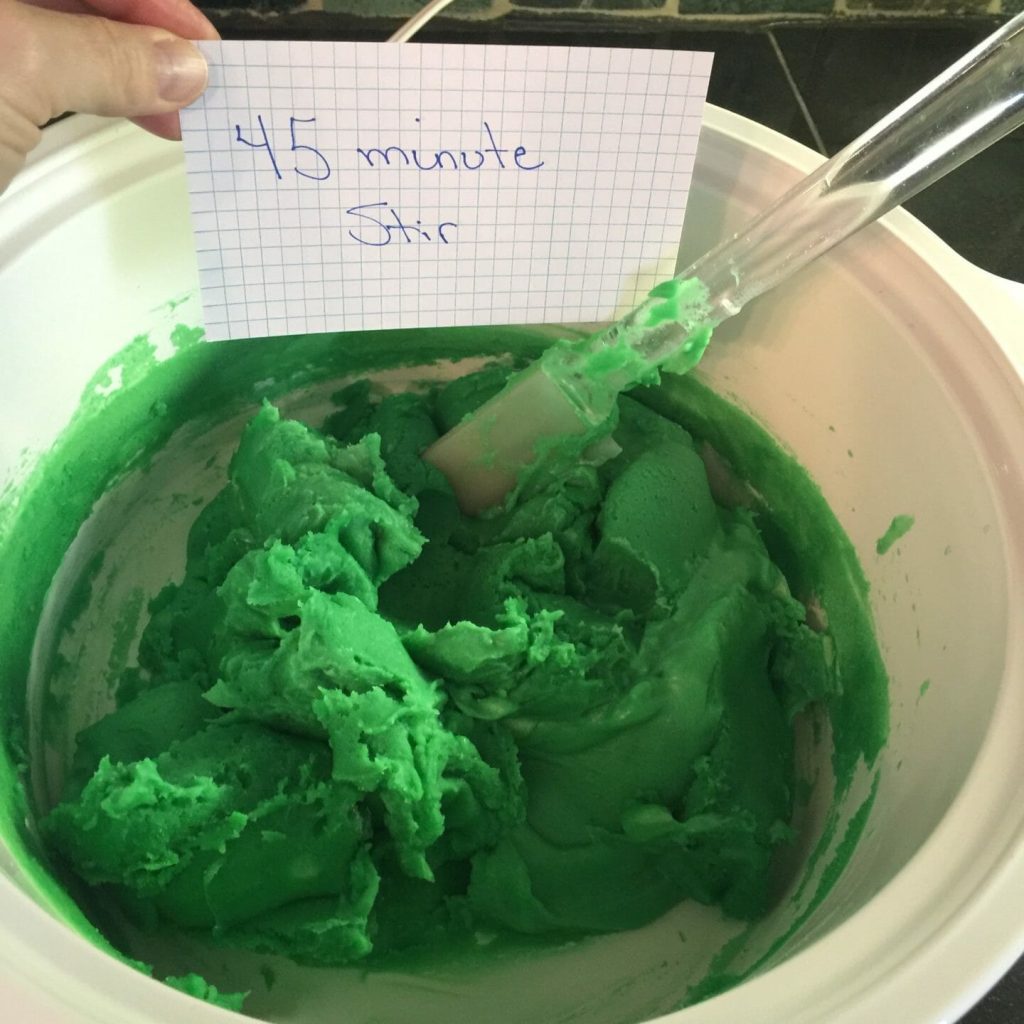
At the 30-minute mark, you’ll give it another good stir, and set the timer for a final 15 minutes. After 45 minutes of cook time, give it another good stir. It should be balling up and ready for kneading.
There are variations in how different slow cookers heat, so pay attention when you make your first batch and adjust the above stir and cook times as needed. Then be sure to note your tweaks for future batches.


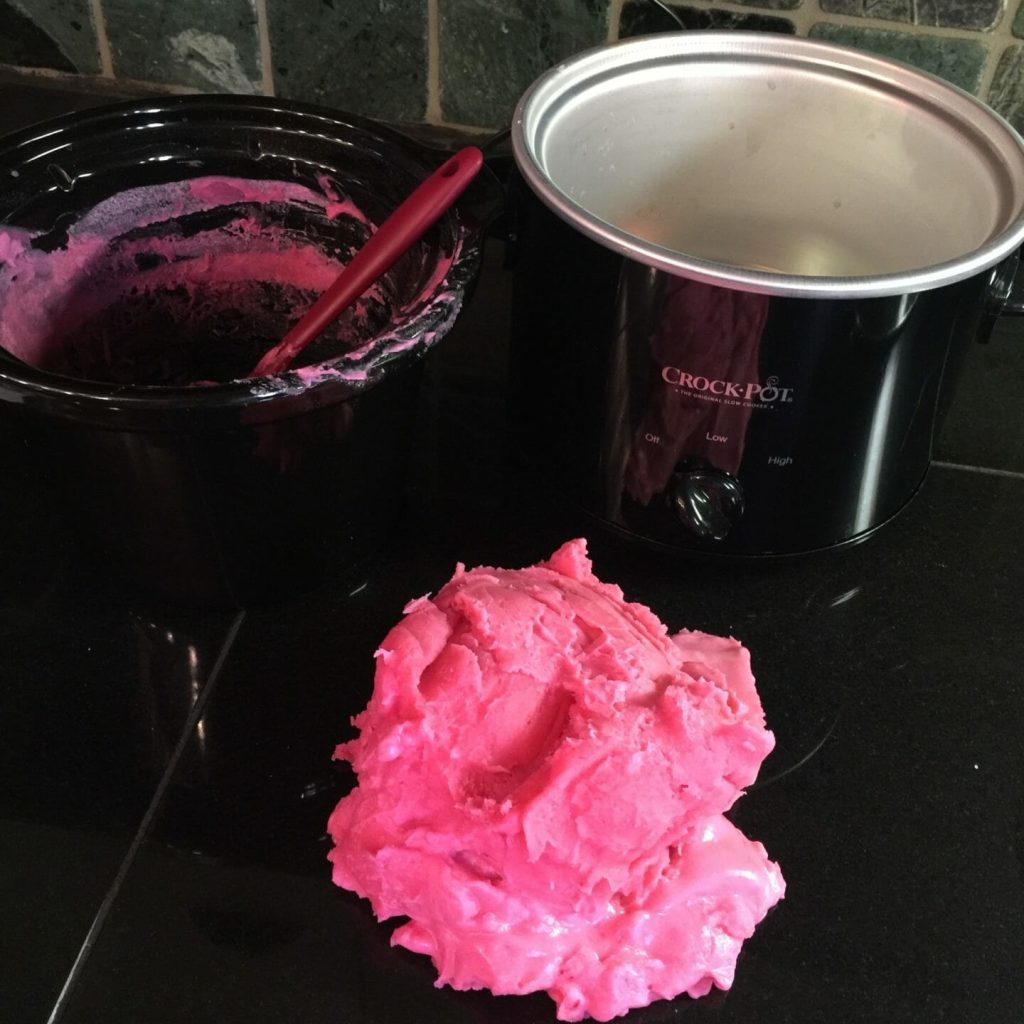
You Need to Knead
- After you achieve balling, turn off the slow cooker, transfer the dough to a flat surface, and, once it cools enough to touch, knead it thoroughly. This process helps finish the mixing process and give you a smooth texture.
Slow Cooker Play Dough Notes
- We tried two slow cookers (a small one and a large one) and found they both required about 45 minutes of cooking as noted above. The larger one was much easier for mixing and stirring, and it seemed the cooking went better due to the greater heated surface area.
- Exposure to air dries out play dough. When it’s not in use, protect it. After it is thoroughly cooled, store dough in the airtight container of your choice. Choose thoughtfully. Lidded containers are durable, but if the lid is not properly attached, your dough will dry out. Many plastic bags indicate they are sealed when you close them, but they are also easily punctured by little fingers–or little hands manipulating scissors, pencils, and other pointy tools. I guess we’re saying the safest place to store your dough is an airtight safe with a biometric locking mechanism. Or, you can just make a fresh batch when needed.
- If you require lots of play dough, and who doesn’t, you could double the recipe, but we recommend against it. Stirring will be more difficult and, with more mass to heat, the cook will take longer. In our experience, it’s easier to just mix up multiple batches.
- If kids are helping, consider having a hunk of play dough available for them to help the time pass while the new dough is cooking.
- No need for coloring. Naked play dough is just fine.
- Check out DIY instructions for our Play Dough Rollers and Play Dough Stamps for more dough-riffic play ides.
We’d love to hear from people who try this slow cooker play dough recipe–and see photos of how it turns out–so we can revise and update this post.
Brought to you by Explorations Early Learning
Contribute content to Playvolution HQ
Contribute content to Playvolution HQ
Brought to you by Explorations Early Learning
Browse Trainings


Post Author

Jeff Johnson is an early learning trainer, podcaster, and author who founded Explorations Early Learning, Playvolution HQ, and Play Haven.
Leave a Reply