
Overview
This DIY idea combines a bit of creativity, a bit of sensory play, and a bit of STEM play for an experience kids will enjoy. Plus, it utilizes materials readily available in most early learning settings and cleanup is a cinch.

Supplies
You’ll need:

Process
Start by coloring some water with liquid water color. You can use store-bought coloring or try this idea to make your own. Next, pour a 1/4 inch or so of the colored liquid into a shallow baking dish.
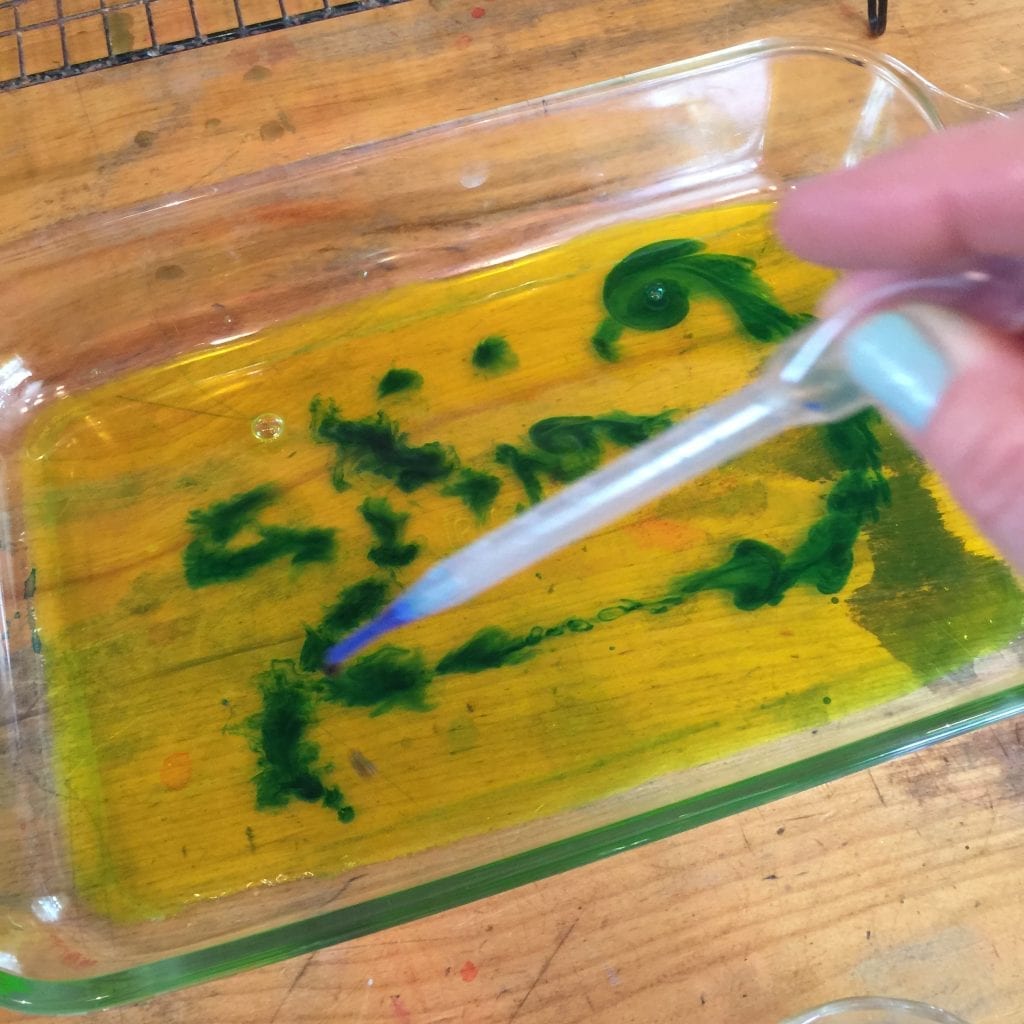
Then, let kids use a pipette to drip oil onto the liquid watercolor. If you don’t have pipettes, eyedroppers will work. Or, you can use the old thumb over the end of a drinking straw method to transport small amounts of oil to the colored water. Add oil sparingly. If there’s too much oil, the paper will only pick up the oil & not the colored water.
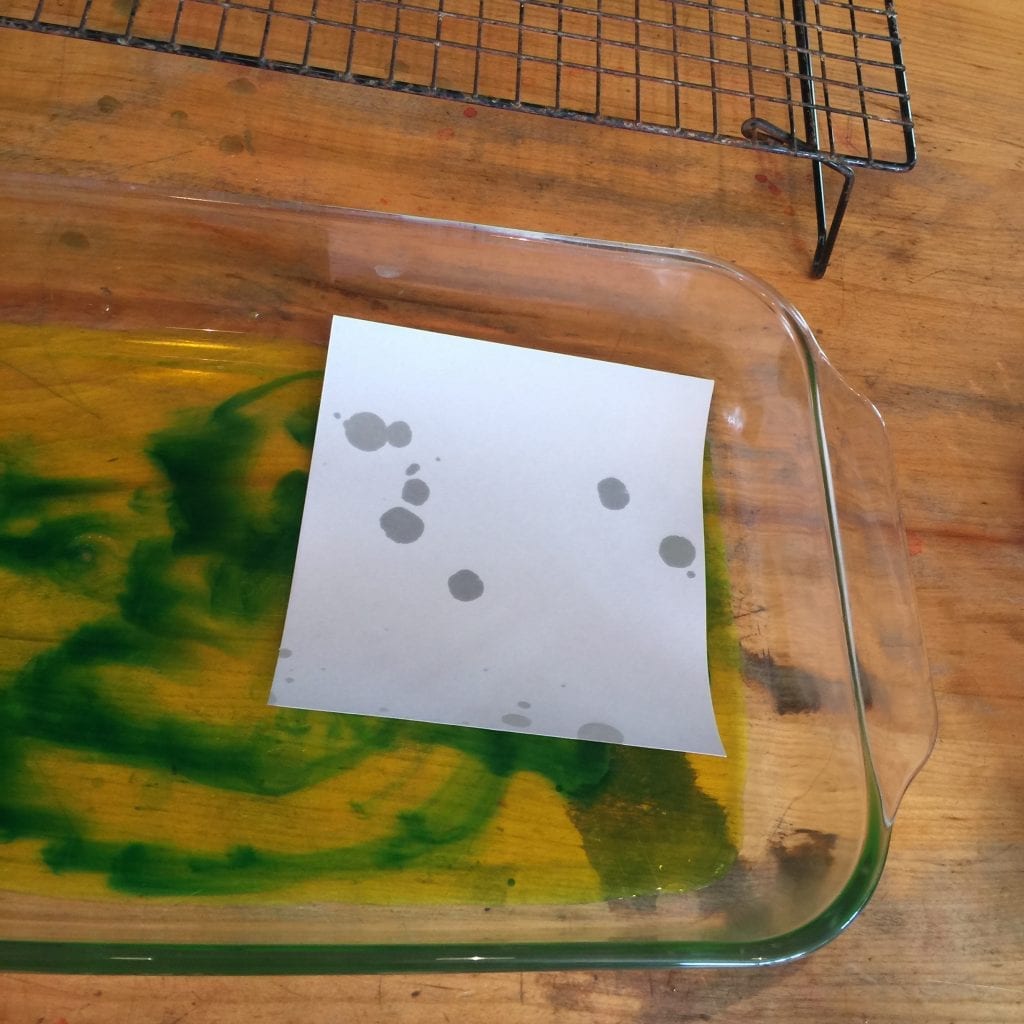
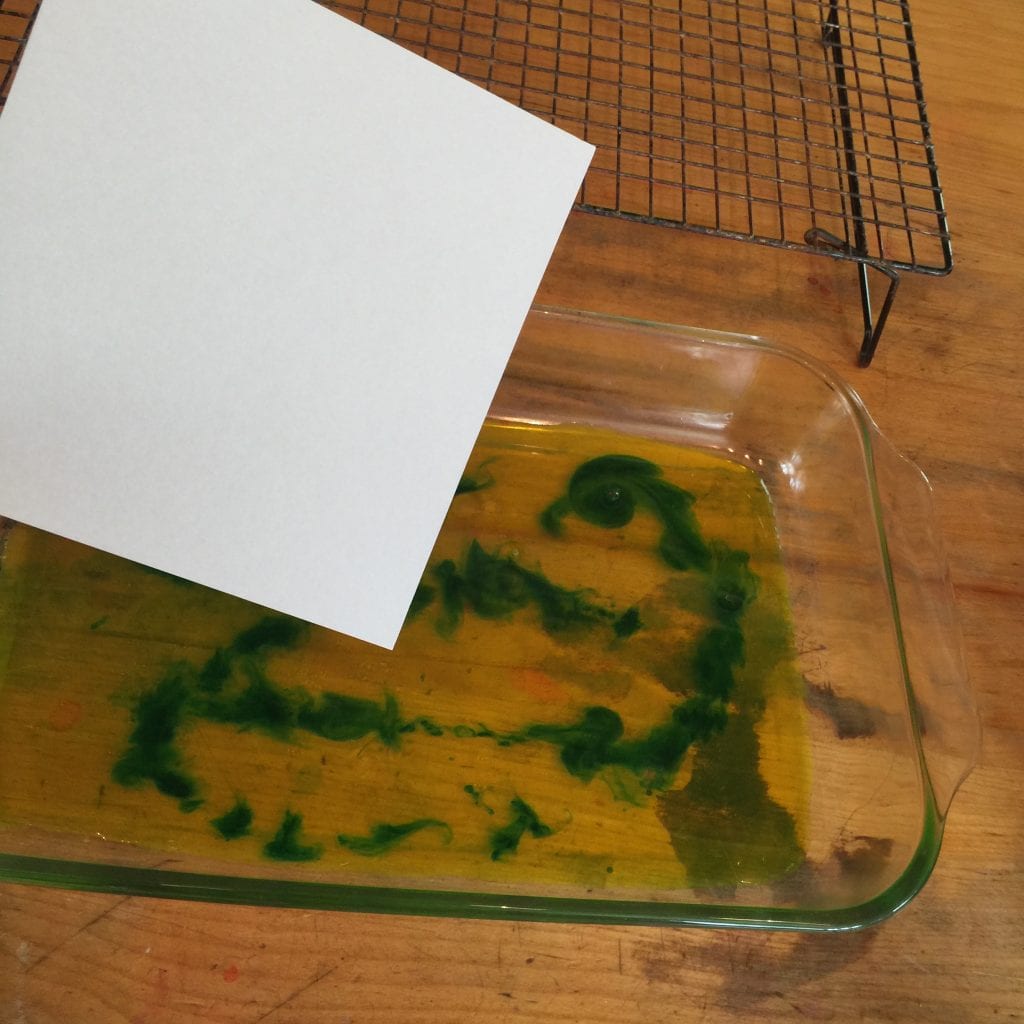
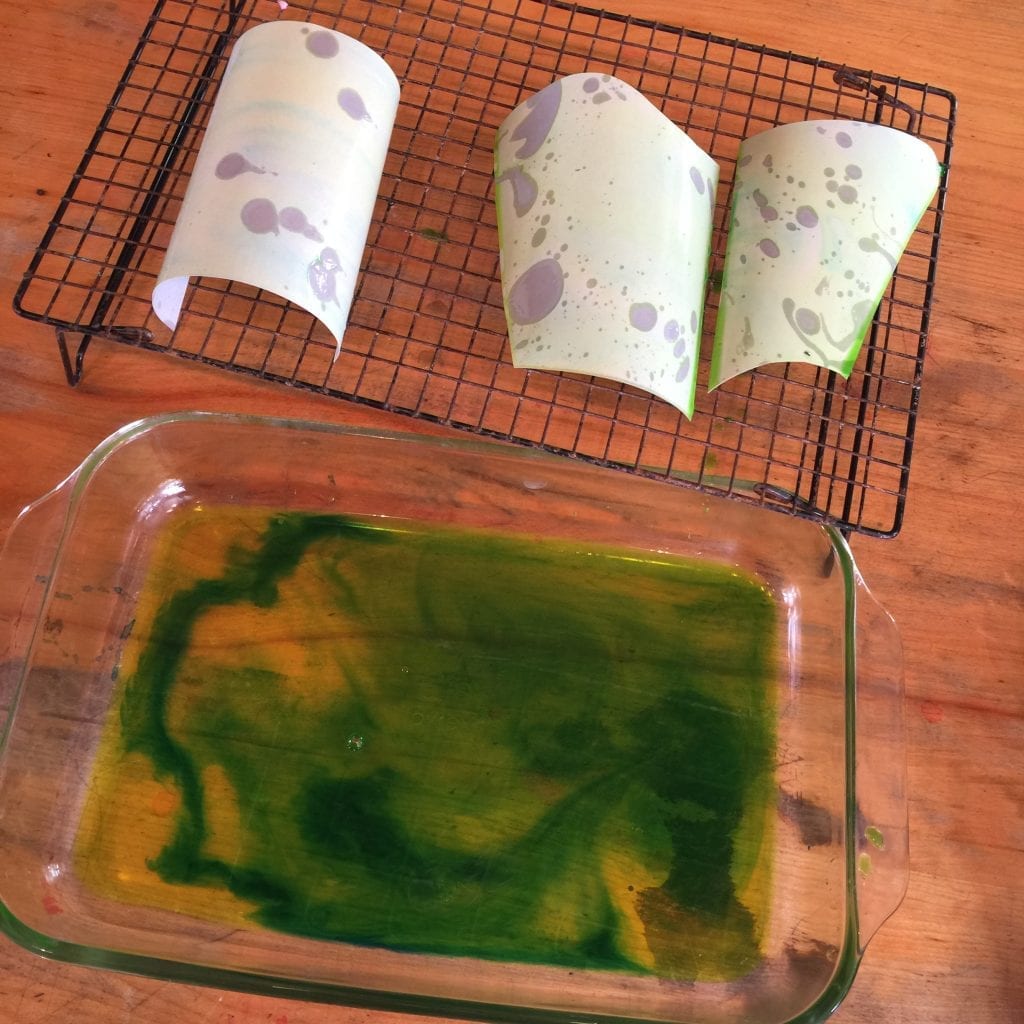
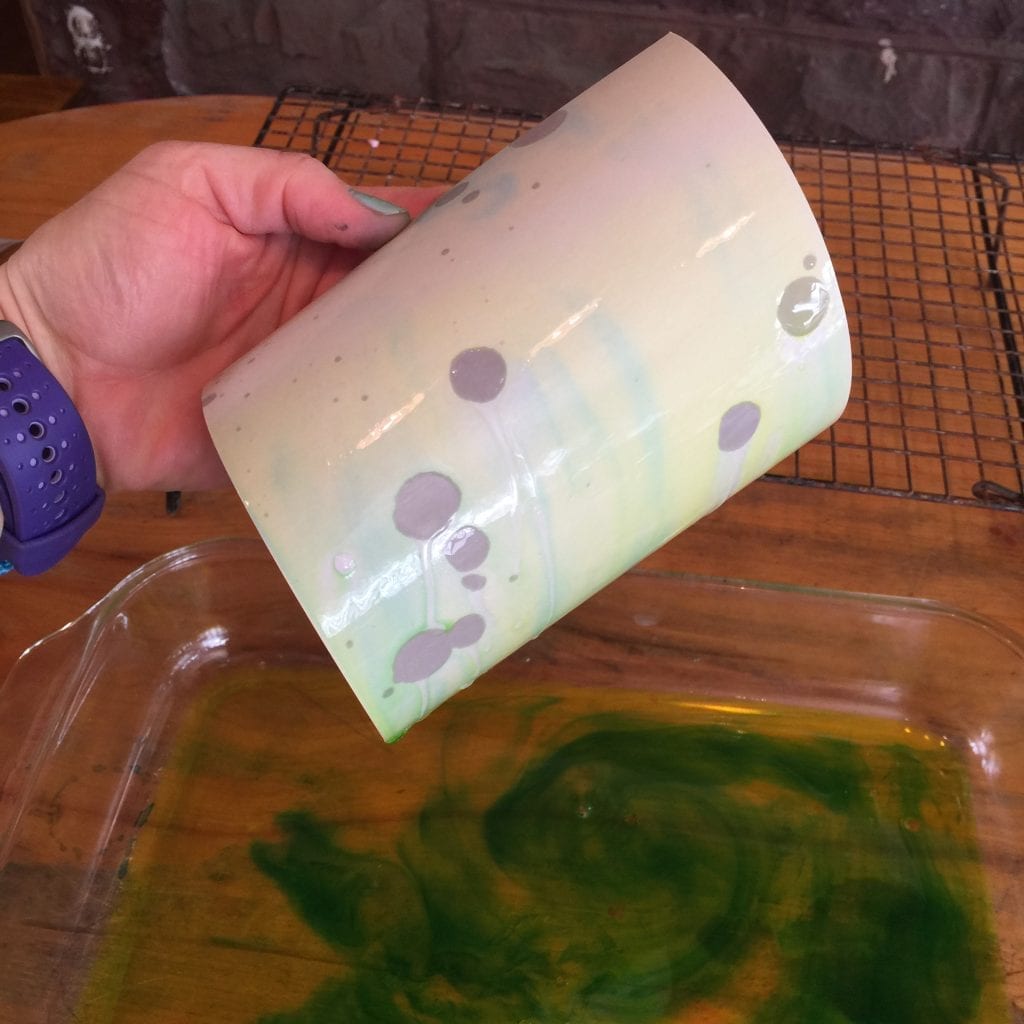
Now it’s time to make a print. Take a piece of paper and place it into the baking dish for a moment to create your print. Finally, remove the paper and place it on the drying rack.
Remember–the process is the important part–that’s where the learning happens.
Variations
Here are a couple variations to try:
Why Won’t Oil And Water Mix?
The interesting effect created by this process is due to the fact that oil and water don’t mix. Here are the main two reasons why thanks to mocomi.com:
Oil and Water have different densities
The first reason that water and oil don’t mix is because their molecules are packed differently. The molecules of water are packed very densely. (Would be good to show water molecules packed densely) In one glass of water, there are more molecules than the number of known stars in the universe!
This means if we take equal parts of water and oil, there will be more molecules of water than oil. This also means that it will always sink underneath the oil.
Oil and Water charges
There is one more reason why they cannot mix with each other. Polarity. Polarity means a molecule is positively charged at one end and negatively charged at the other. Water is a polar molecule. Water molecules are made up of two hydrogen atoms and one oxygen atom each.
Since only opposites attract, the water molecules stick to each other.
Polar molecules only dissolve in polar solvents. Similarly, non-polar molecules only dissolve in non- polar solvents. Oil is made up of non-polar molecules. It has a shell of negative charges, or electrons, surrounding the molecule.
mocomi.com/why-oil-and-water-dont-mix/
Clean Up
Use paper towels or rags to wipe up any spills and then then use soap & water for easy clean up. Some surfaces–including hands–may be stained by some liquid watercolors. The staining will fade with time. Caution: the dish may be slippery with oil residue during cleanup, so handle it carefully.
Notes

Conclusion
If you give this a try, we’d love to see and hear how it went in the comments section. You might also like to try drill painting and making your own paint brushes.
Contribute content to Playvolution HQ
Brought to you by Explorations Early Learning
Browse Trainings


Post Author

Jeff Johnson is an early learning trainer, podcaster, and author who founded Explorations Early Learning, Playvolution HQ, and Play Haven.
Leave a Reply