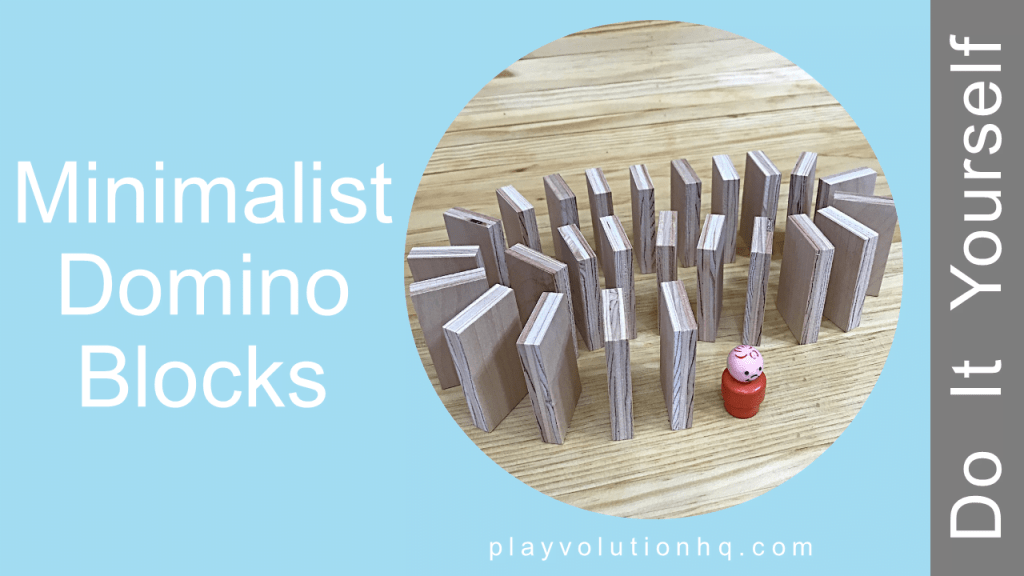
Domino Blocks Description
I first made domino blocks for school-agers in our family child care program to stand up on end and tumble like dominos—that’s how they got their name. They are pretty basic, but the kids found many other things to use them for. Their minimalist appearance makes it easier for kids to bend them to their needs. Like cardboard boxes, they’re simple and flexible.
An old milk crate in our playroom held about 400 of them. They were frequently used at the same time. Here’s an example of how kids used them for toppling.
Materials List
You’ll need a sheet of 1/2” baltic birch plywood. A 4’x8’ sheet costs around $75. That should result in 1122 blocks if you follow the directions below and I calculated correctly. Some lumber yards sell half or quarter sheets. You could use other types of plywood, but in my experience, baltic birch is the best option.
Tool List
- Table Saw
- Power Miter Saw
- Tape Measure
- Sandpaper
Construction
- Set your table saw fence to cut the wood lengthwise into strips 1 3/8” wide.
- Cut those strips into blocks 2 7/8” long with the miter saw.
- Sand the blocks as needed to remove rough edges. (Something kids love to help with.)
Notes
- To ensure blocks all end up the same size, measure and cut carefully
- The sharper the saw blades, the less you will need to sand
- Have a helper if you are uncomfortable cutting full sheets of plywood by yourself
- Have a large plastic tote or two near the miter saw to drop the blocks into as you cut them
- Cutting 1000-plus identical blocks requires a lot of repetition–be safe, don’t rush
Play Ideas
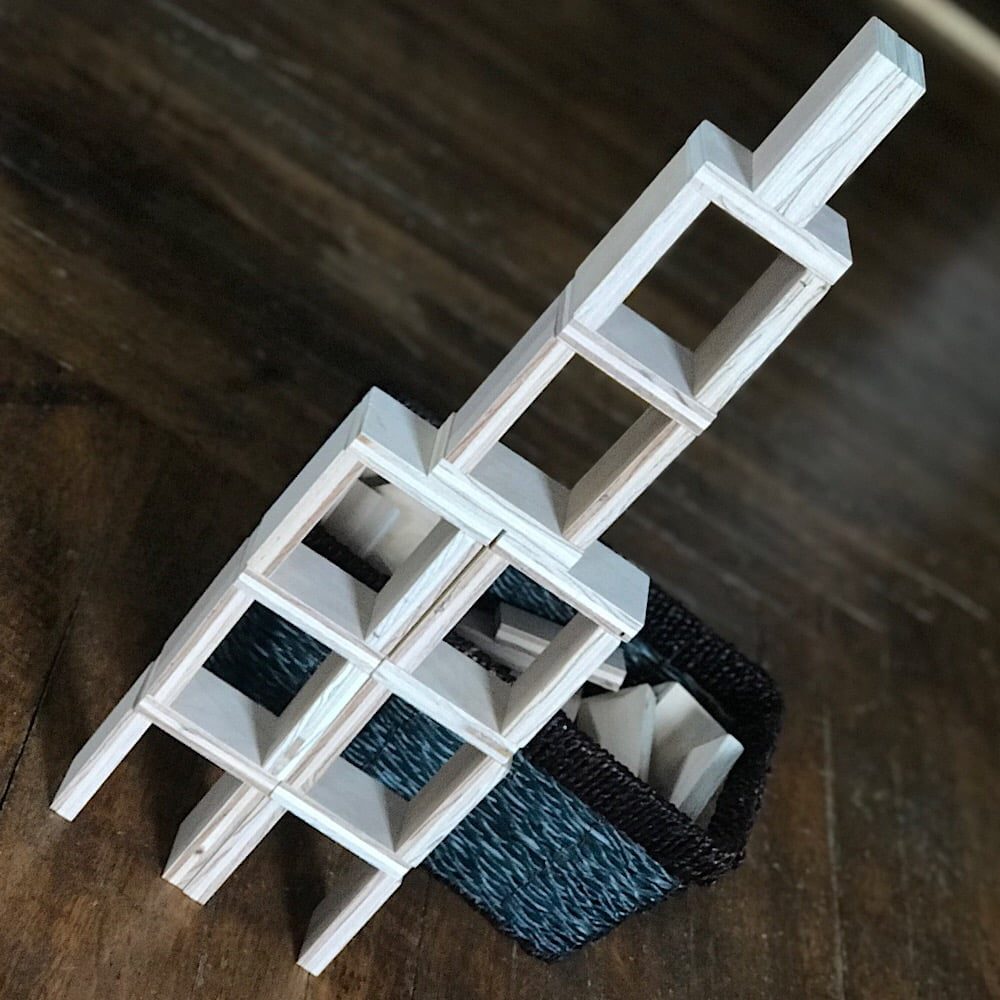
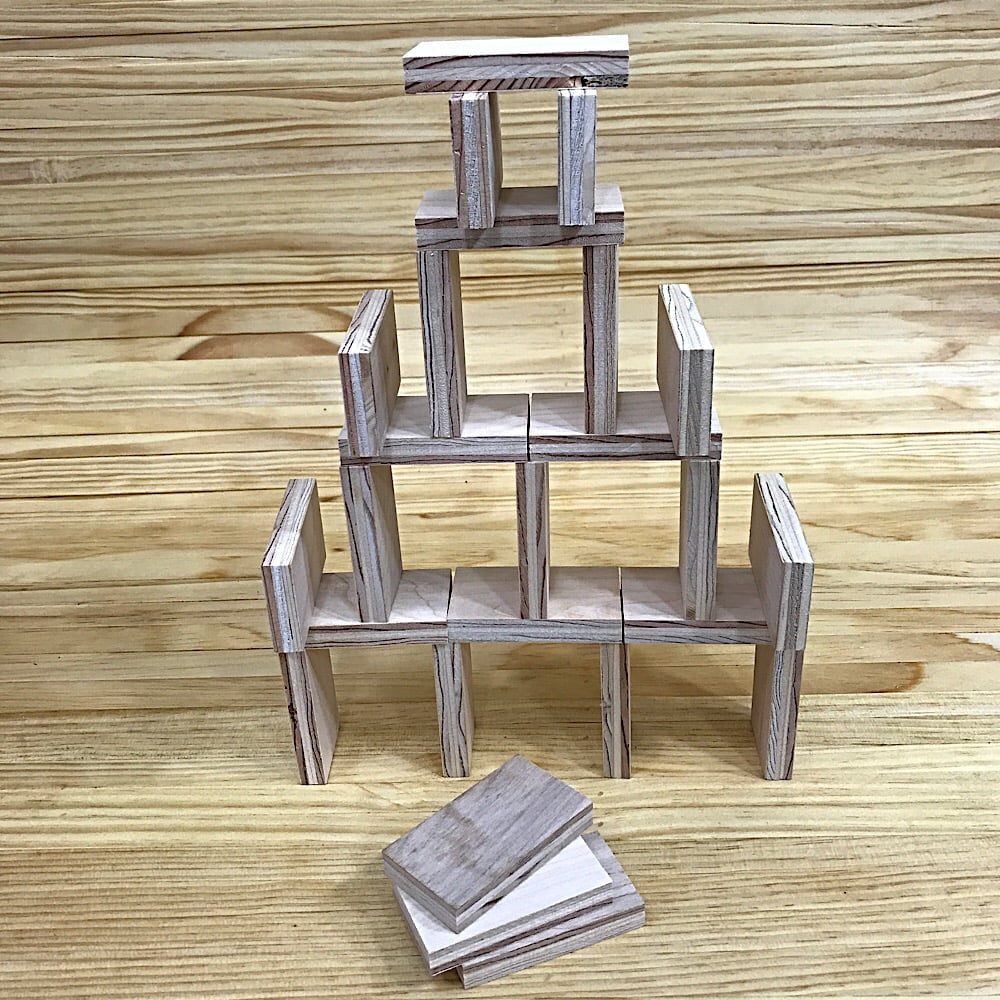
- See how many domino blocks you can stand on end and tumble
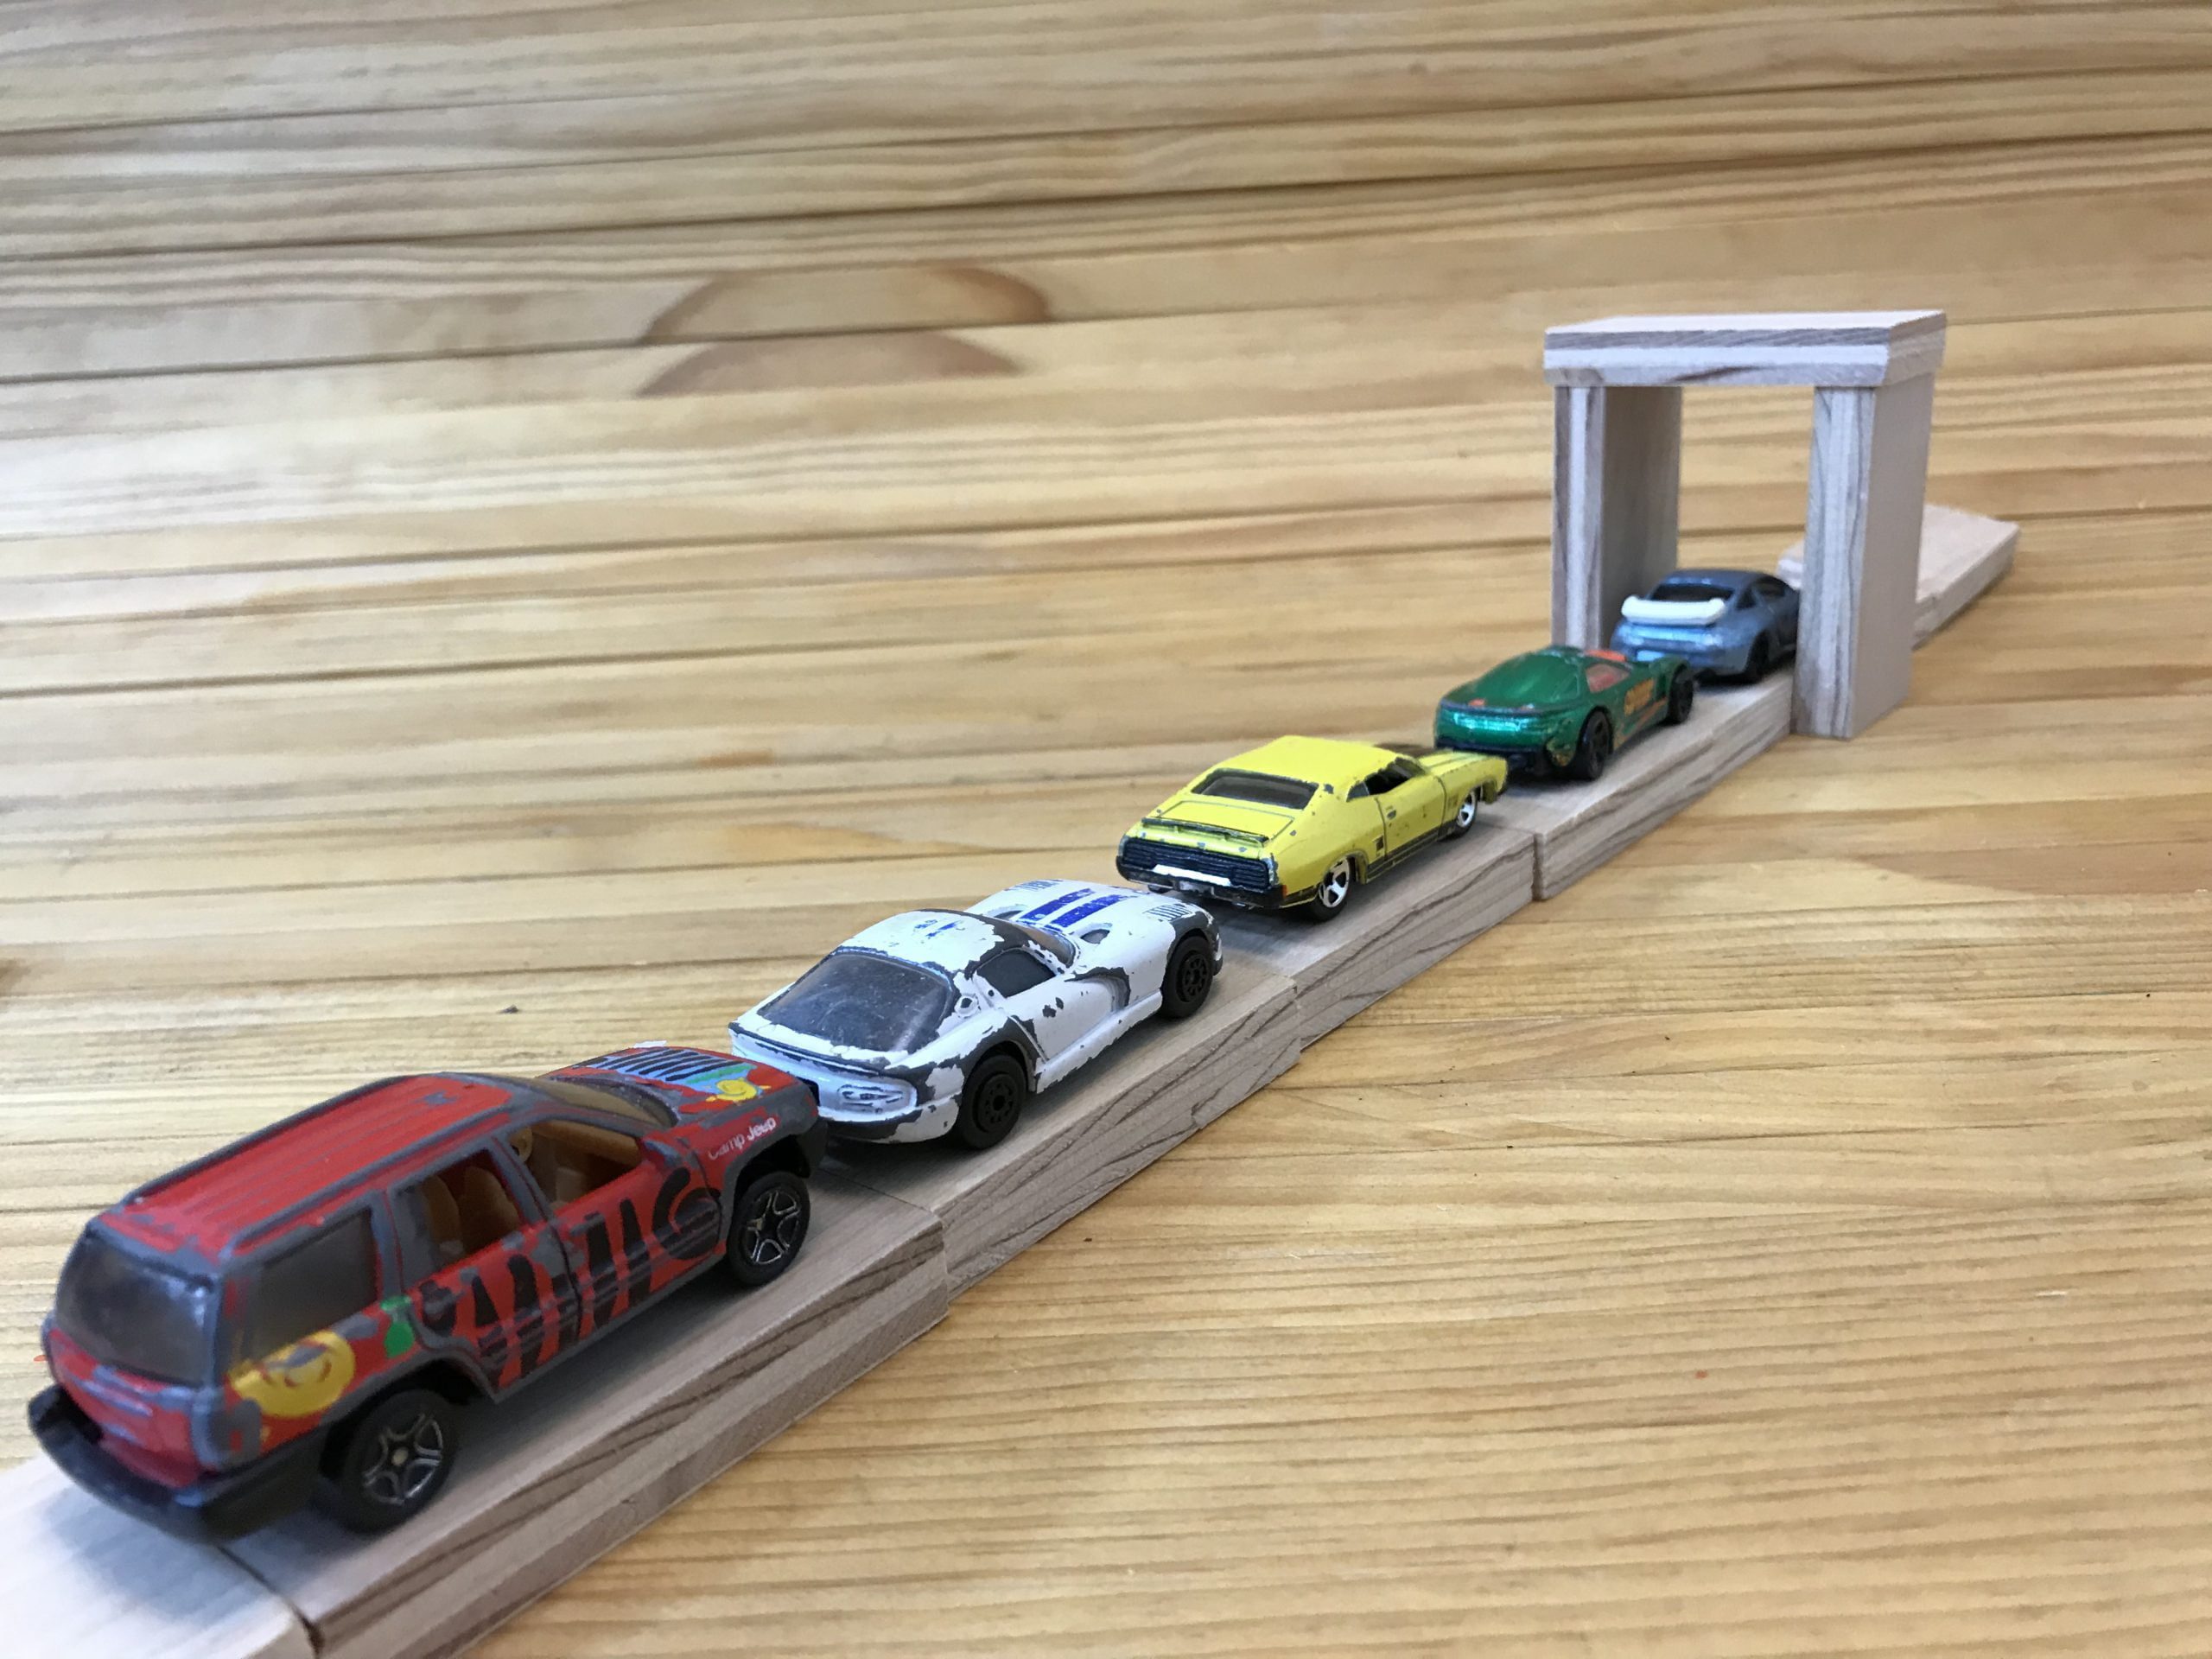
- Use domino blocks to make roads for toy cars
- Make a set of dominos out of some of your domino blocks
- Let children decorate them with paint or markers
- Add them to your dramatic play area, where they’ll become cheese, gold coins, phones, hairbrushes, and more
This idea first appeared in my book Do-It-Yourself Early Learning.
Contribute content to Playvolution HQ
Brought to you by Explorations Early Learning
Browse Trainings


Post Author

Jeff Johnson is an early learning trainer, podcaster, and author who founded Explorations Early Learning, Playvolution HQ, and Play Haven.
Leave a Reply