Overview
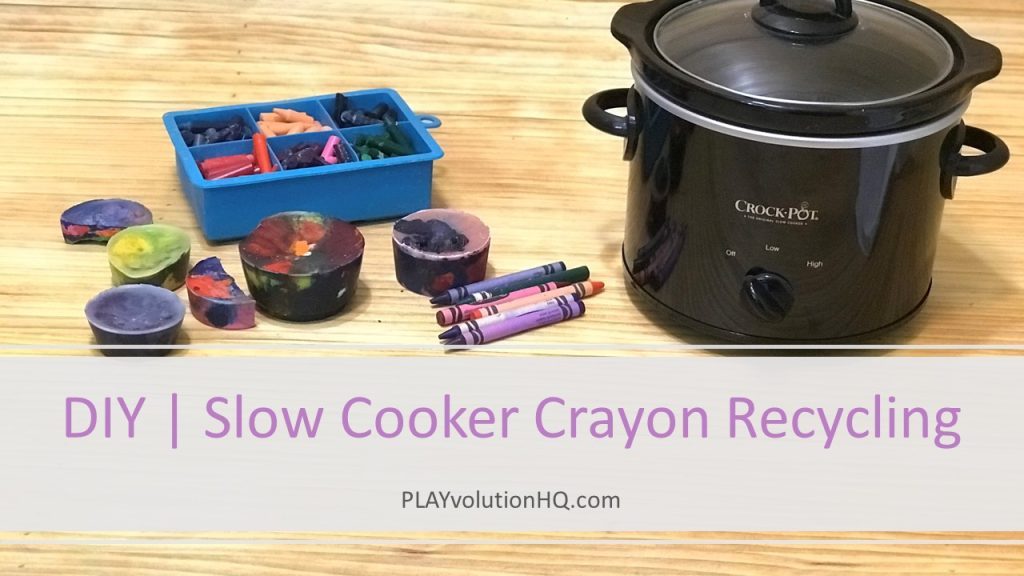
Here’s a do it yourself tutorial outlining how to recycle stubby bits of old single-color crayons into chunky multicolored custom crayons using a slow cooker. We’ll jump right into the tutorial after a pair of Why questions.
- Why invest the time and energy in such a project? Because it’s a great way to share a STEM rich experience with kids that results in some cool new crayons. It’s also a chance to practice working as a team, following directions, and being careful–all valuable life skills.
- Why a slow cooker? Well, they’re readily available, they’re easy to haul and set up in a classroom, and they provide a steady source of heat without an open flame.
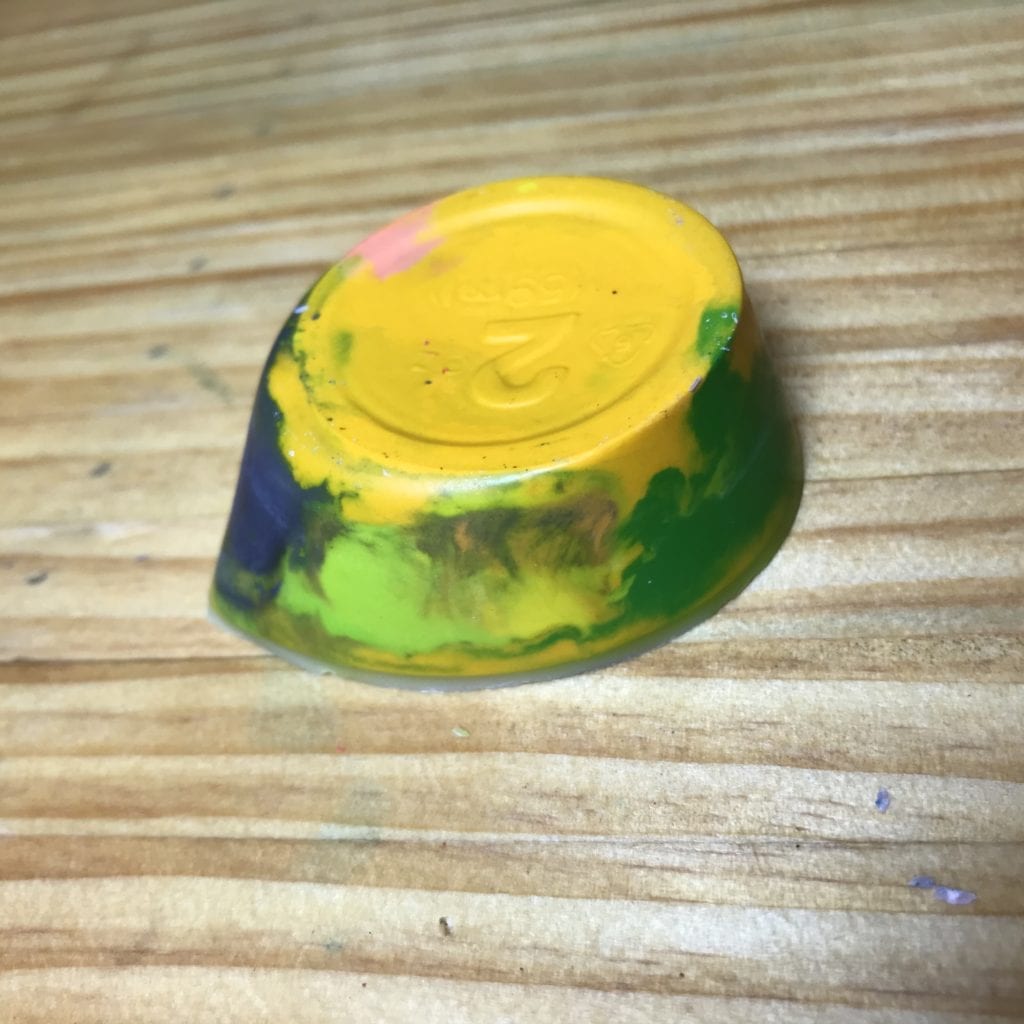
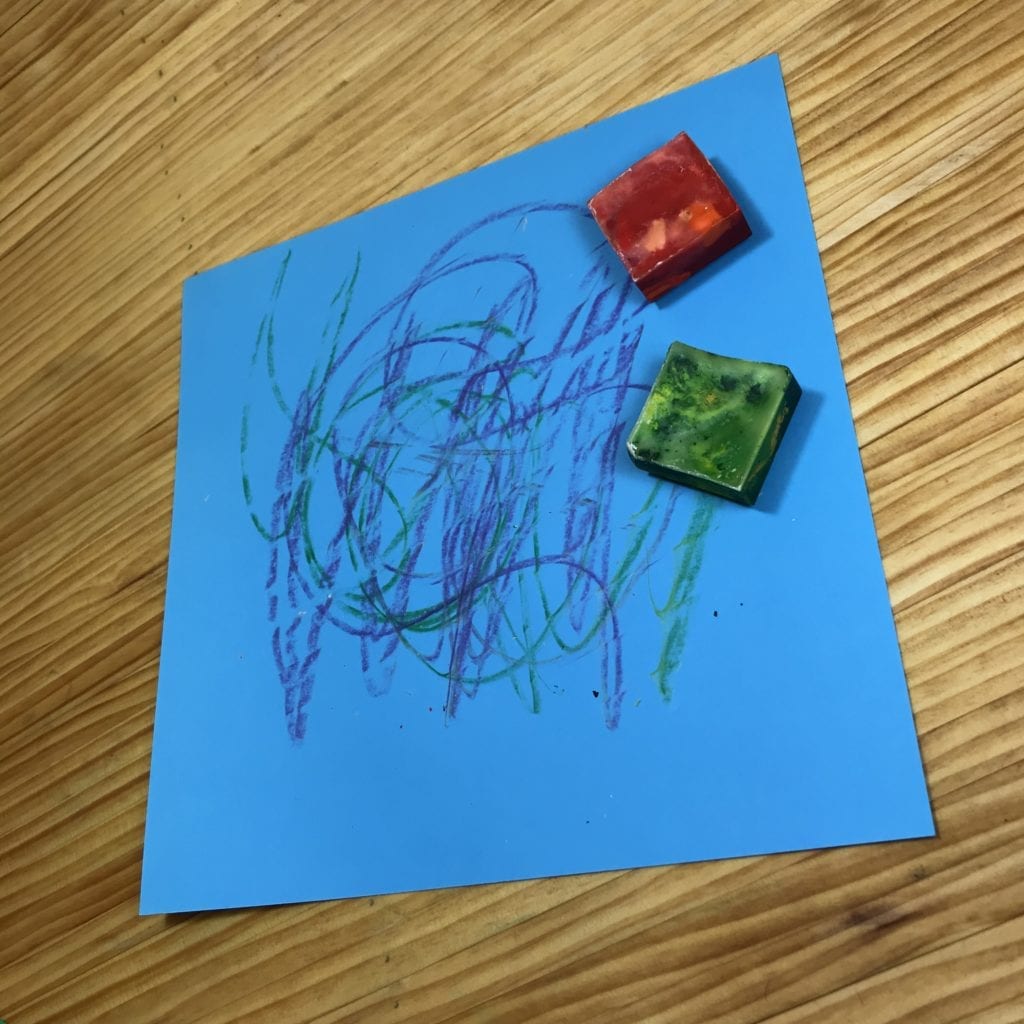
Supplies
You’ll need the following supplies:
Process
The basic process is simple: peel the crayons, melt the crayons, cool the crayons, and use the crayons. Let’s look at the process in more detail.
Peel Them
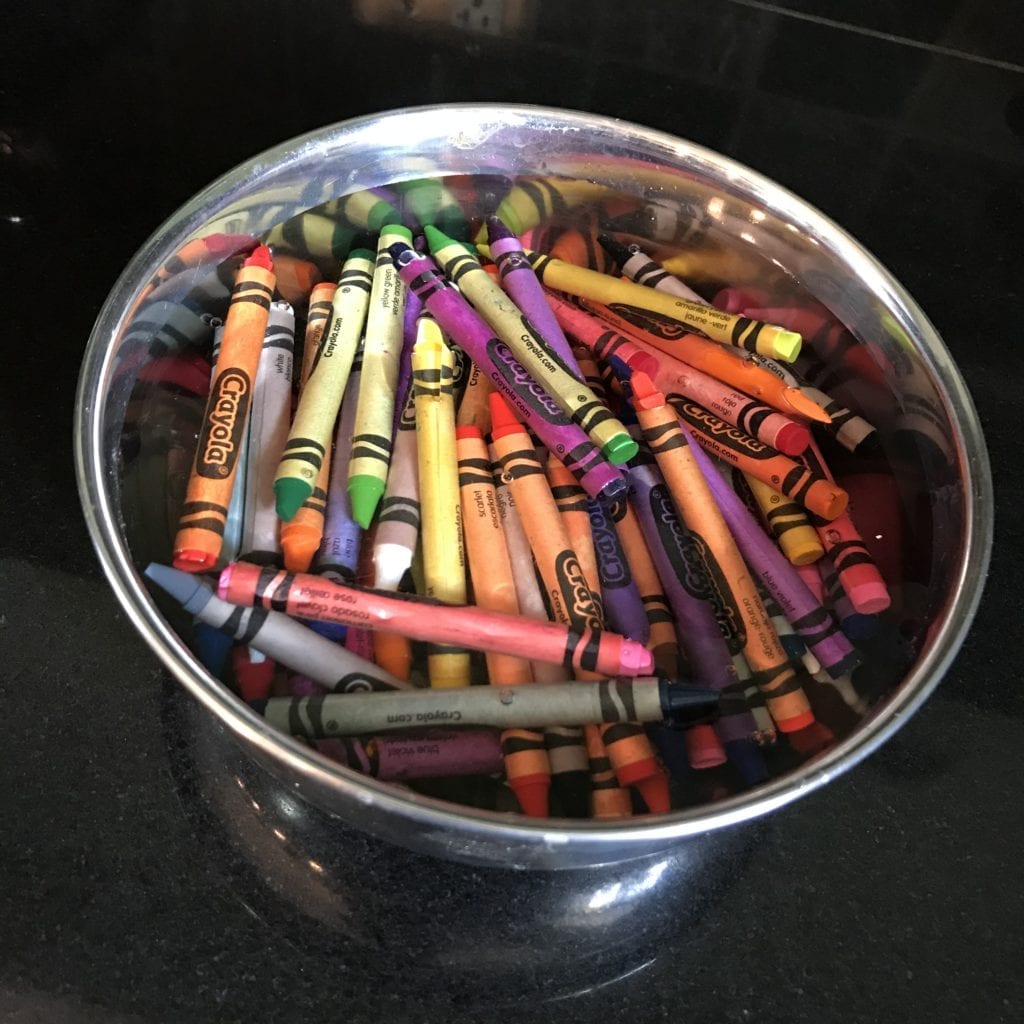
First, strip the paper from the crayons. If you’re lucky, nimble-fingered children have already done this or are eagerly awaiting the chance.
I’d like to toss out an idea: make this a water play/ sensory play experience. Just add the soon to be melted crayons to a water play table or sensory bin with some water and ask the kids to remove the paper. Give them a bowl to collect the naked crayons in and another for paper scraps. If you have time constraints, you can let the crayons soak over night and then let the kids strip them.
Picking the soggy paper from the wax sticks will be a unique sensory experience for most kids. It’s also a chance to hone small muscle and hand-eye coordination skills. Plus, it’ll be fun.
Melt Them
The first step in the melting process is to bust those naked crayons into smaller bits so they’ll fit into the containers for melting. This is another good job for nimble-fingered children and can be incorporated into the above water play if you so choose.
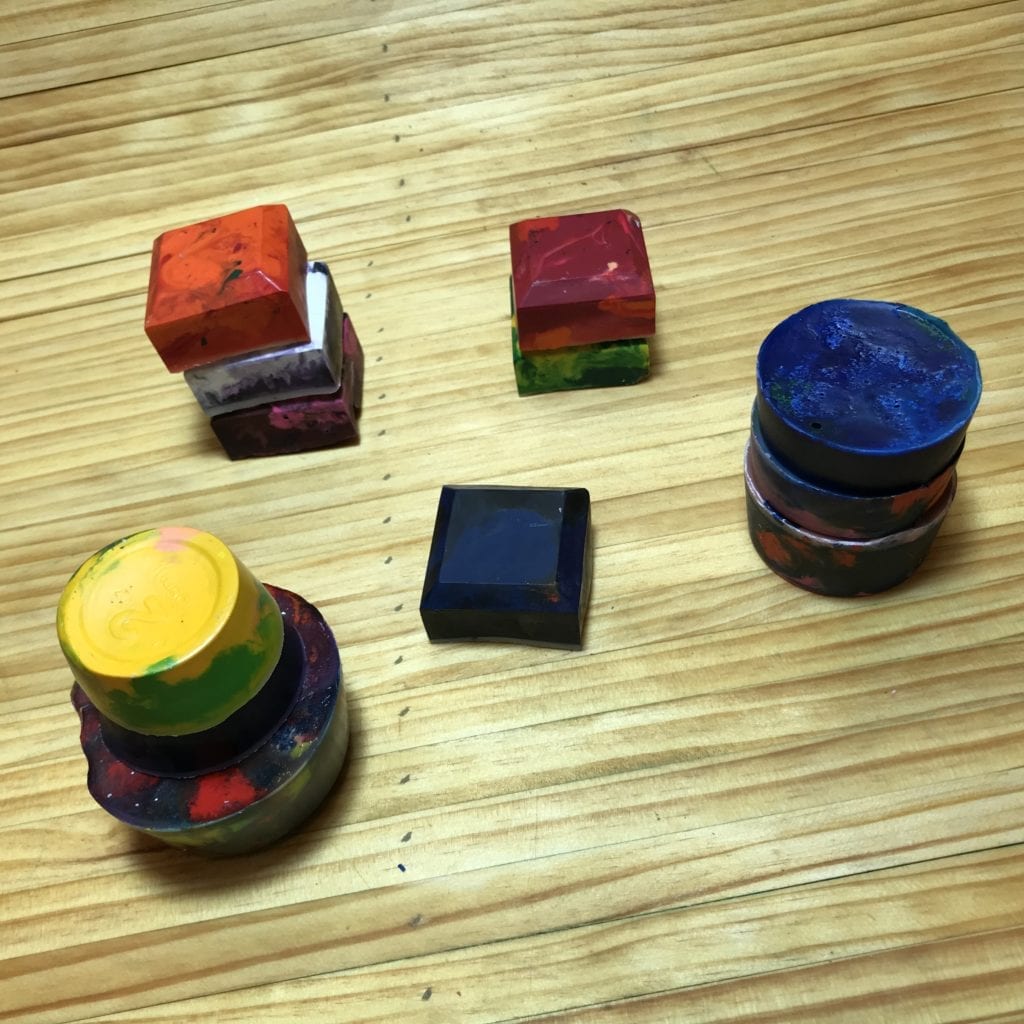
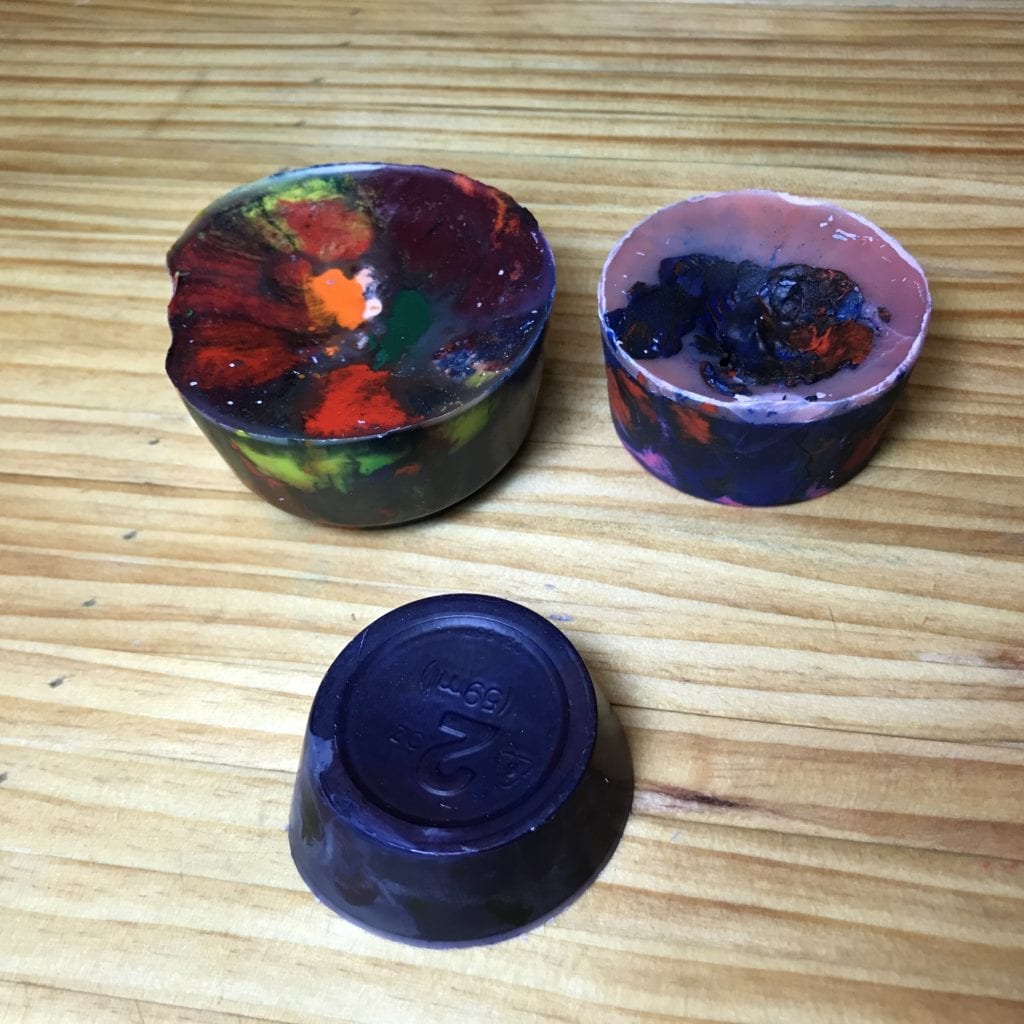
Next, select containers for your chunky custom crayons. Most anything will work. I opted for small random containers we had sitting around the Better Save That It Could Be Useful Room here at Explorations Early Learning Intergalactic Headquarters as well as a neat flexible ice cube tray I had sitting around.
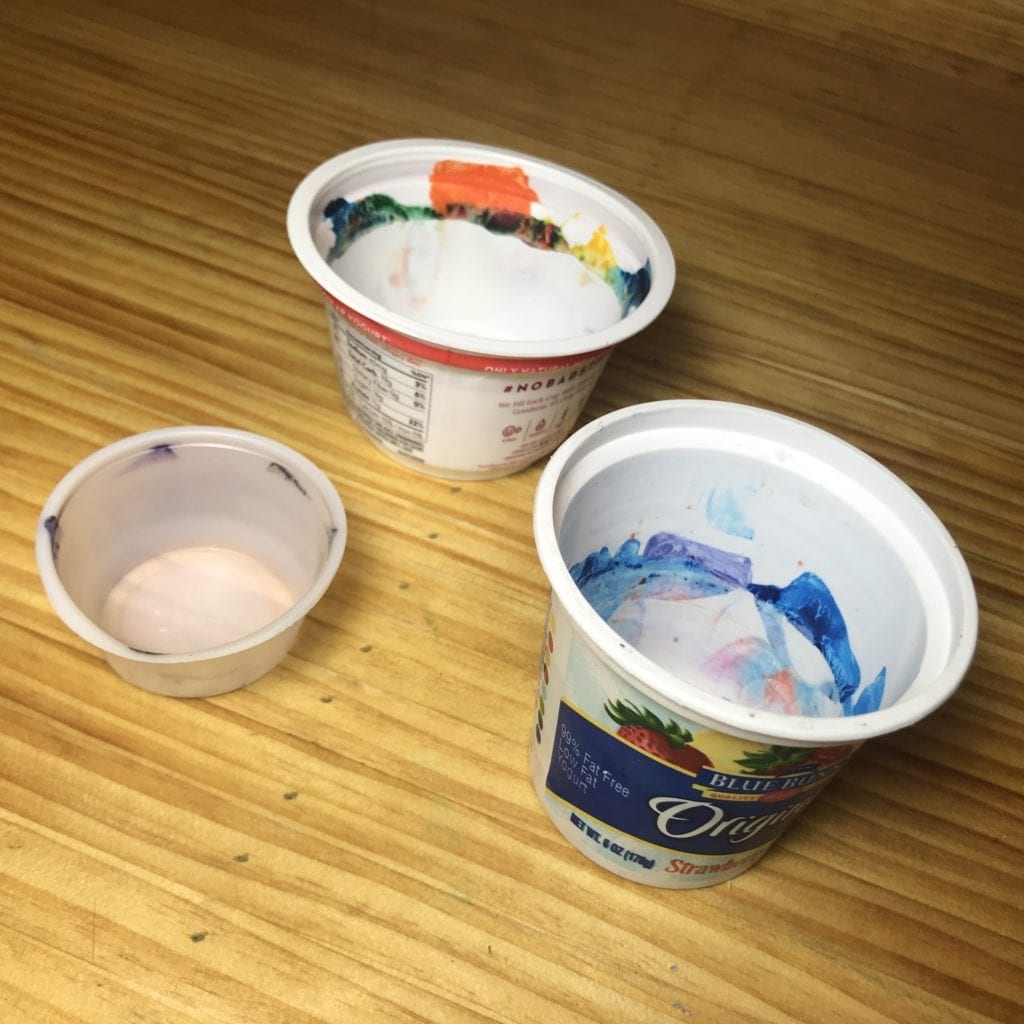
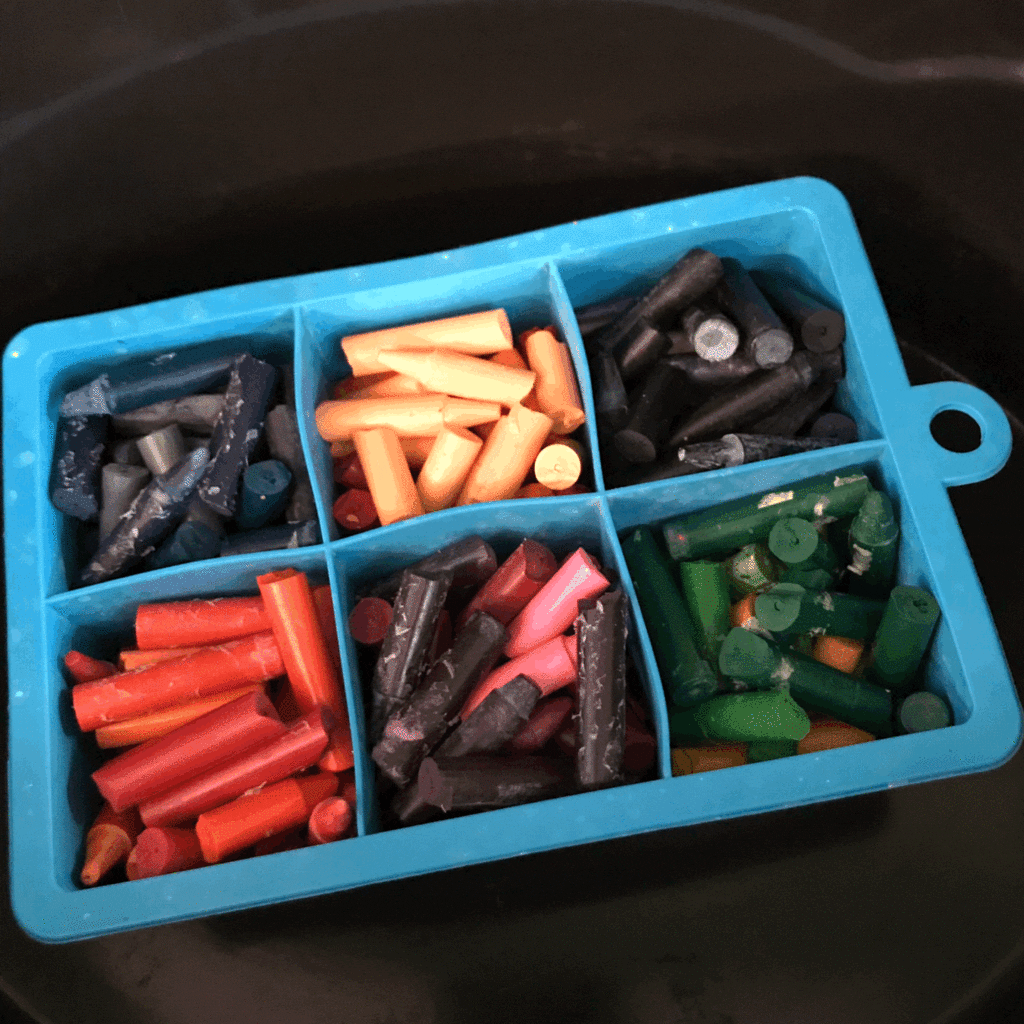
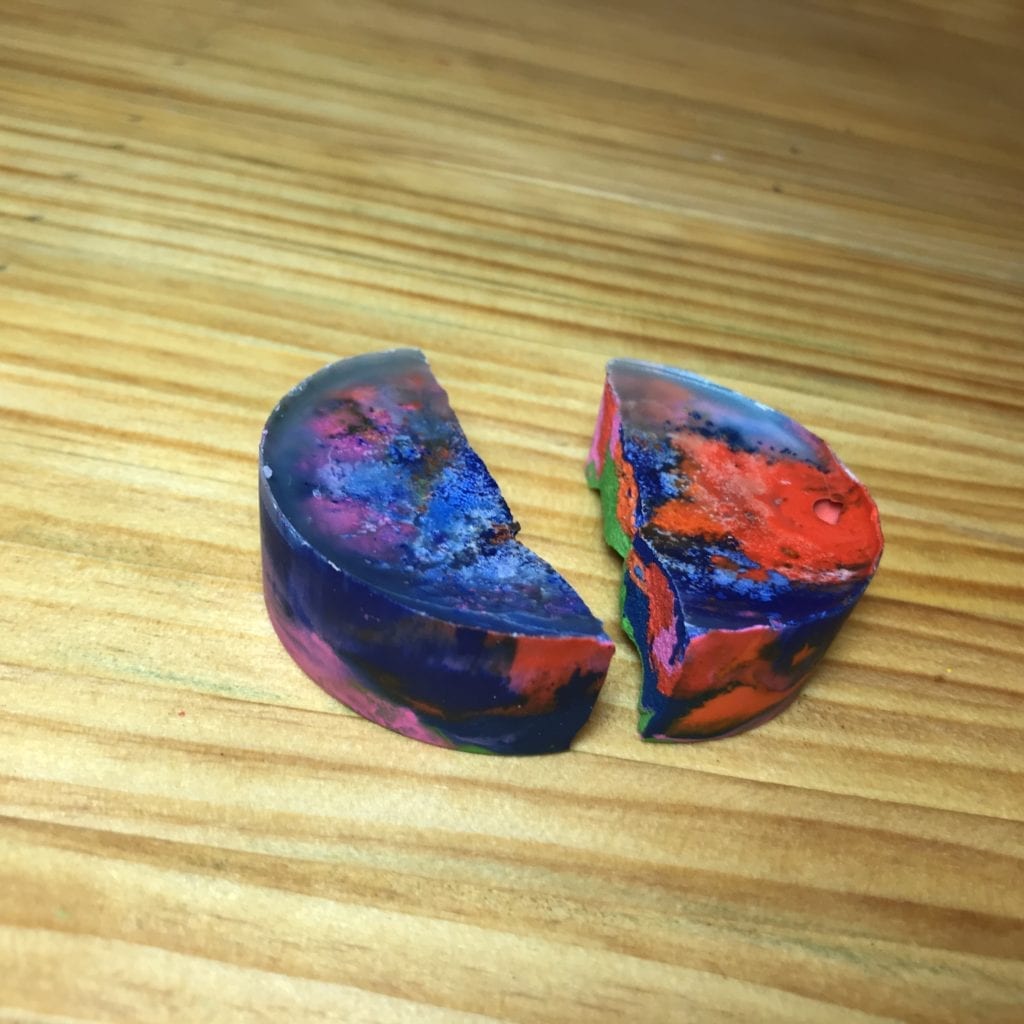
Once you have your containers sorted out, it is time to fill them with busted crayon bits. Get the kids involved in this step too. Some may want to create single color chunky custom crayons and other may want rainbow-esque crayons. Whatever they decide to do is fine. There’s no right or wrong here–just fill up the containers.
Time to heat things up. Once your containers are full, set them into your slow cooker, set the heat to medium or high, and wait. No need to put the lid on. It might speed melting a bit, but it makes observation more difficult and it’ll just become another hot item in your workspace someone could accidentally (or purposefully) touch.
I recommend doing a test-drive without the kids to get an idea of how long the melting process will take with your slow cooker. During my first melt, I checked in every 10 minutes and found it took they tiny slow cooker I keep around for experiments took about 45 minutes to melt the crayons. Later, I found a larger unit did it in about 30 minutes. Doing some experimenting ahead of time will make the process a bit more predictable and enjoyable with kids.
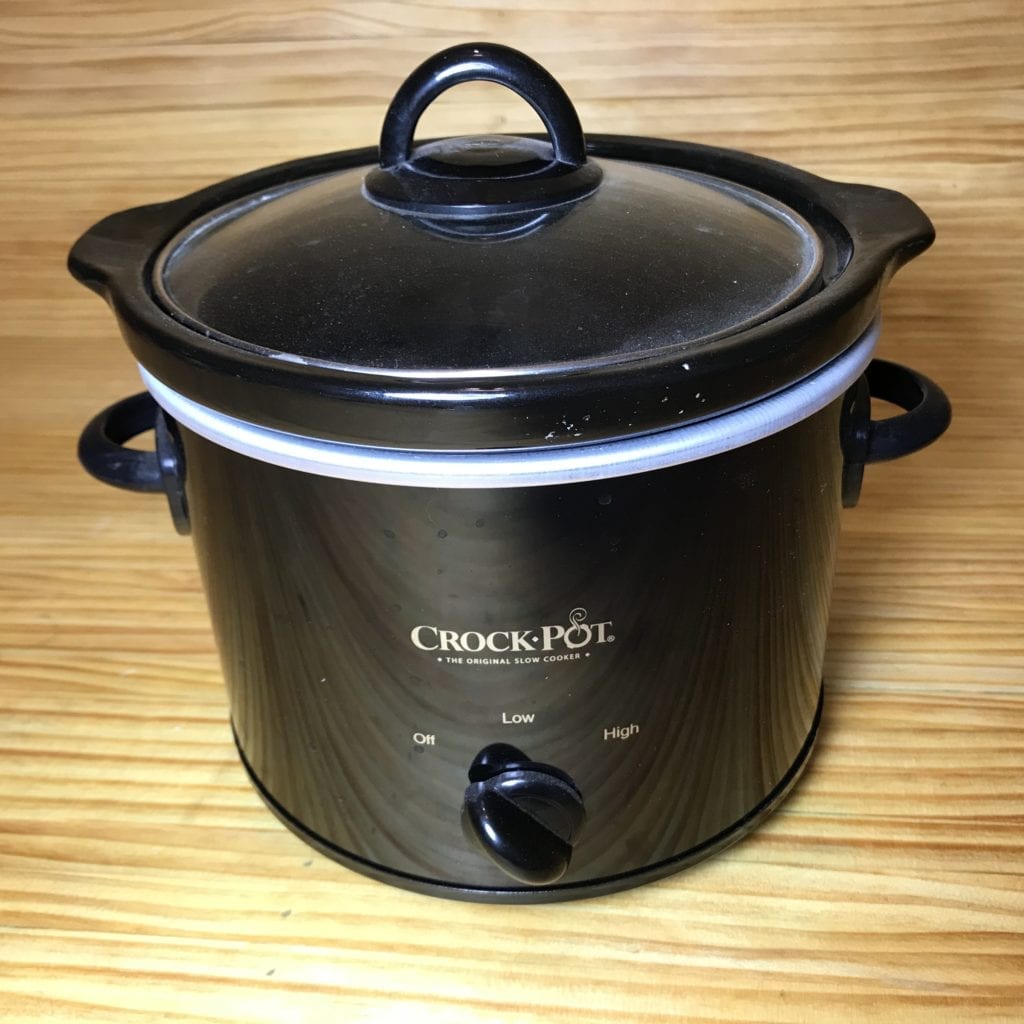
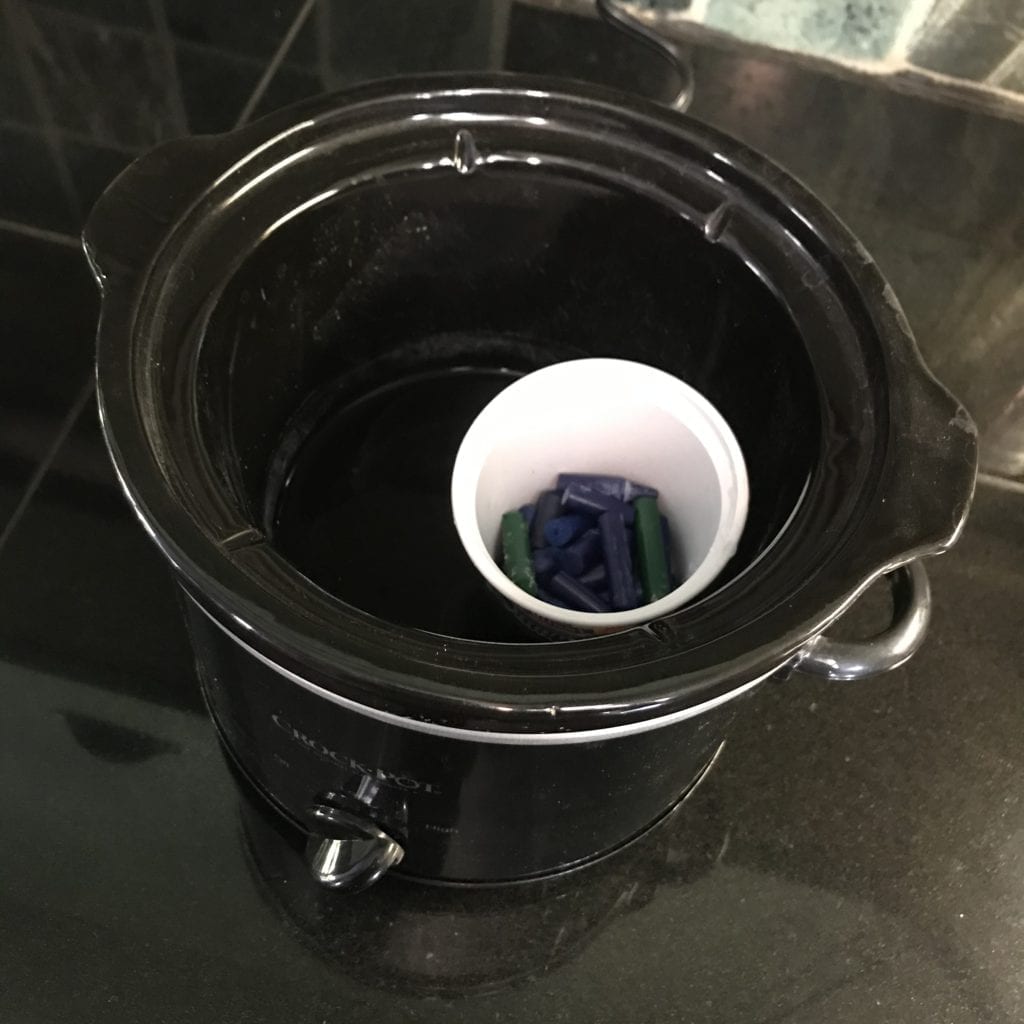
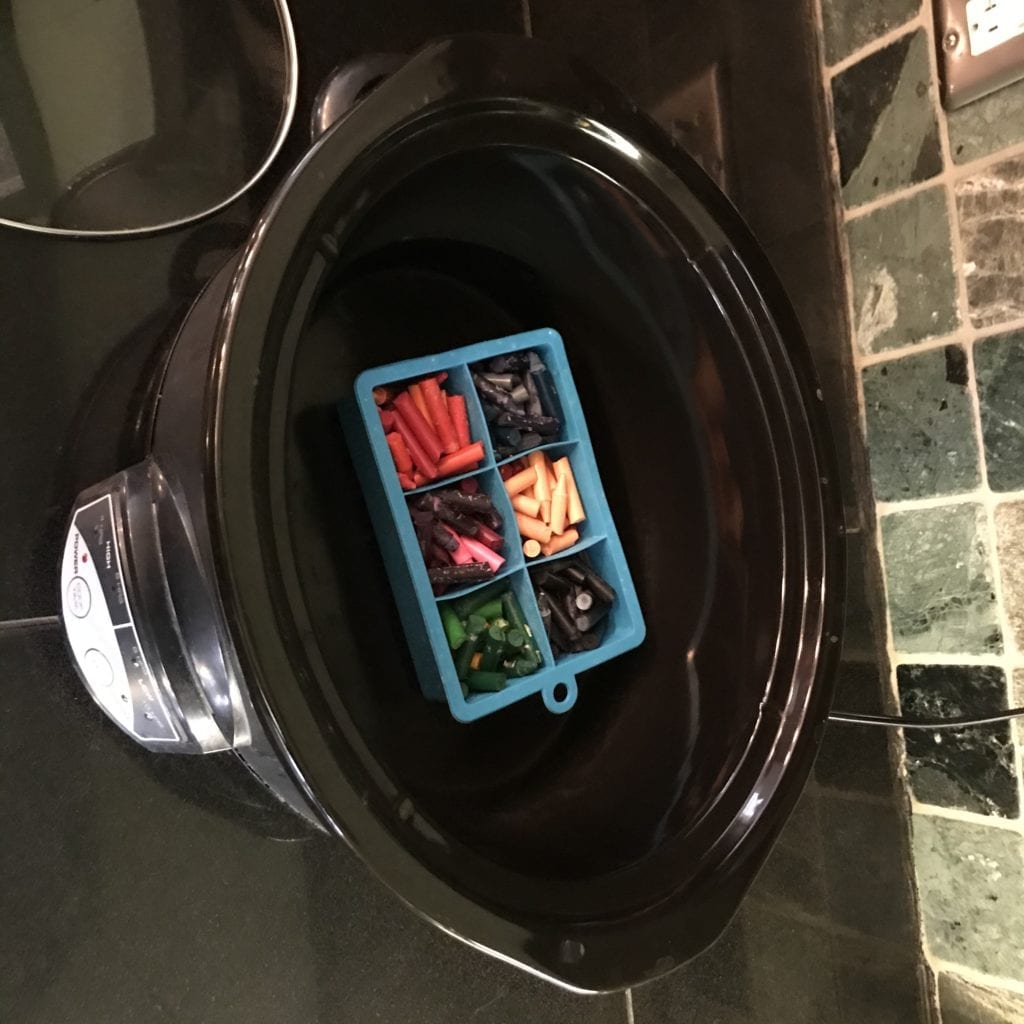
A couple more melting notes:
- You can add a bit of water to the slow cooker if you want. I read a couple places that this speeds up the melting process. That was true in my experiments, but I also found removing the container of molten wax was easier without the water bath. I think, especially with kids, it’s a bit safer to skip the water.
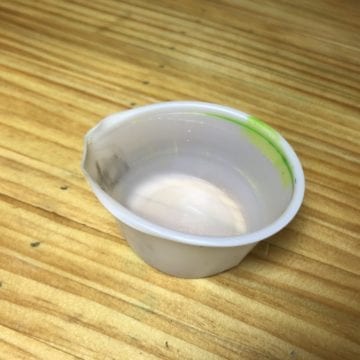
- Another reason to do some experimenting before doing this project with kids is to test your containers. I found that the condiment cups I really liked for their size would begin to melt if they touched the side of the slow cooker.
- I found that both the medium and high settings worked well but decided medium was my setting of choice. The crayons melted a little quicker on high, but the inside walls of the slow cooker were a lot hotter to the touch.
- There will be kids who won’t want to take their eyes off the crayons as they melt, but the interest of most will probably drift like clouds in the sky. After starting the melting process, consider setting a timer for 6-8 minutes, sending the ‘clouds’ off to play, and letting them know they can come back and check in when the timer goes off. Then repeat the process until your crayons have completely melted.
- I found that filling a container with crayon bits pretty consistently resulted in a container about 1/2 full of melted crayon wax. This might be worthy of a discussion with the kids–“We filled the container with crayon parts, but now that they melted the container is only half full–what happened?”
- This is related to number 5–if you want to create bigger crayon hunks, just add more crayon bits to the containers as the wax melts and space becomes available.
Cool Them
Once the slow cooker has fully melted you crayons, you can carefully remove the containers from the slow cooker and set them aside to cool. The wax is hot–it’s probably best not to stick any body parts into it.
Complete cooling will take a few hours at least. It’s probably best to let them sit overnight before removing your new crayon creations from the containers.
Use Them
Now, put your new crayons in a space with some children and paper, step back, and see what happens.
Conclusion
If you want to add some more STEM learning to this project, consider asking the kids to make predictions about what will happen to the crayons when they heat up, or what will happen to the colors when the crayons melt, or what will happen when they are removed from the heat–then see how well their theories hold up.
If you give this project a try, I’d love to see and hear about what you create in the comments section below.
Contribute content to Playvolution HQ
Brought to you by Explorations Early Learning
Browse Trainings
Post Author
Jeff Johnson is an early learning trainer, podcaster, and author who founded Explorations Early Learning, Playvolution HQ, and Play Haven.


Leave a Reply