
Overview
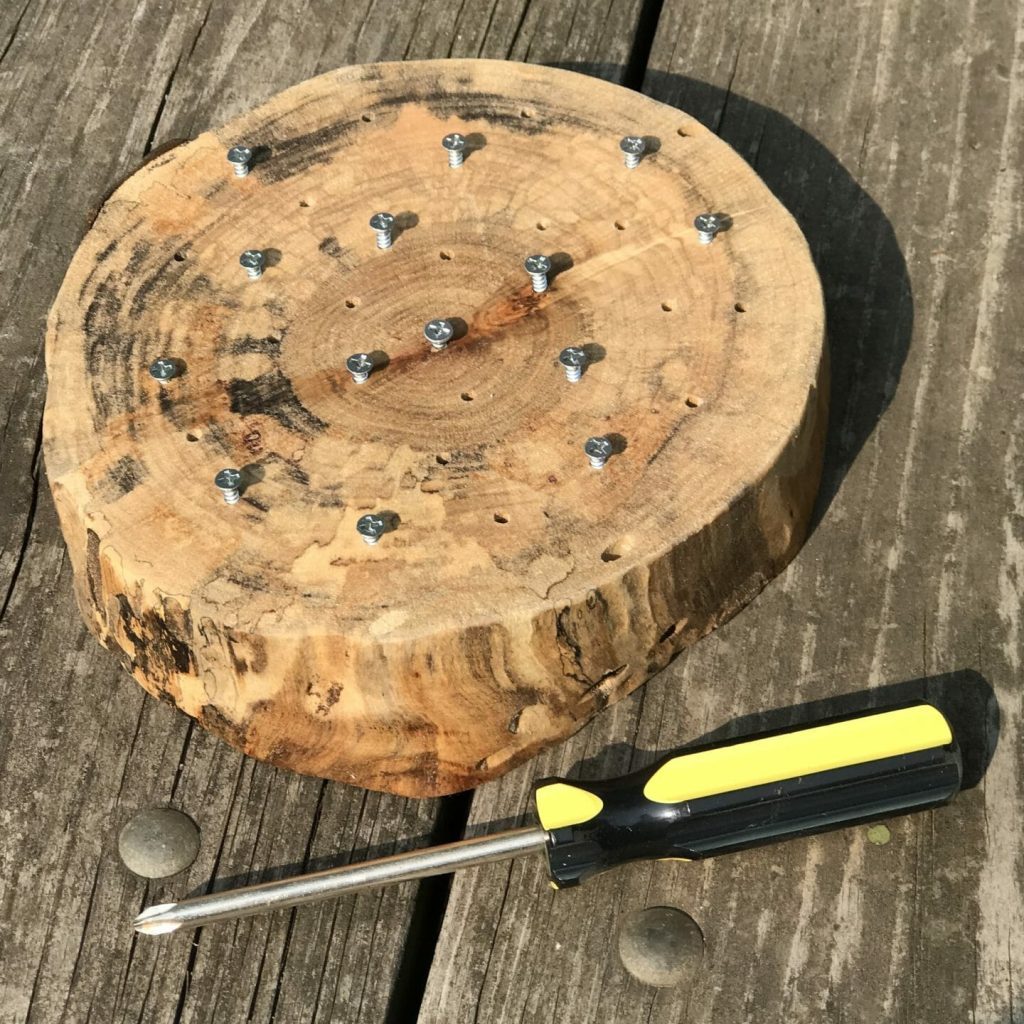
Successfully driving screws at one of these screwdriver work stations leaves young kids feeling strong and capable.
I know from experience, over 45 years ago a carpenter named Bill was remodeling the house next door to mine. He was a friendly guy and, when I voiced some interest in his tools, he taught me how to use many of them. One day he dropped a scrap of wood with dozens of screws sticking out of it onto the house’s porch and said, “Hey, I need some help, can you screw these screws into this board for me?”
I worked for hours. My arm ached.
The activity is also a great way to hone hand-eye coordination, visual tracking skills, muscle strength and control, and more. I don’t know how much thought Bill gave to those things, but I sure do remember feeling strong and capable at the end of it all.
This simple and inexpensive project will be a big hit with young children interested in using tools.
Supplies
You’ll need:
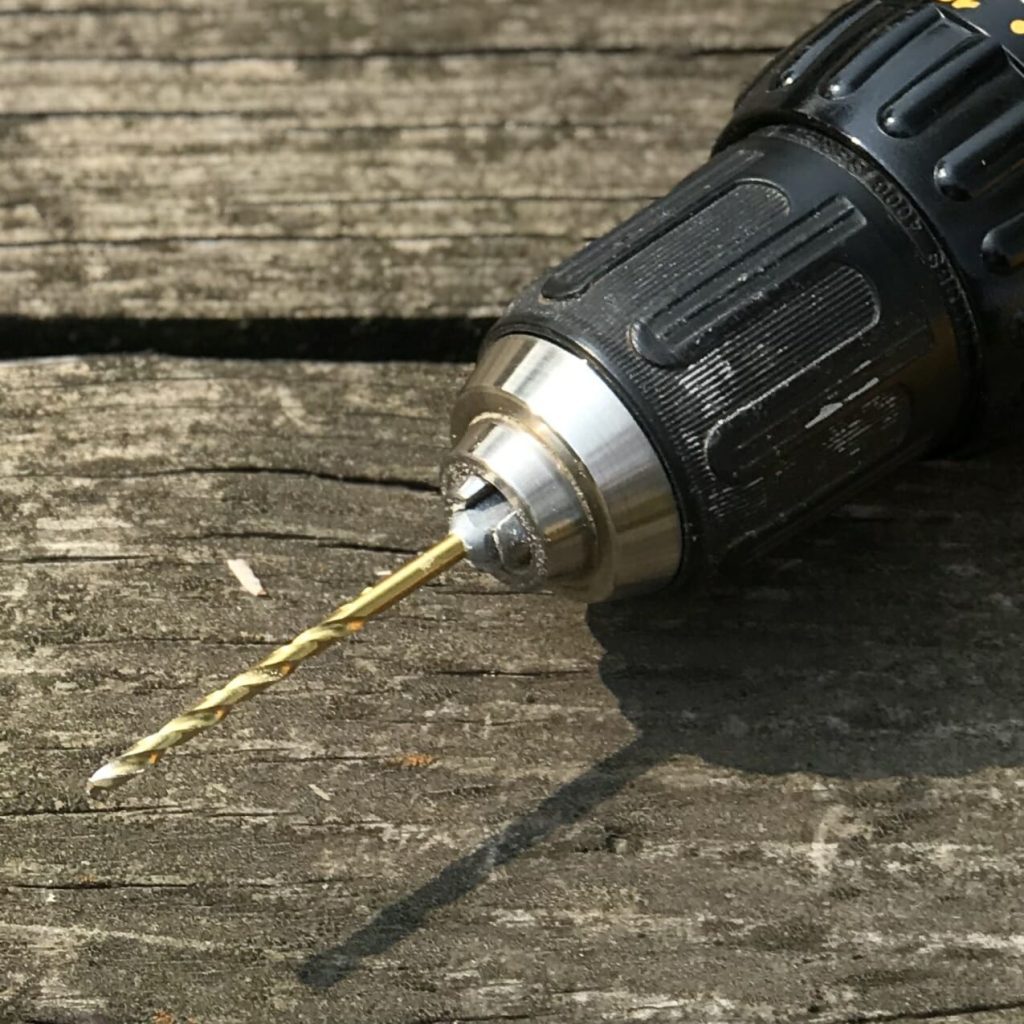
- A drill with a 1/8 inch bit
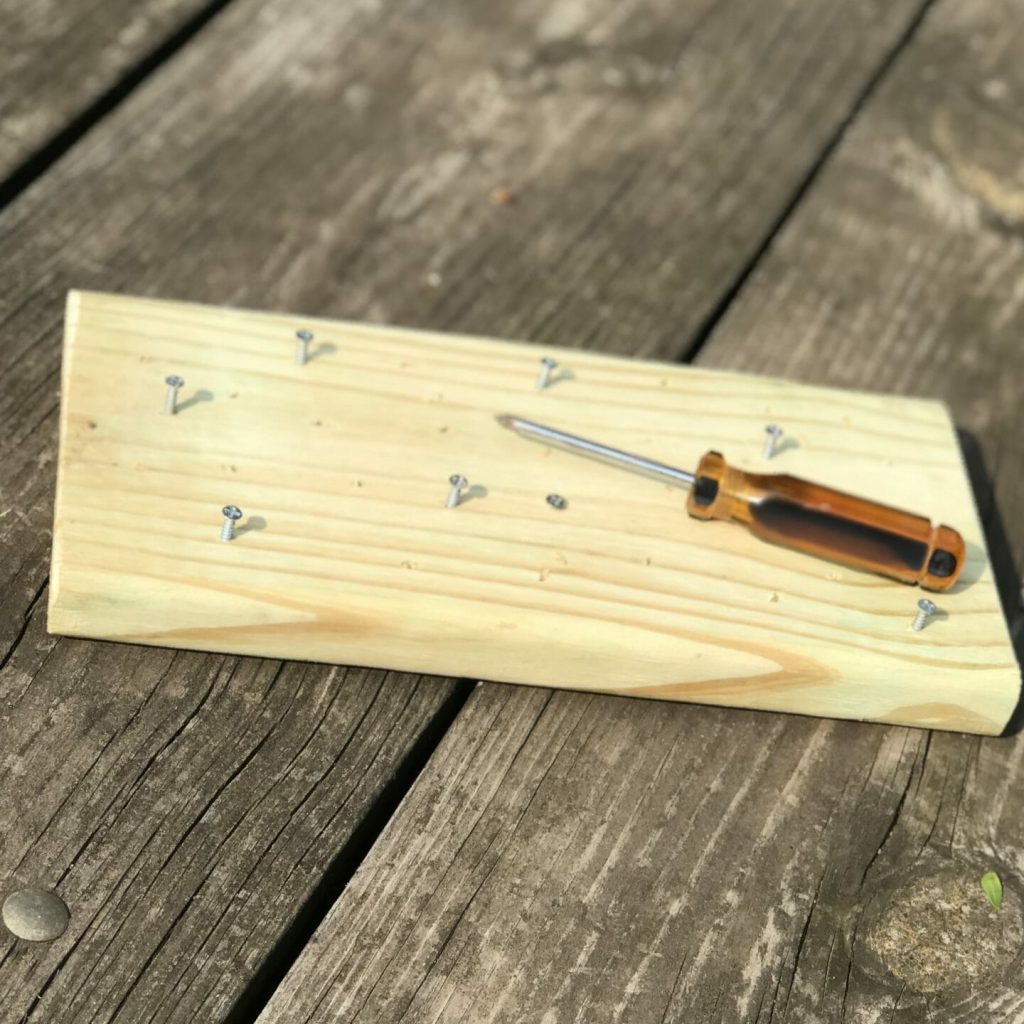
- A hunk of wood at least 1.5 inches thick and 9 inches square
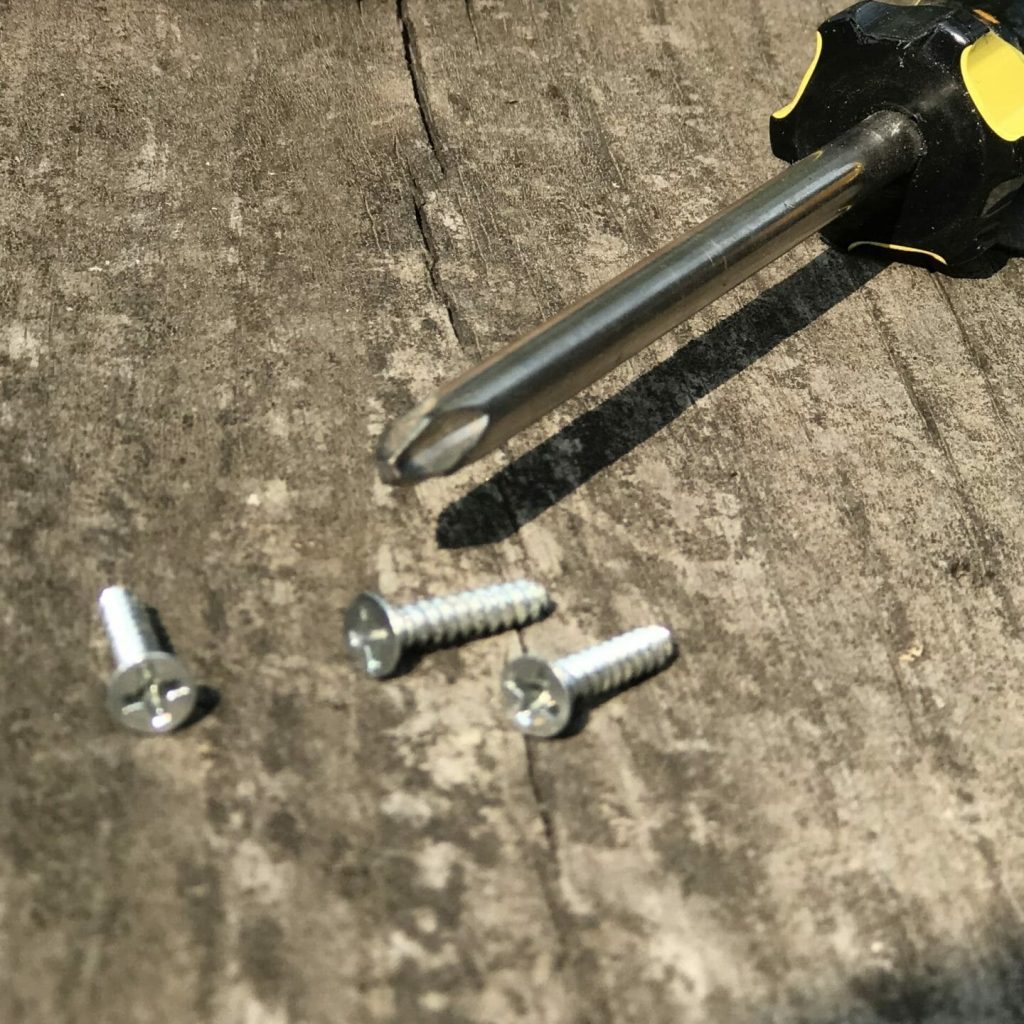
- A Phillips head screwdriver
- A bunch of 3/4 inch long #6 Phillips head screws
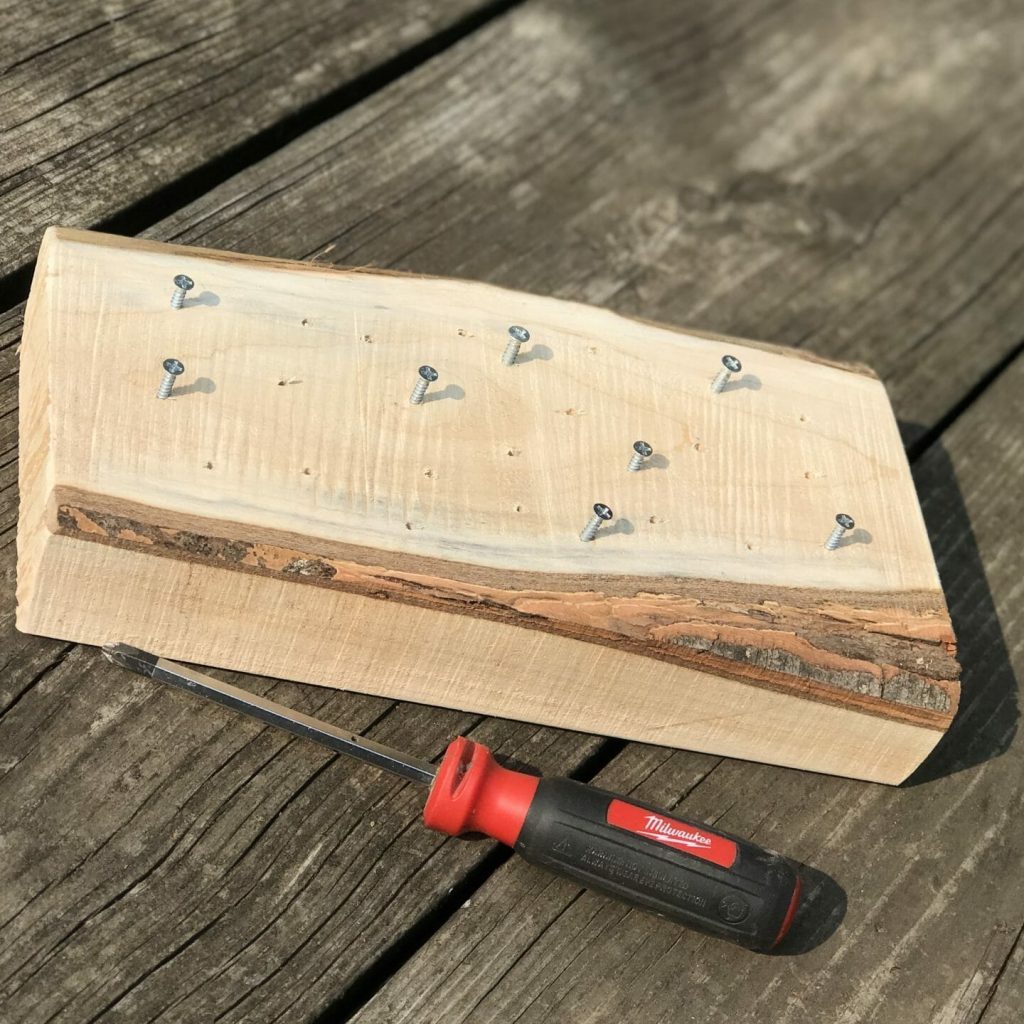
Your wood hunk can be most any size or shape. Just be sure that it isn’t smaller than the minimum size mentioned above and that it doesn’t wobble too much. Wood slabs that are too small or that wobble too much are not as safe as larger more stable slabs.
Process
The process couldn’t be simpler. All you need to do is drill a bunch of pilot holes–about an inch deep–into the face of your hunk of wood and then start to screw screws into some of the holes.
The pilot holes are just slightly smaller than the screws, so twisting them in will be fairly simple.
Put It To Work
Place your screwdriver work station on the floor, ground, or a solid play surface and demonstrate how to twist in a screw. Most kids will not have much experience driving screws, so a bit of modeling/direct instruction may be necessary.
Demonstrate that turning the screw one way drives it into the wood and turning it the other way takes it out. It’s also good for novice screw drivers to know that it’s important to keep the screwdriver shaft aligned with the screw’s shaft. This assures the driver is fully engaged with the screw head which reduces both the likelihood of stripping the screw head and of the screwdriver slipping and causing an injury.

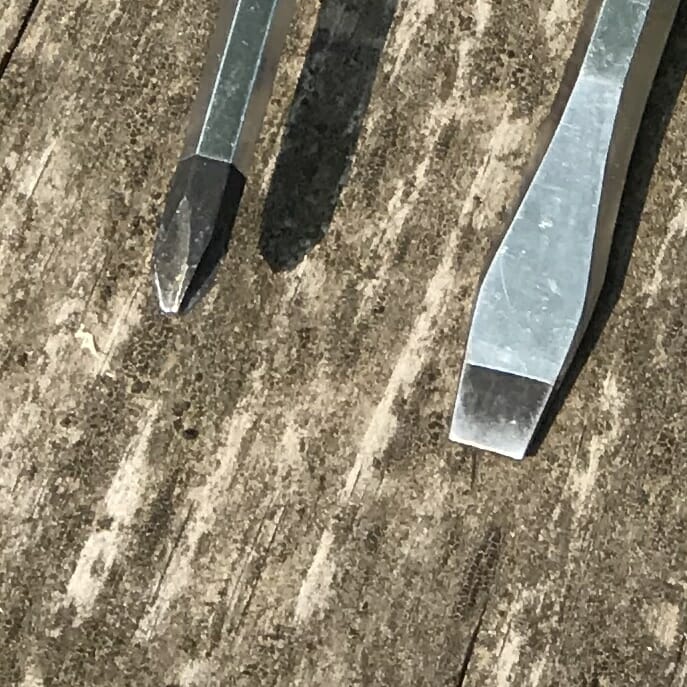
Why Phillips Head?
Young children will be more successful with a Phillips head screwdriver versus a flat head screwdriver because the Phillips screwdriver seats more securely in the screw head (there’s more surface area for drive-screw contact) and is less likely to slip. The Phillips design also allows the user to apply more torque and provides mechanical advantage—so its easier to drive a screw with this design. (Did I mention screw driving is a STEM activity?)
I did a quick count and have over 40 screwdrivers around the house and shop, but if I was in the market for one to let kids use, I’d probably order this one.
Notes
Here are a couple other considerations:
Change Positions
To provide a different screw driving experience, mount a screwdriver work station to a vertical surface.

If you really want to get crazy, you could mount it to the underside of a table with a screw or wood clamp. Then the children will need to lay on their back to drive screws.
Clamps It
Older kids can easily hold the station steady with one hand while using the screwdriver with the other. For younger kids, you may want to consider using a clamp to secure the work station–it’ll serve as a helping hand to keep the station steady.

Keep It Challenging
As kids gain skill in screwdriver use and build arm and hand strength, many will want a more challenging screwdriver-based activity as this work station idea becomes too easy for them. Here are a few ideas to increase the challenge:
- No Pilot Holes–Let kids start the screws on their own without the aid of a pilot hole.
- Flathead Screwdrivers–Switch from Phillips head to flathead screws. As I said earlier, flat head drivers are a bit more challenging to use.
- Longer Screws–Longer screws are more challenging because they take more time and effort to drive. You may need to build a beefier work station–driving a 2 inch screw into a 1 1/2 inch slab of wood isn’t a good idea.
- Attach Two Boards–The process isn’t really any different. For example, stack a pair of 3/4 inch boards and let kids attach them with 1 1/4 inch screws.
(If there’s interest, I can write up more detailed DIY tutorials on the above ideas.)
Conclusion
This project is a great way for kids to build screwdriver skills. In the short term, it helps build their strength and coordination. Long term, it prepares them to hang a shelf or replace an electrical outlet when they get older.
If you give it a try, I’d love to read about how it goes and see pictures in the comments.
Contribute content to Playvolution HQ
Brought to you by Explorations Early Learning
Browse Trainings


Post Author

Jeff Johnson is an early learning trainer, podcaster, and author who founded Explorations Early Learning, Playvolution HQ, and Play Haven.
Leave a Reply