Overview
Creating DIY fabric covered books is an opportunity for children to share their stories, use tools, practice following directions, hone physical skills, and more. Not only are these books fun to make and full of learning they are surprisingly durable and make great additions to a child’s or early learning program’s book collection.
Supplies
To make a fabric covered book, you’ll need:
- Paper (8.5 inch by 11 inch)
- Cardboard
- Fabric (approximately 13 inch by 10.5 inch)
- Scissors
- Needle and thread
- Hammer
- Nail
- Scrap wood
- Hot glue gun and glue sticks
Process
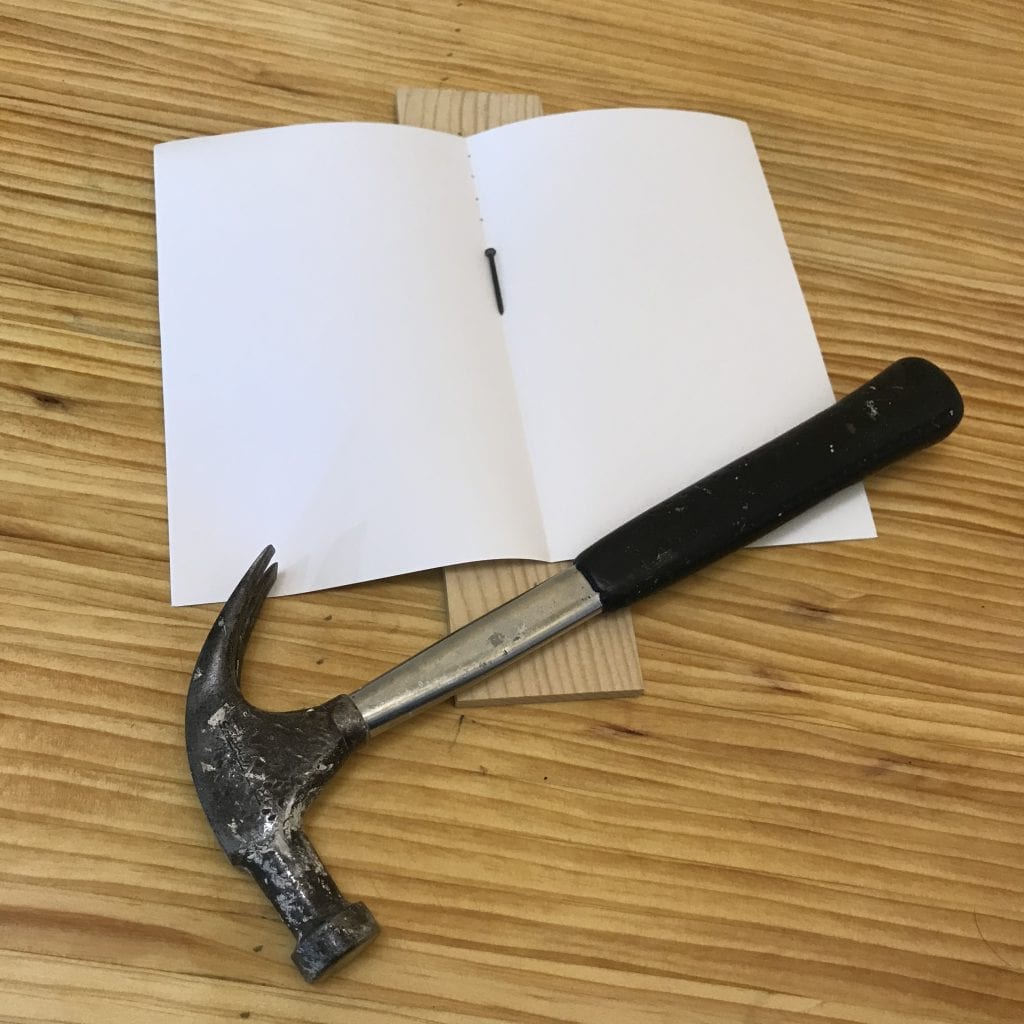
Start by folding 8 to 20 sheets of standard 8.5 inch by 11 inch copy/printer paper in half as shown in the photo below. The number of sheets you use will determine the number of pages in your book. Note that each sheet of paper equals 4 pages and that the bottom sheet of paper will become part of the cover. For example, 8 sheets of paper will result in a book with 28 pages.
Make Some Holes
Next, you’ll need to make nail holes along the fold to make stitching the pages together in the next step. Place the piece of scrap wood under the paper to protect your work surface from holes. Then use the hammer and nail to punch a series of holes along the fold. Make the first hole about 1/2 inch in from the papers edge and space them about 1/2 inch apart as you work your way down the fold.
Stitch The Pages
Now, it’s time to stitch the pages together. Thread your needle and stitch the pages together as illustrated in the following video.
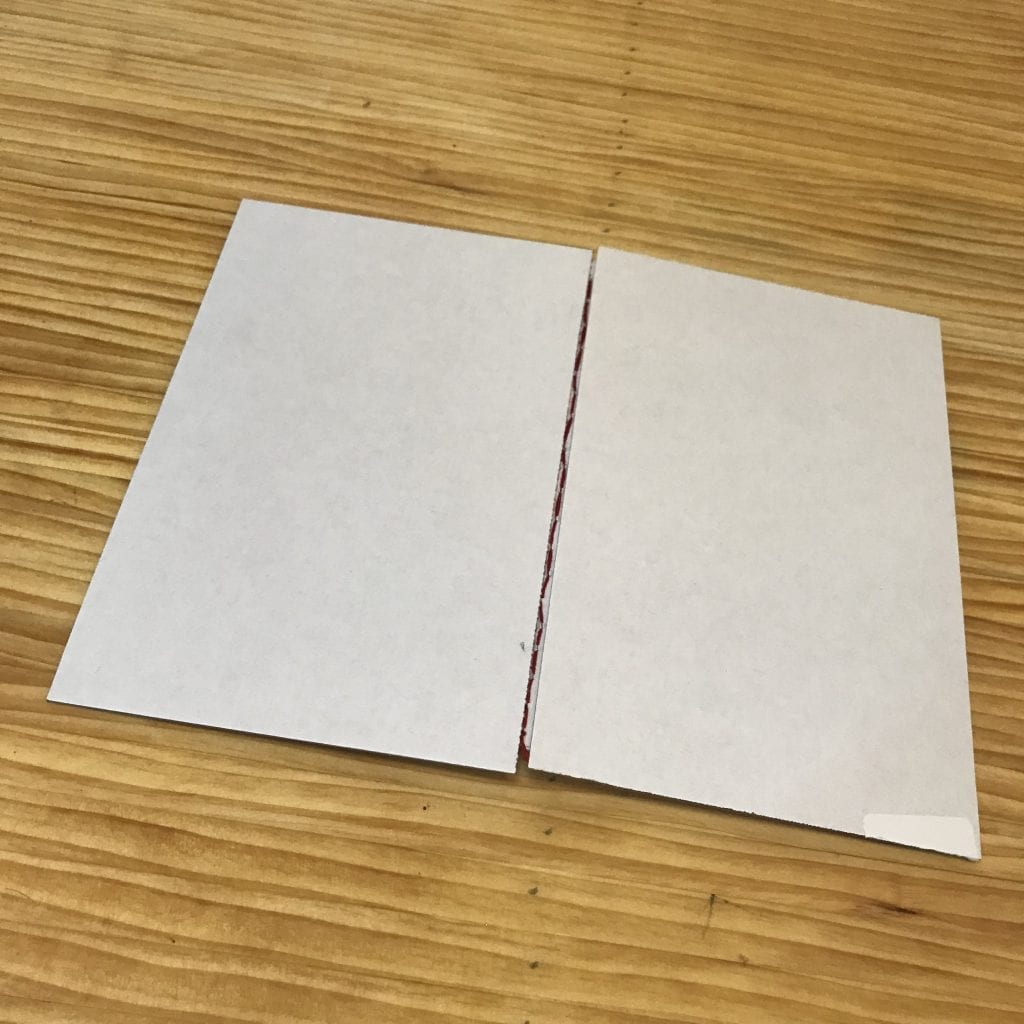
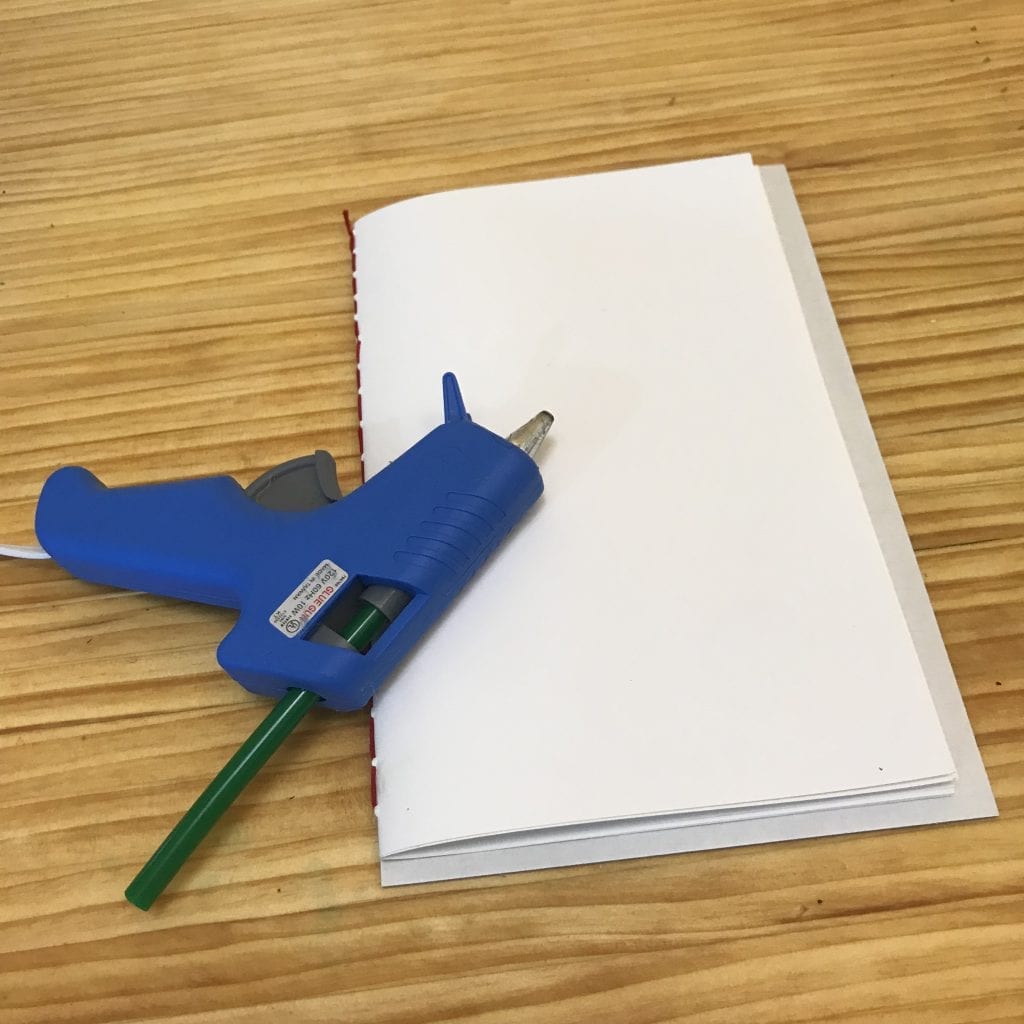
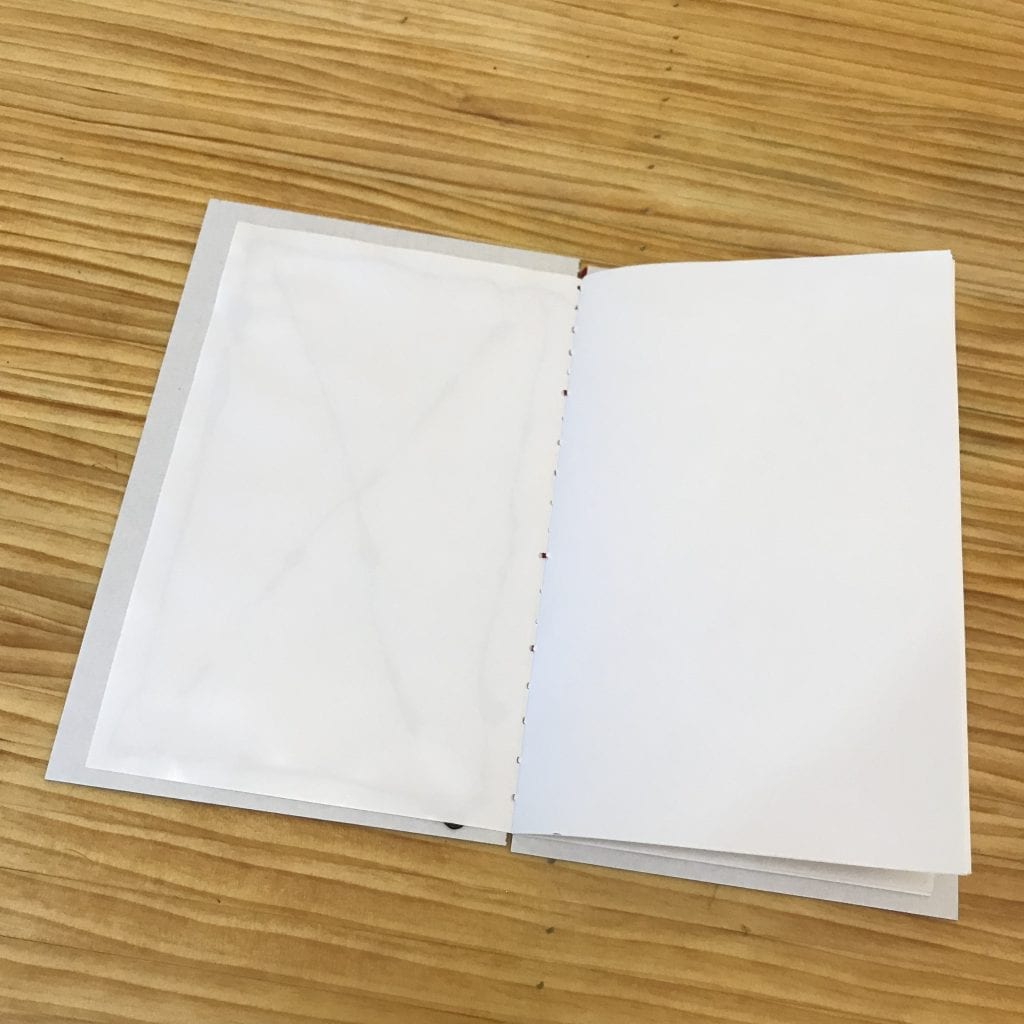
Attach Some Cardboard
Start by cutting two 9 inch by 5.75 inch pieces of cardboard. These will serve as the book’s cover and be encased in fabric in the next step. In the example photos, we used thin un-corrugated cardboard, but thicker corrugated cardboard works fine, too.
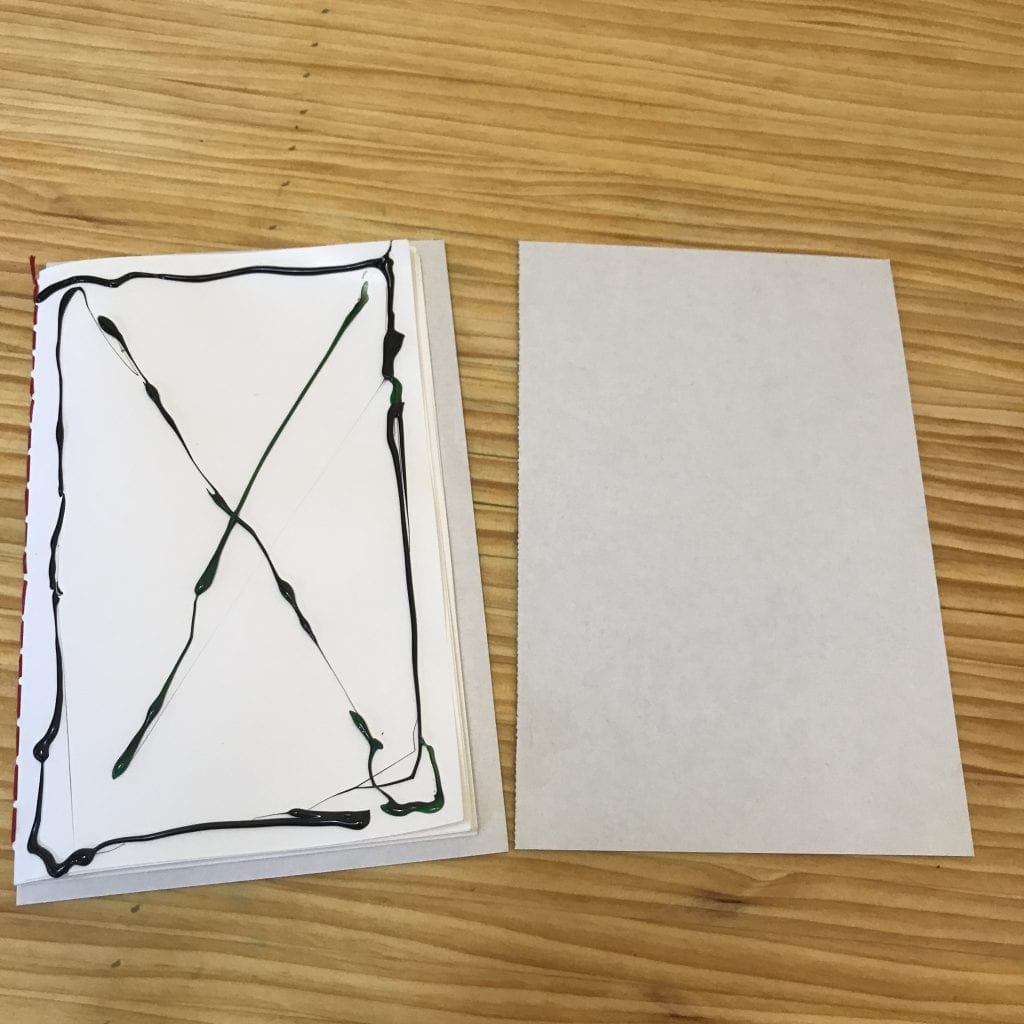
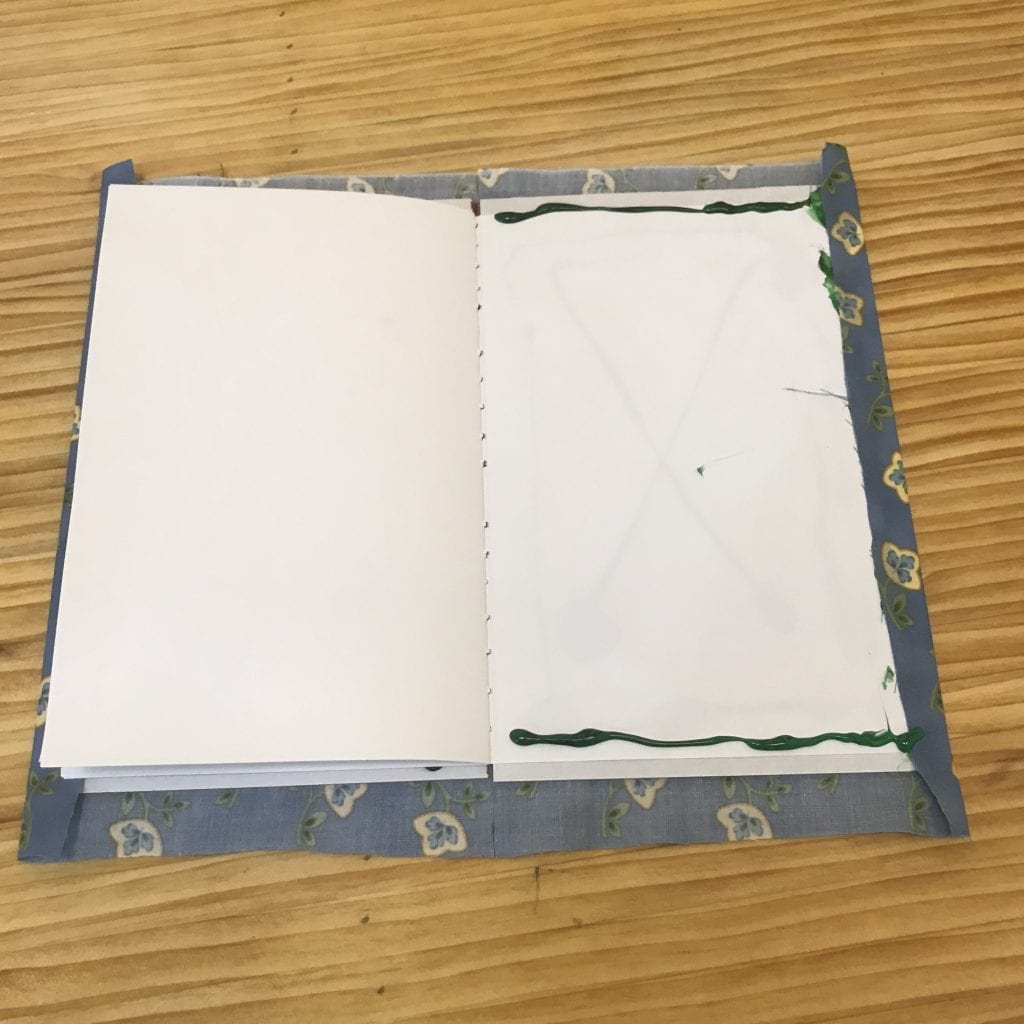
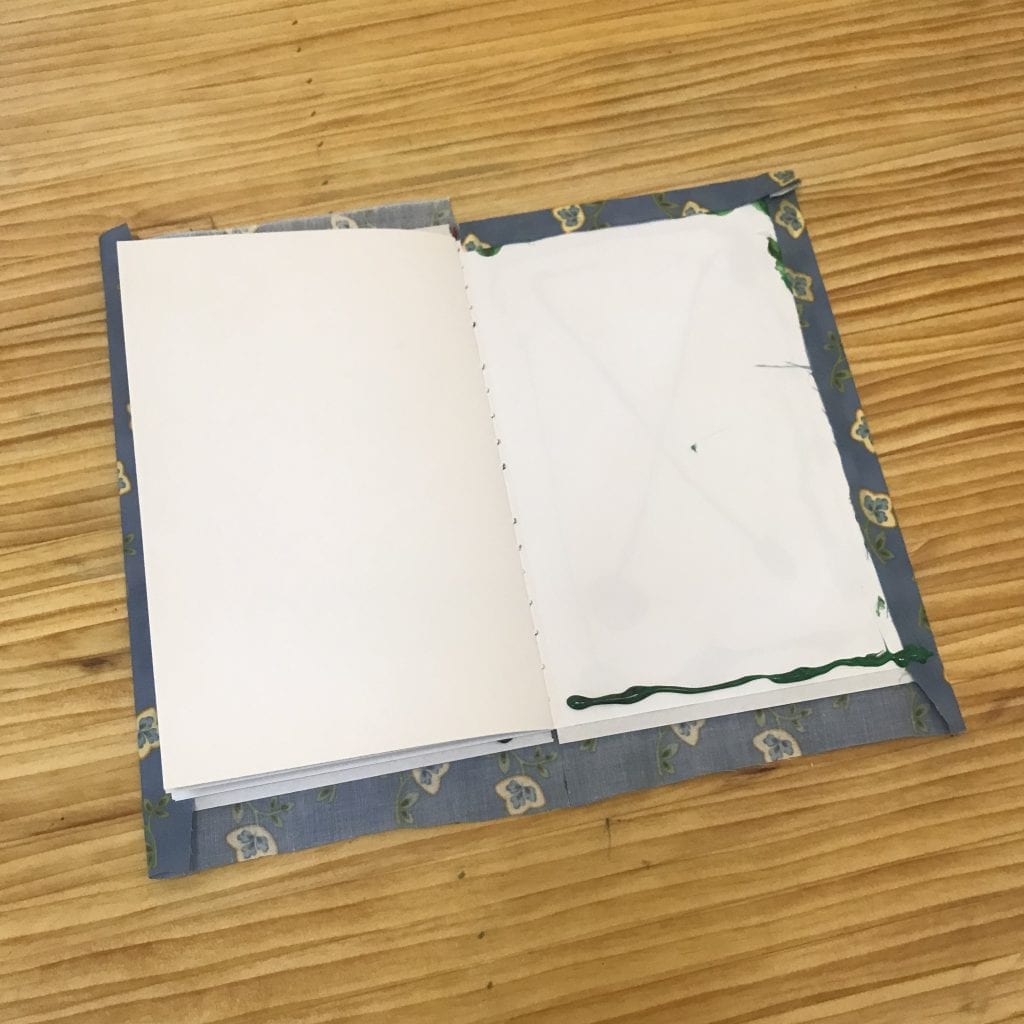
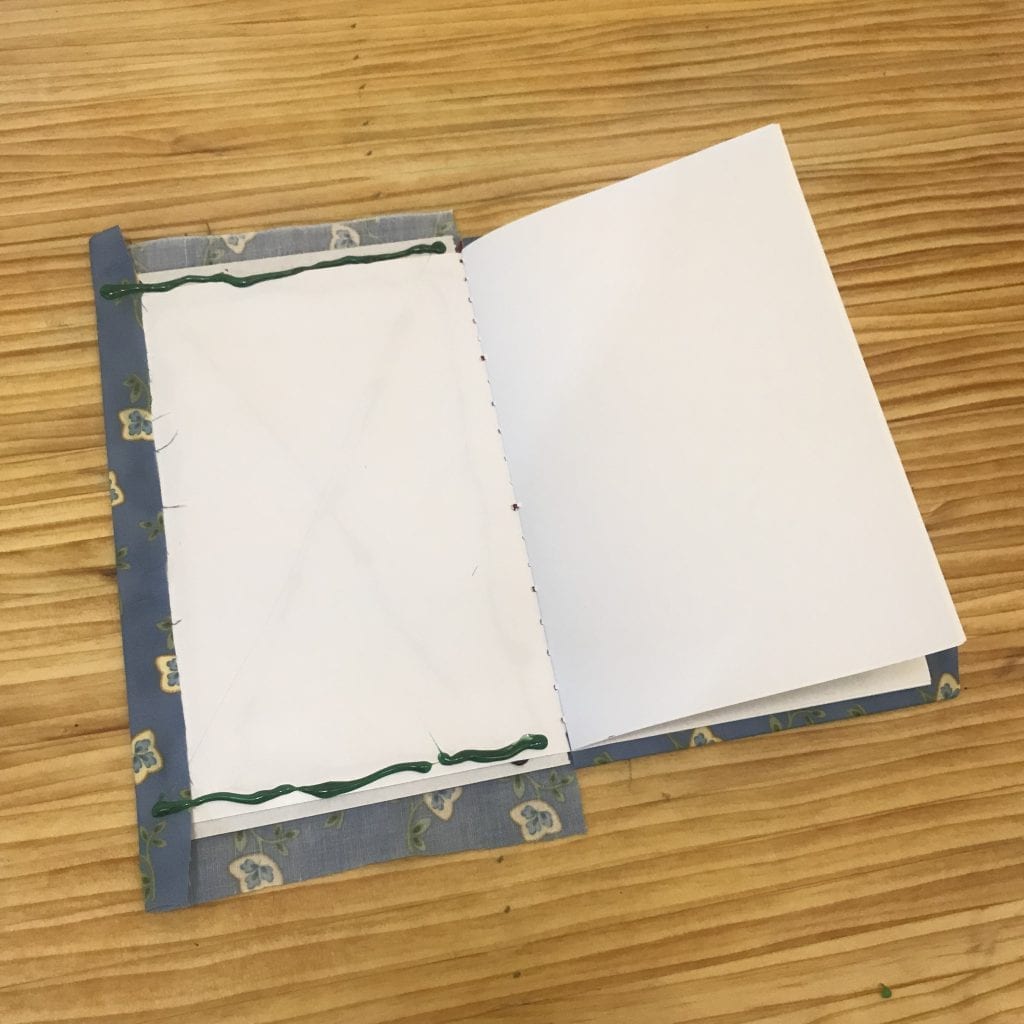
To attach the cardboard, apply hot glue to the outside of one of the books outer page and attach one of the cardboard panels. Carefully align one edge of the cardboard with the stitched side of the book so that the cardboard overhangs the pages on the other three sides. Once that’s done, flip over the book and attach the other cardboard panel.
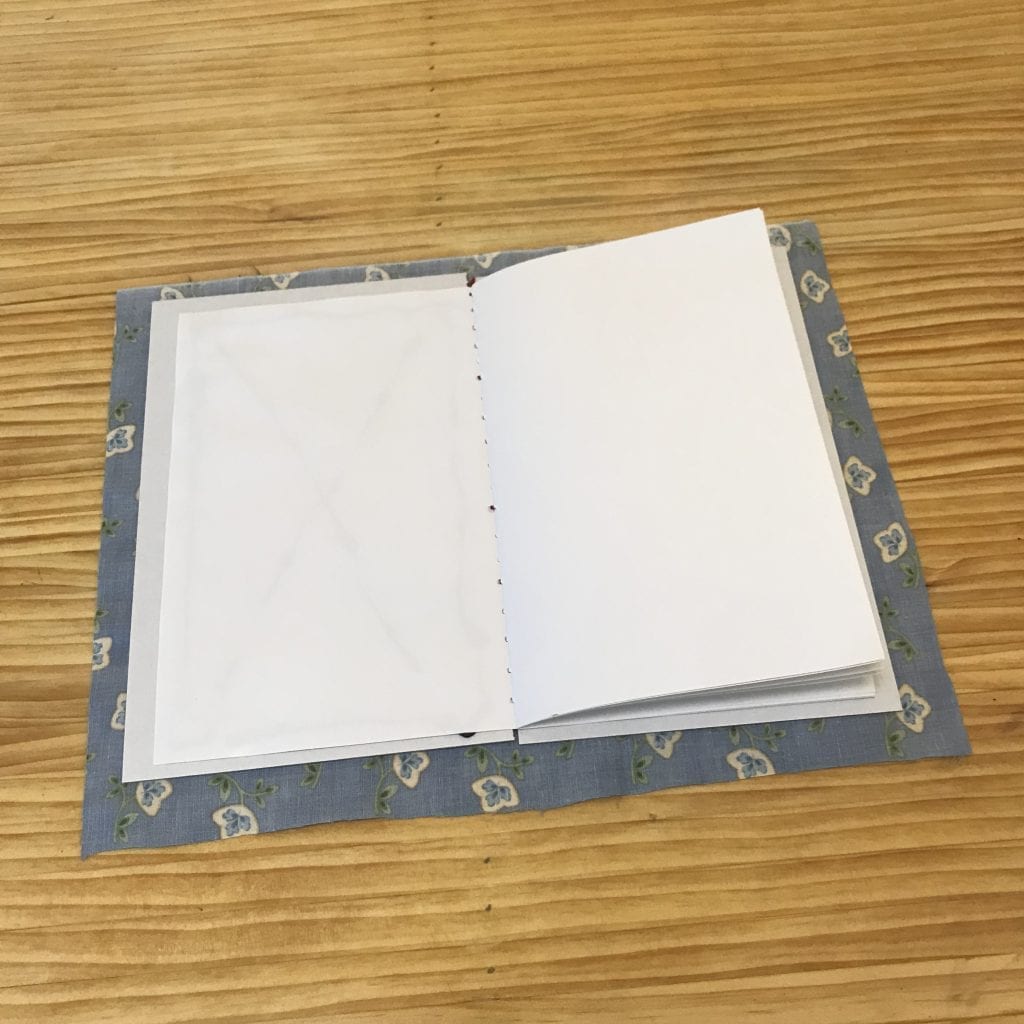
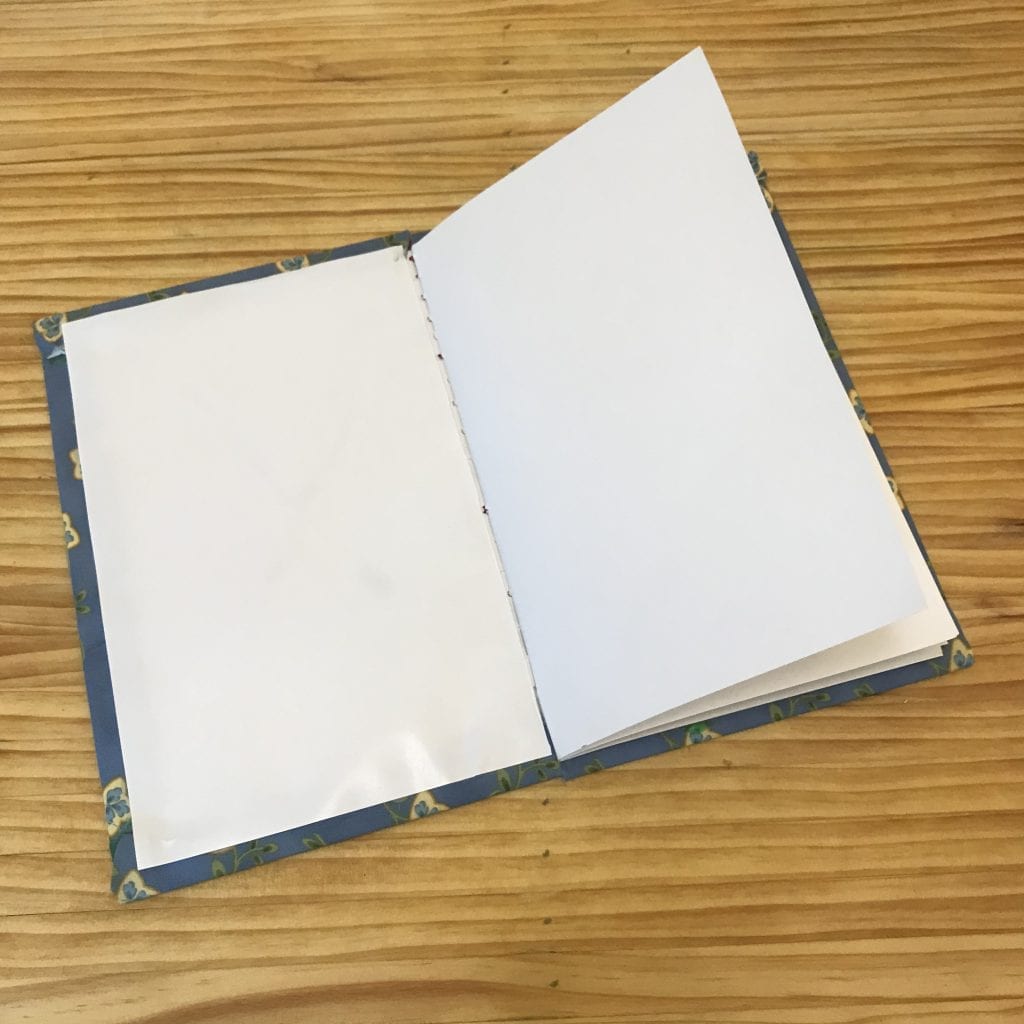
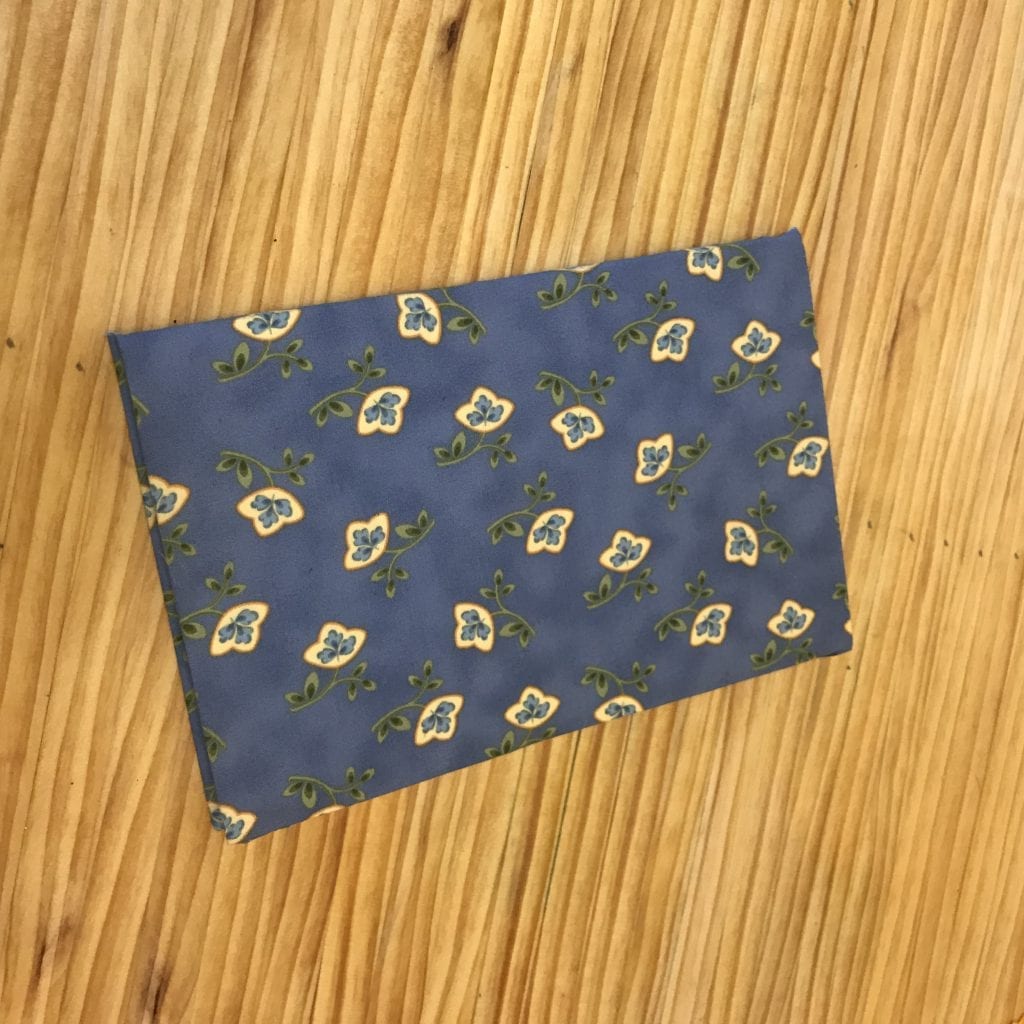
Wrap It In Fabric
Time to hot glue the fabric to the cover. First, center the book on the piece of fabric. The goal is to have about a 3/4 inch fabric overhang on all sides. The fabric dimensions above are pretty accurate, but instead of measuring you may prefer to trim the fabric to size once you reach this step instead of pre-cutting.
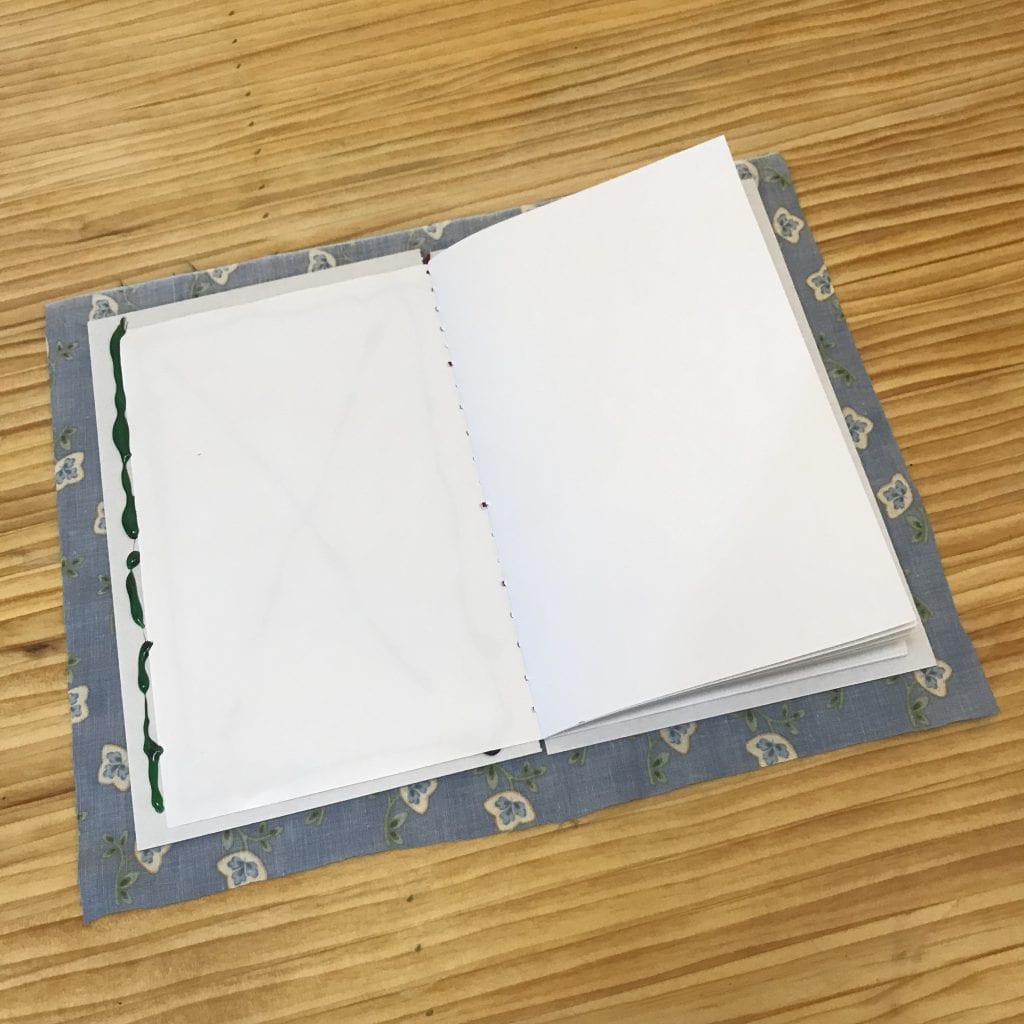
Start the hot gluing on the short edges by applying glue to one side and then folding over the fabric and pressing it into the glue. If you’re using really thin fabric and want to keep the glue heat away from your finger tips, consider pressing with the scrap wood you used when making the holes. Heat never seemed to be an issue in our test builds, but it’s something to be aware of.
Next, repeat the gluing process on the other short edge. Experiment a bit with the fabric’s positioning before gluing. While you want the fabric to be taut and wrinkle free, you don’t want it to be tight–if you pull the fabric too tight the book will not close properly.
One the short sides are glues you can move on to the long edges of the book. Start by making a small cut on each long side at the books spine. These snips allow the fabric to fold nicely. To finish the book, just work around the perimeter gluing each of the 4 remaining fabric flaps as illustrated in the photos below.

Tips/Notes
Here are a couple final thoughts on the process:
- Before giving this a try with kids, work through the process on you own a time or two to gain some experience.
- Words and illustrations can be added to the pages before or after the covers are created.
- Consider making blank books in bulk so they are always available when young author have story ideas.
- Play around with different book sizes.
- Reach out to fabric shops and sewing groups and let them know you could use leftover fabric for book making.
- Supplement your collection of store bought books with books written and bound by children.
Conclusion
Let’s wrap up with a few thoughts on adding the book’s title to it’s cover. Sharpies work well as do puffy paint, glitter markers, and colored glue. You may also want to try cutting letters from fabric or construction paper and gluing them to the cover.
If you give this DIY project a go, we’d love to hear how it goes and see pictures in the comments below.
Contribute content to Playvolution HQ
Brought to you by Explorations Early Learning
Browse Trainings


Post Author

Jeff Johnson is an early learning trainer, podcaster, and author who founded Explorations Early Learning, Playvolution HQ, and Play Haven.
Leave a Reply