Revised | Originally Published: July 3, 2021 @ 2:47 pm
Overview
While loose parts like blocks, cardboard boxes, sandbags, and pillows work great for supporting ramps, it can be helpful to have dedicated ramp supports on hand. These cardboard ramp supports are simple, quick, and virtually free to make. Plus, the process of building them is a learning-rich experience for kids as well. For more on that, check out this post: Five Reasons To DIY With Kids.
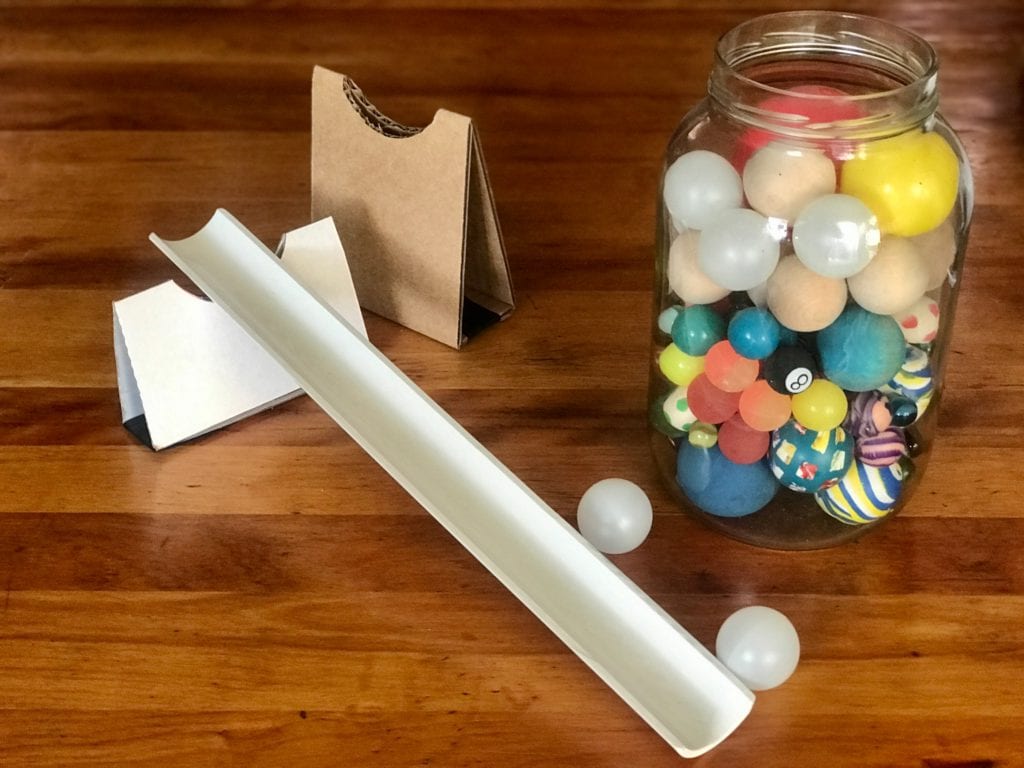
Another reason to DIY your own ramp supports is that they can be customized to meet your needs. Once you learn the basic process, you can vary the height and size of the supports. You can also build supports that’ll handle multiple ramps. Here are some examples:

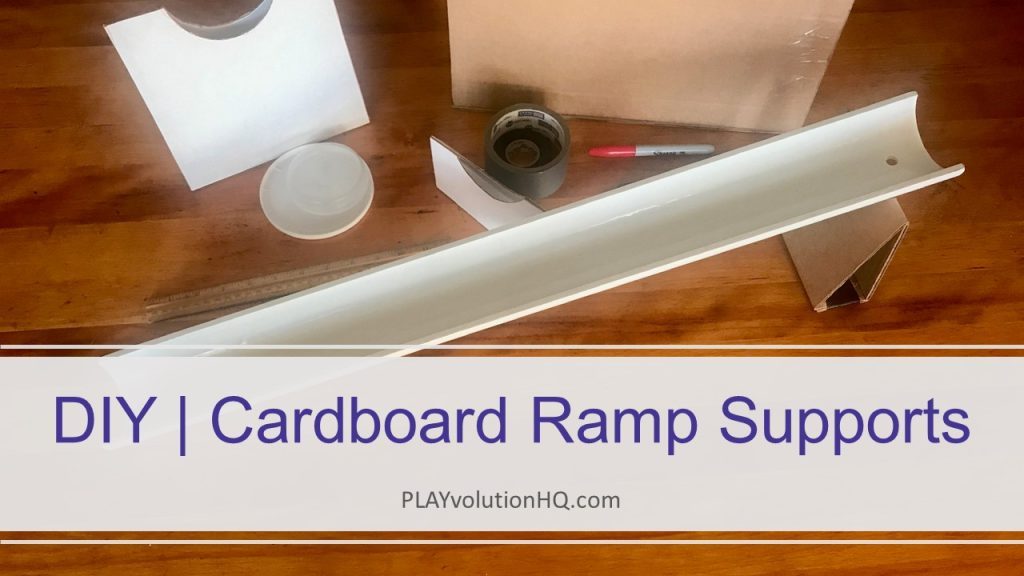
Supplies
The supply list is pretty short and you probably have everything close at hand. You’ll need:
Process
Below, I outline the four step process for creating a ramp support from a 5 inch by 12 inch piece of cardboard. I recommend building one with these instructions as practice before adjusting the size to meet your personal ramp needs.
Mark It
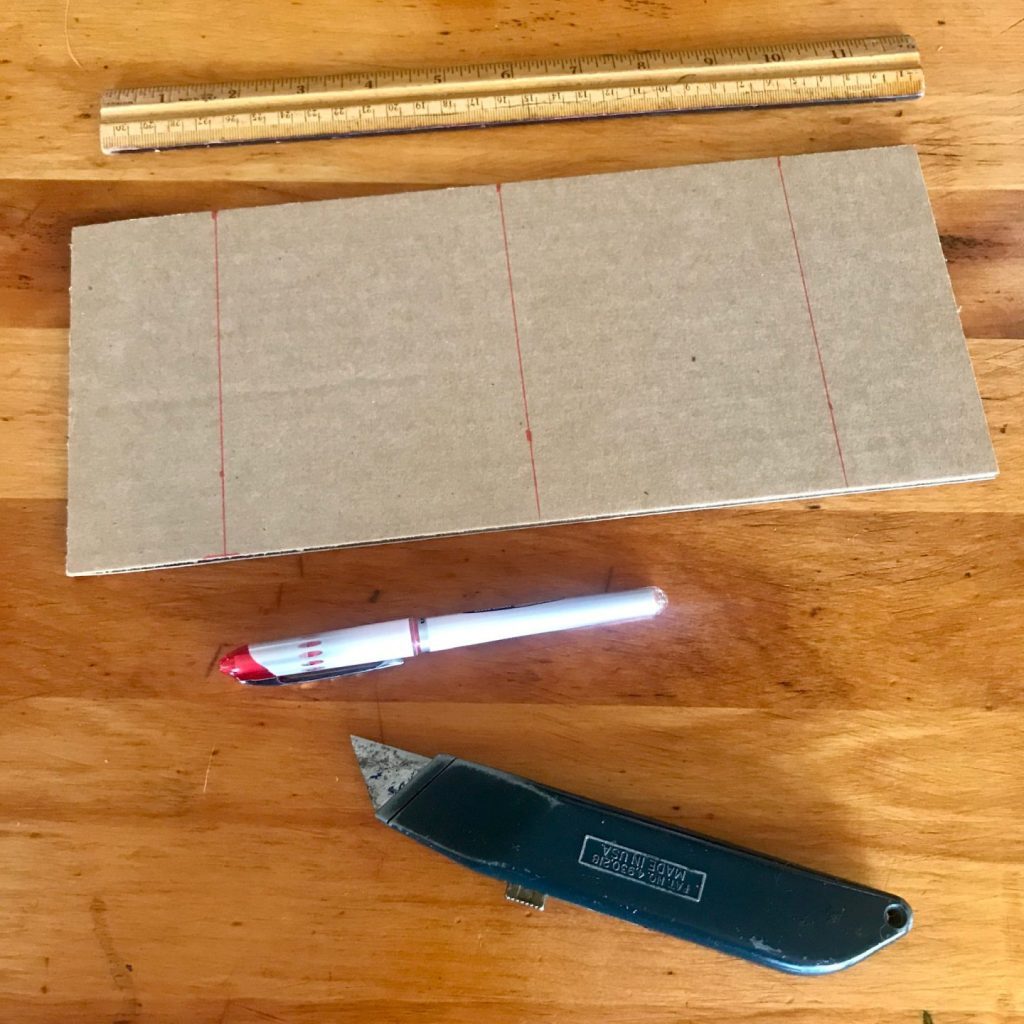
First, make lines two inches from each end of the cardboard and down the center as pictured above.
Score It

Next, score the cardboard along those lines with a utility knife. You only want to cut through the outer layer of the cardboard. These scores will make bending the cardboard easier.
After scoring, gently bend the cardboard along the lines–I find this makes a satisfactory snapping sound.
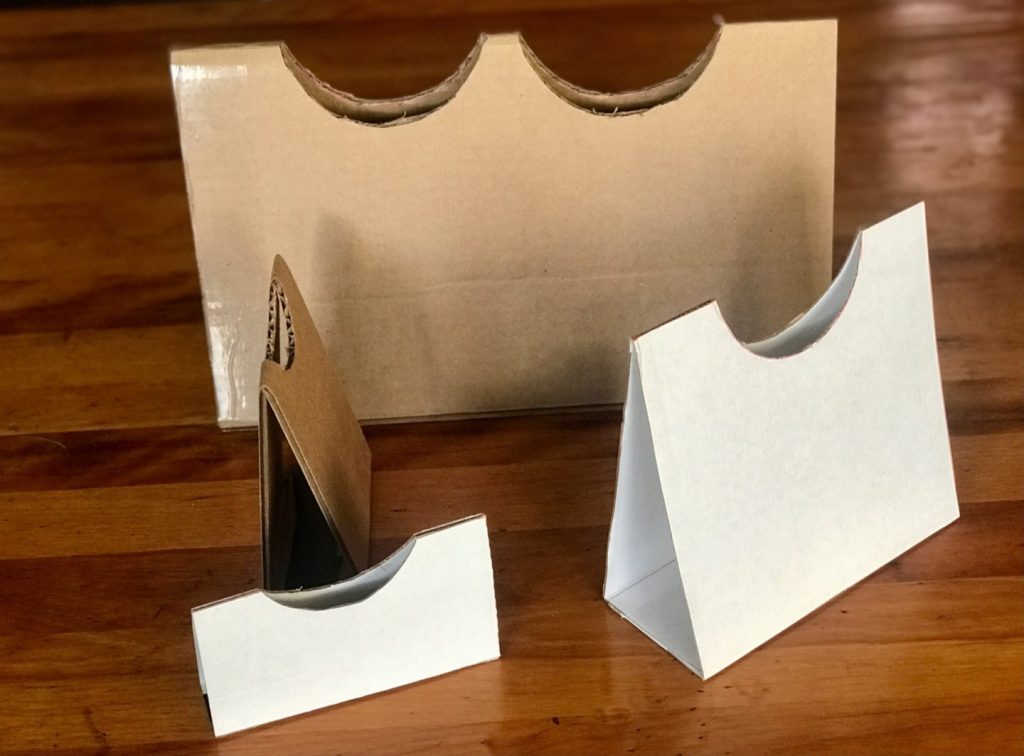
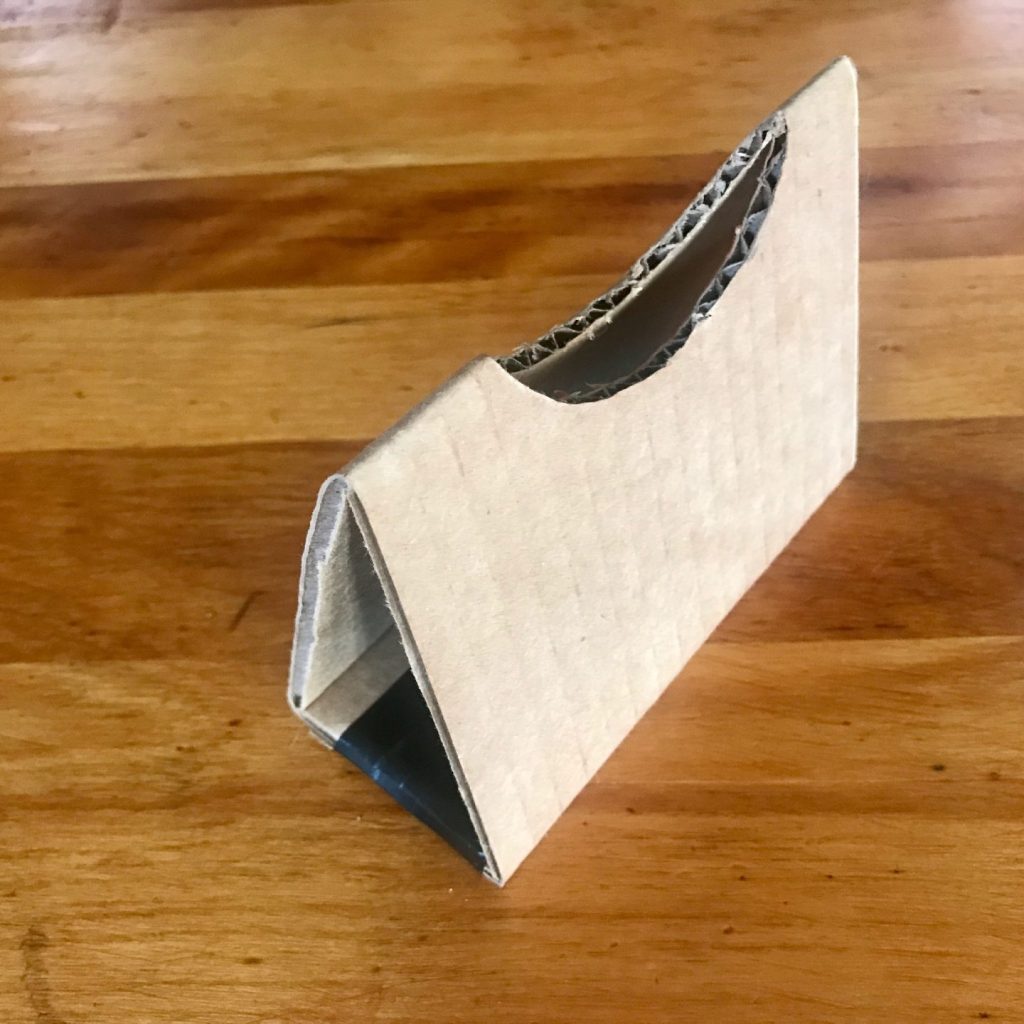
Slice It
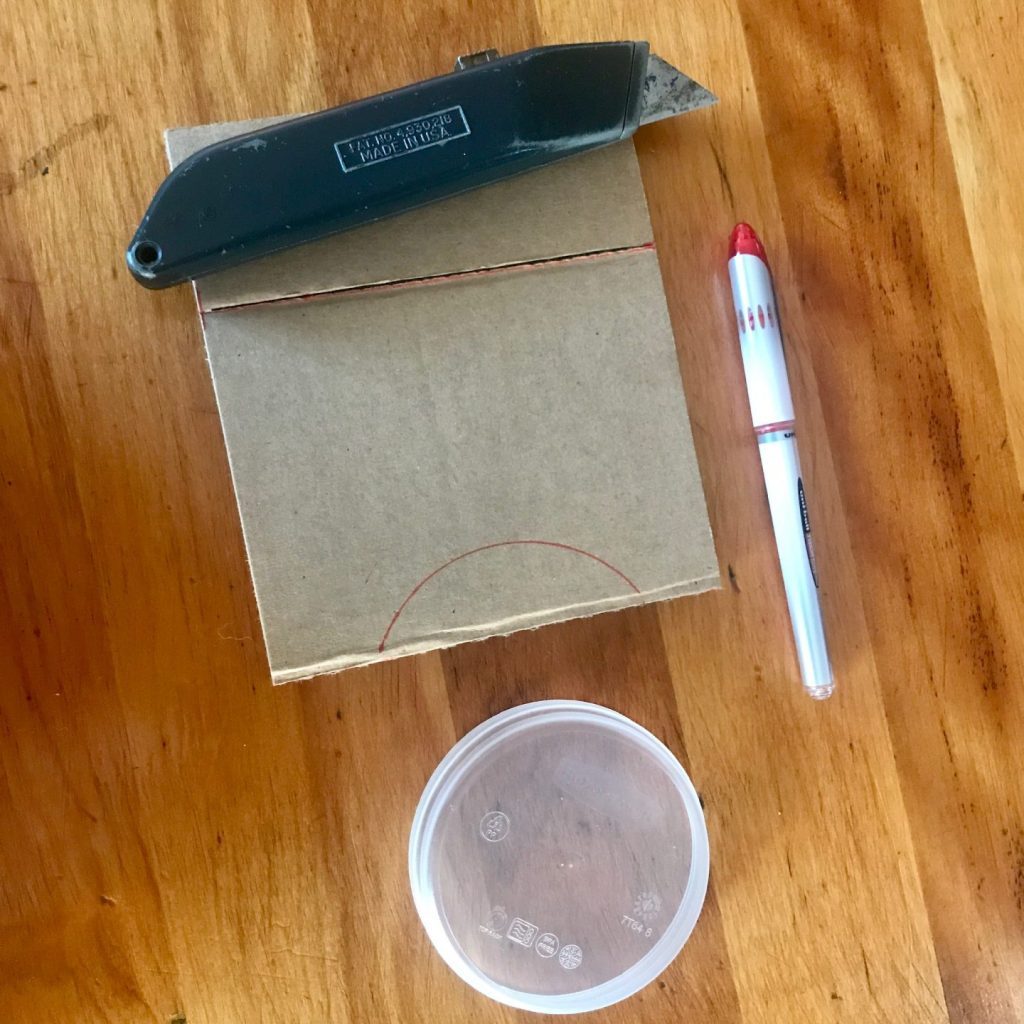
Now, it’s time to create a small valley in what will be the top side of your ramp support. This valley will support the ramp. Accomplish this by first folding the cardboard section in half. Then, using a circular container lid as a template, draw a semi-circle along the center score as pictured above.
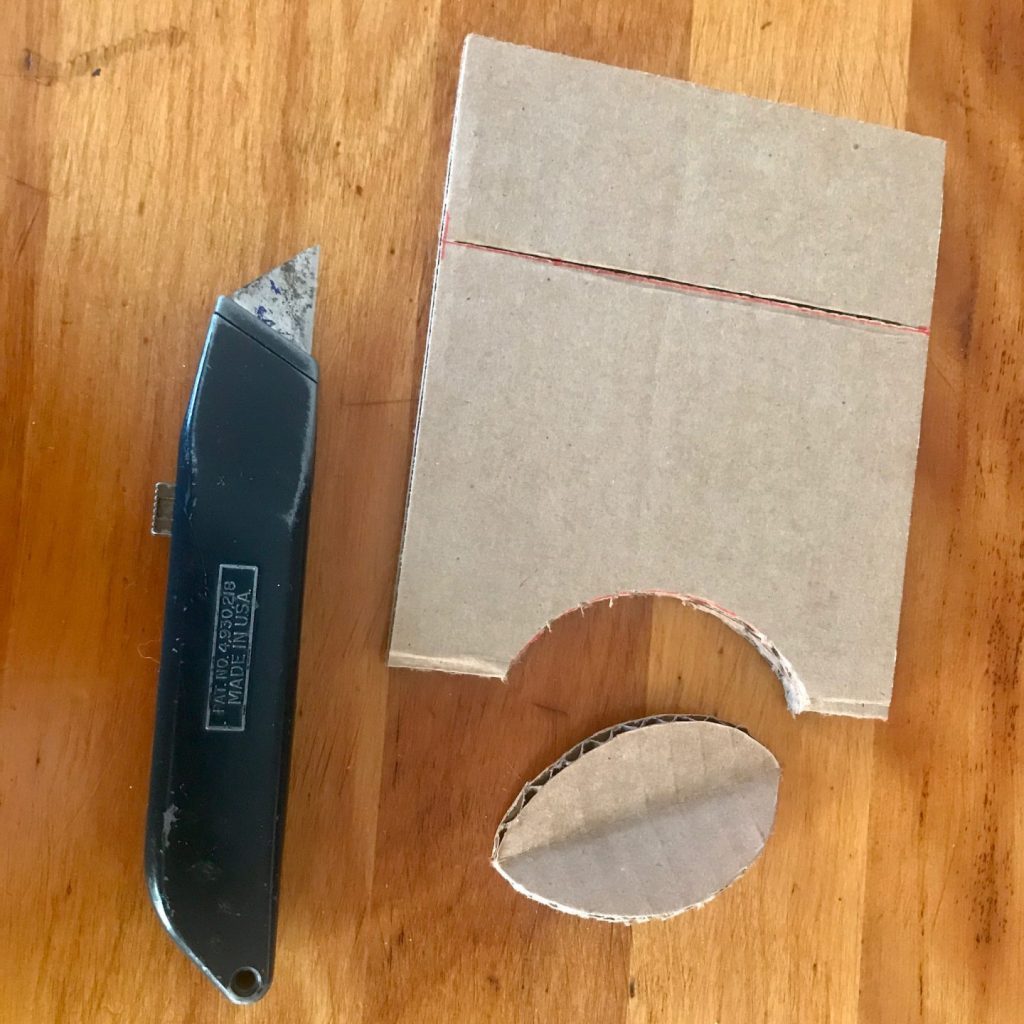
To complete the ramp-valley, use a utility knife to carefully slice through the cardboard along the line you just made.
Tape It
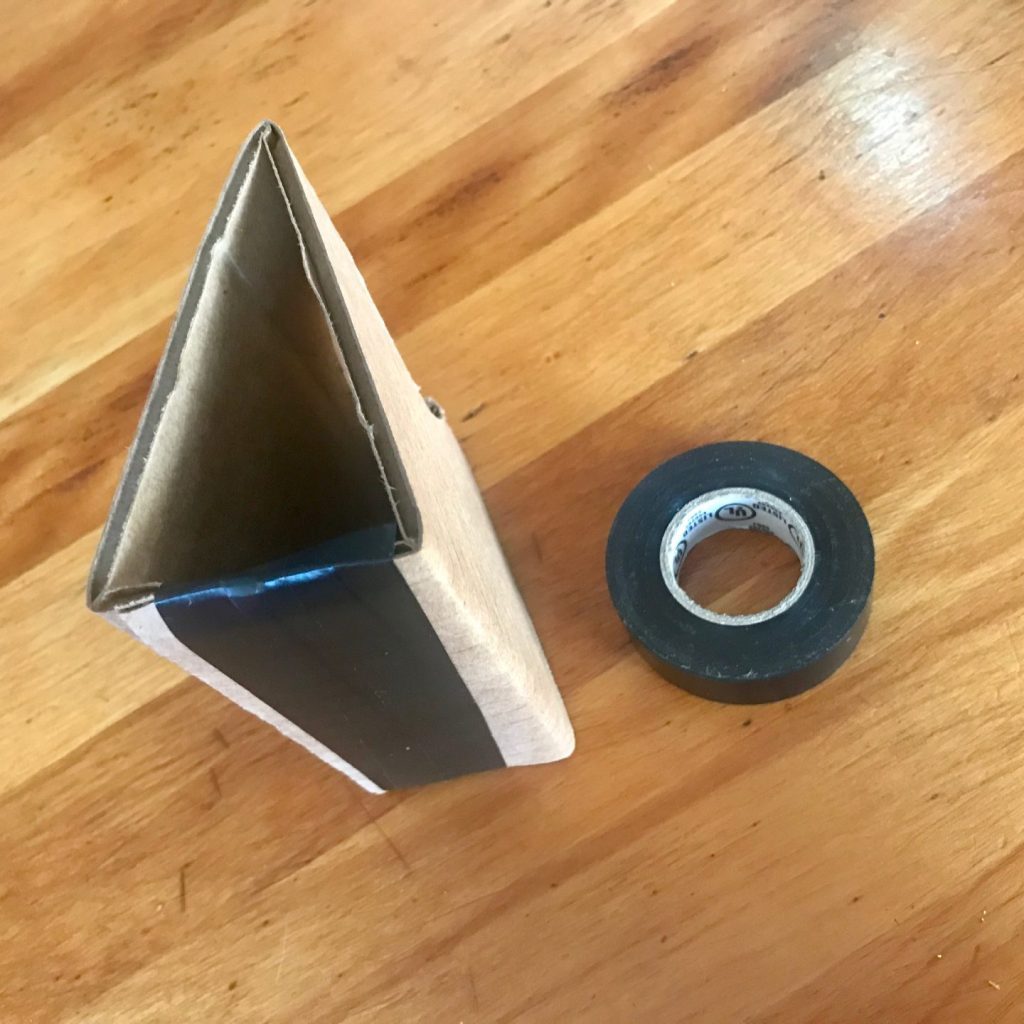
To finish your ramp support, fold the cardboard as shown above and tape the base. While most types of tape will work just fine, I found in building prototypes that I was most satisfied with electrical tape or 1 inch duct tape. They are both easy to work with and provide a strong connection.
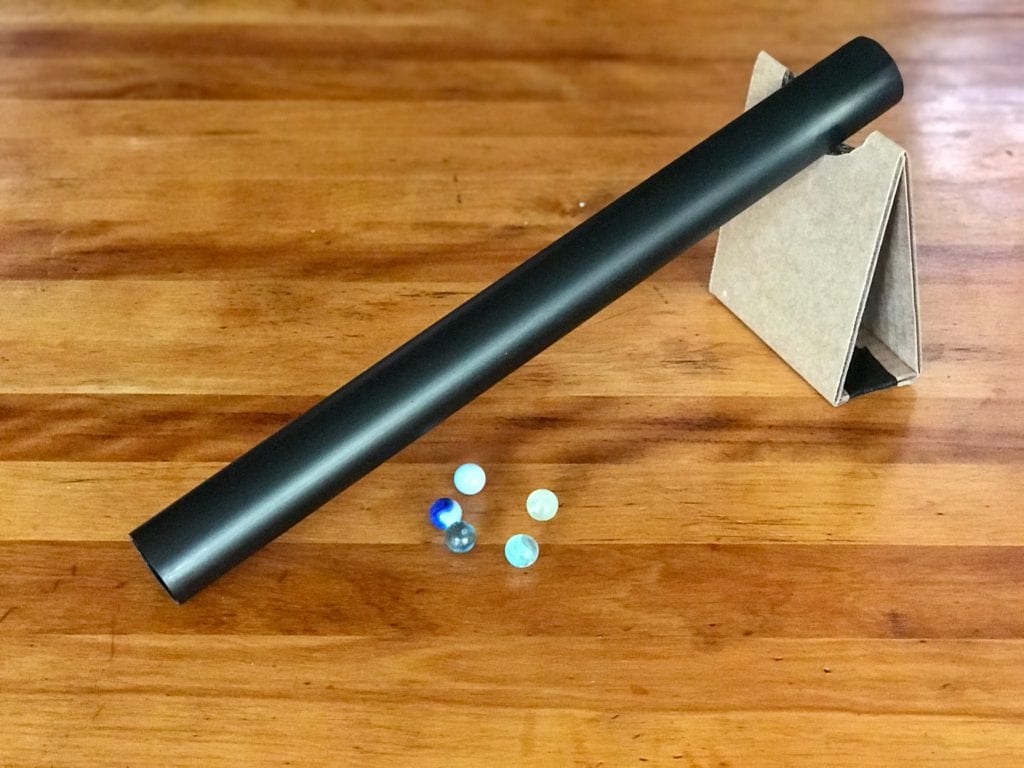
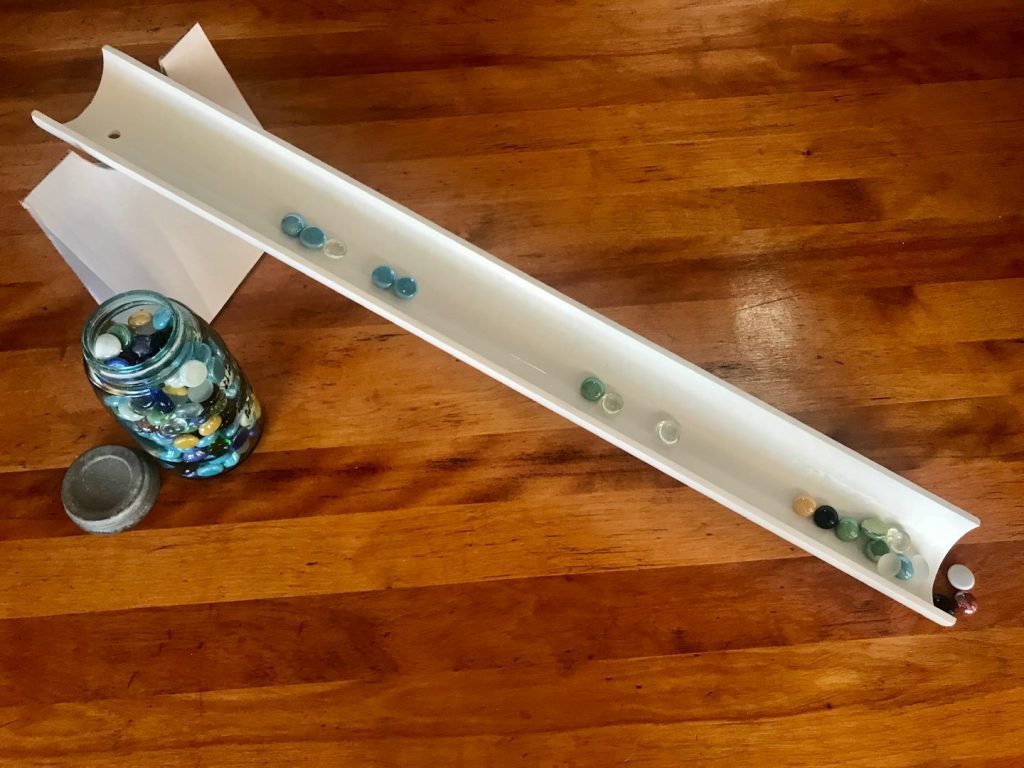
Now, just add some ramps, kids, and rampables (things to put down the ramps) and let the play begin.
Conclusion
If you give this project a try, I’d love to see pictures or video of them in action in the comments section. You also might be interested in:
Contribute content to Playvolution HQ
Brought to you by Explorations Early Learning
Browse Trainings


Post Author

Jeff Johnson is an early learning trainer, podcaster, and author who founded Explorations Early Learning, Playvolution HQ, and Play Haven.
Leave a Reply