Revised | Originally Published: July 3, 2021 @ 2:47 pm
Overview
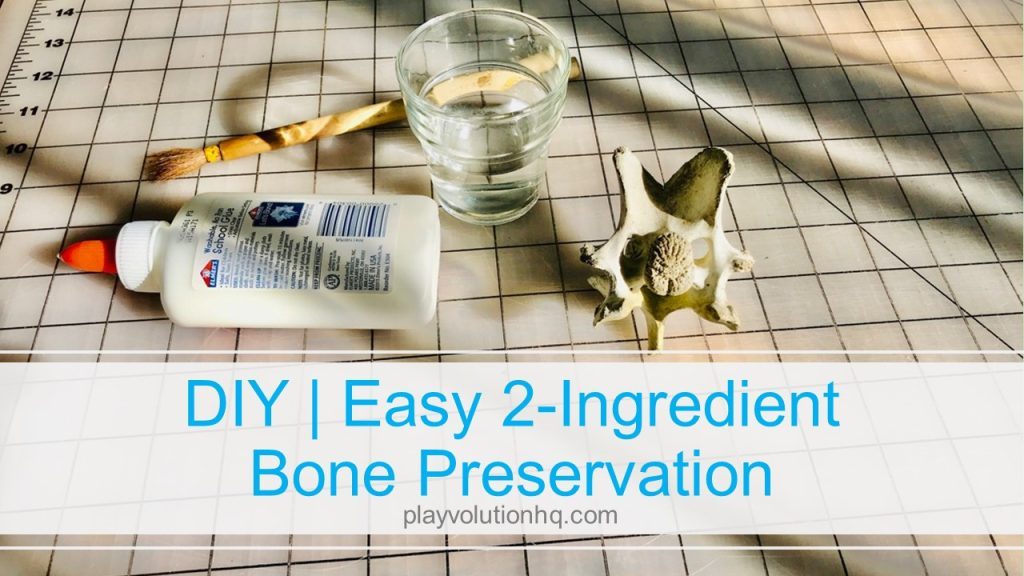
Have bones available in your play space as loose parts or STEM play curiosities? Here’s an easy glue and water based bone preservation and protection DIY project that kids will enjoy.
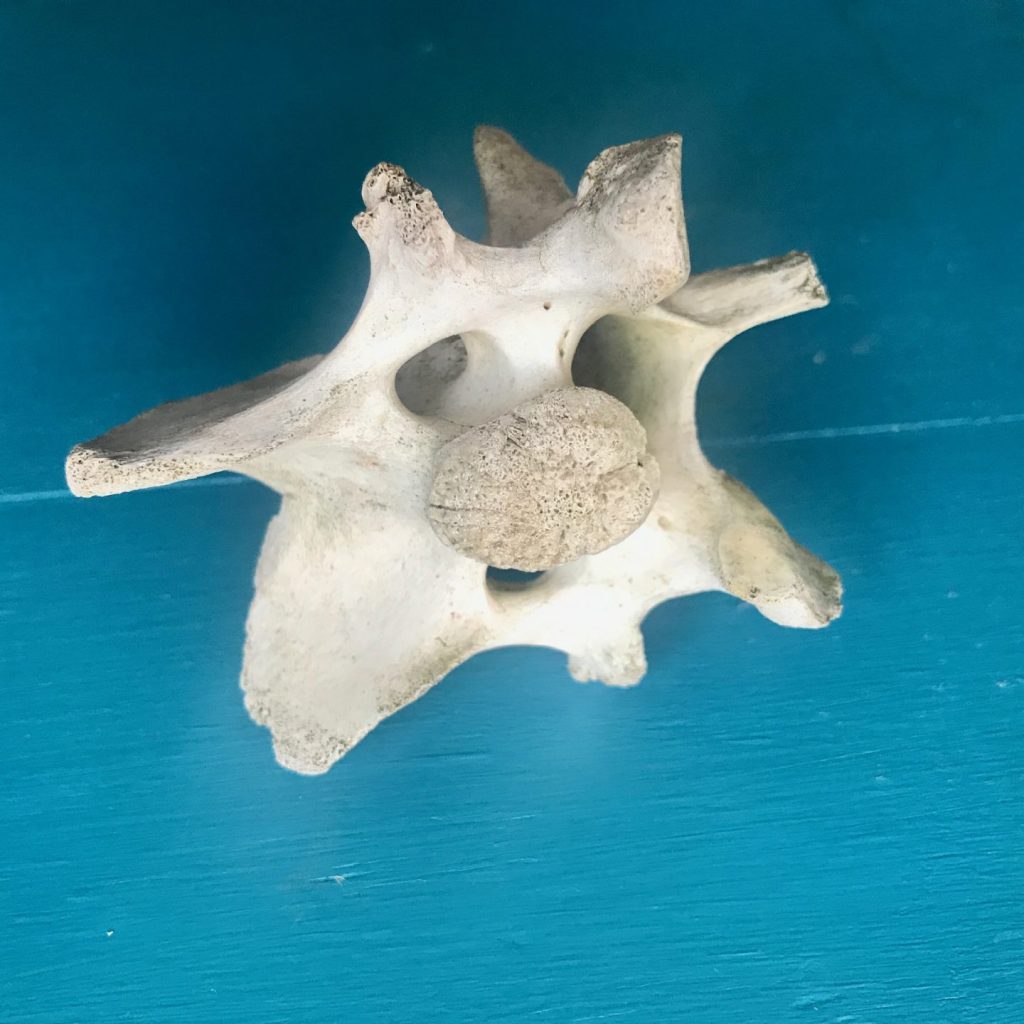
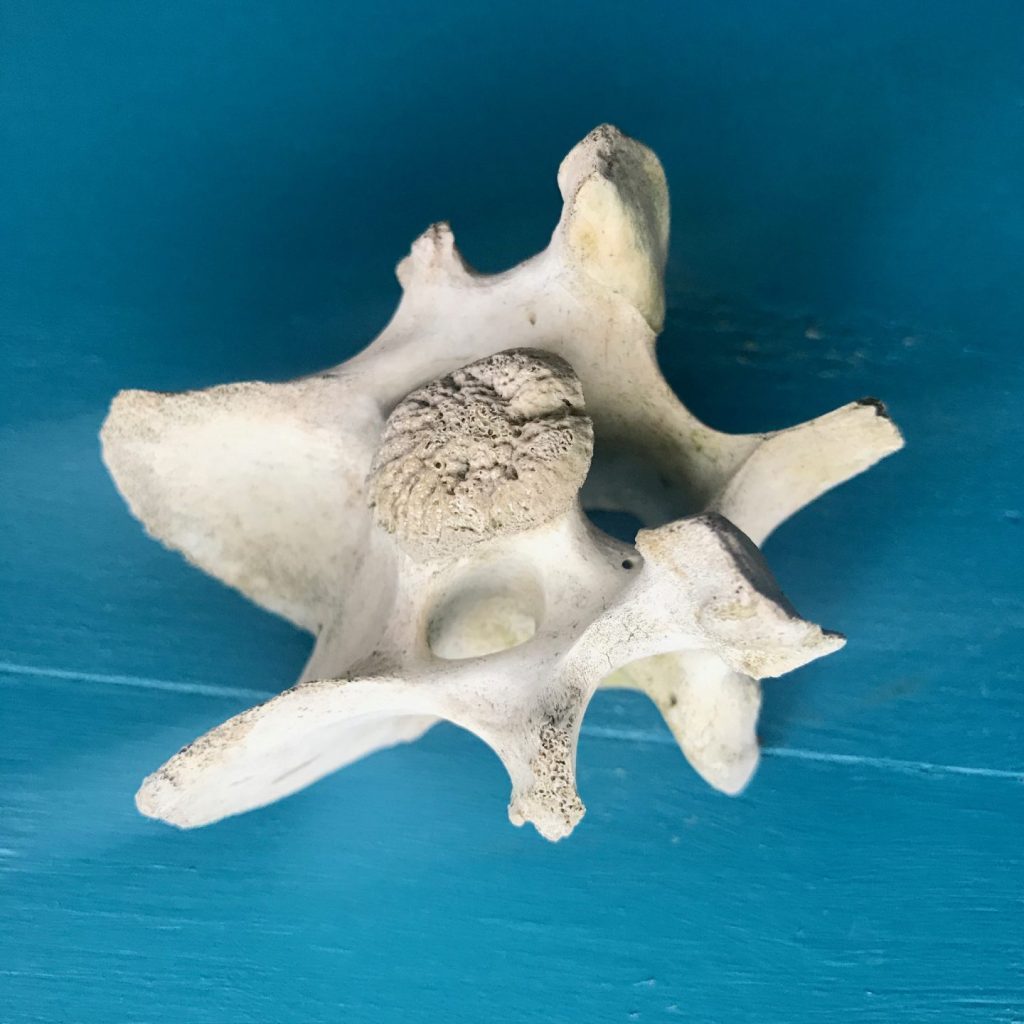
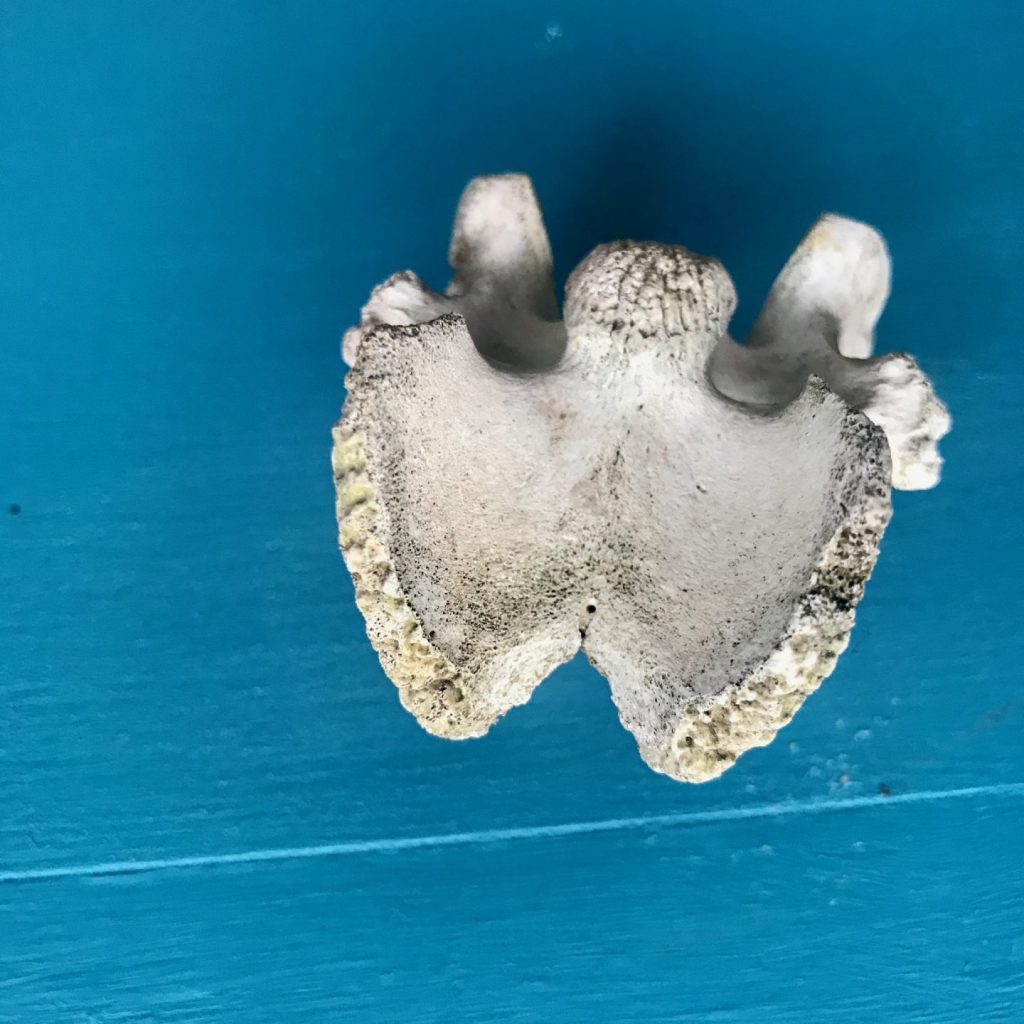
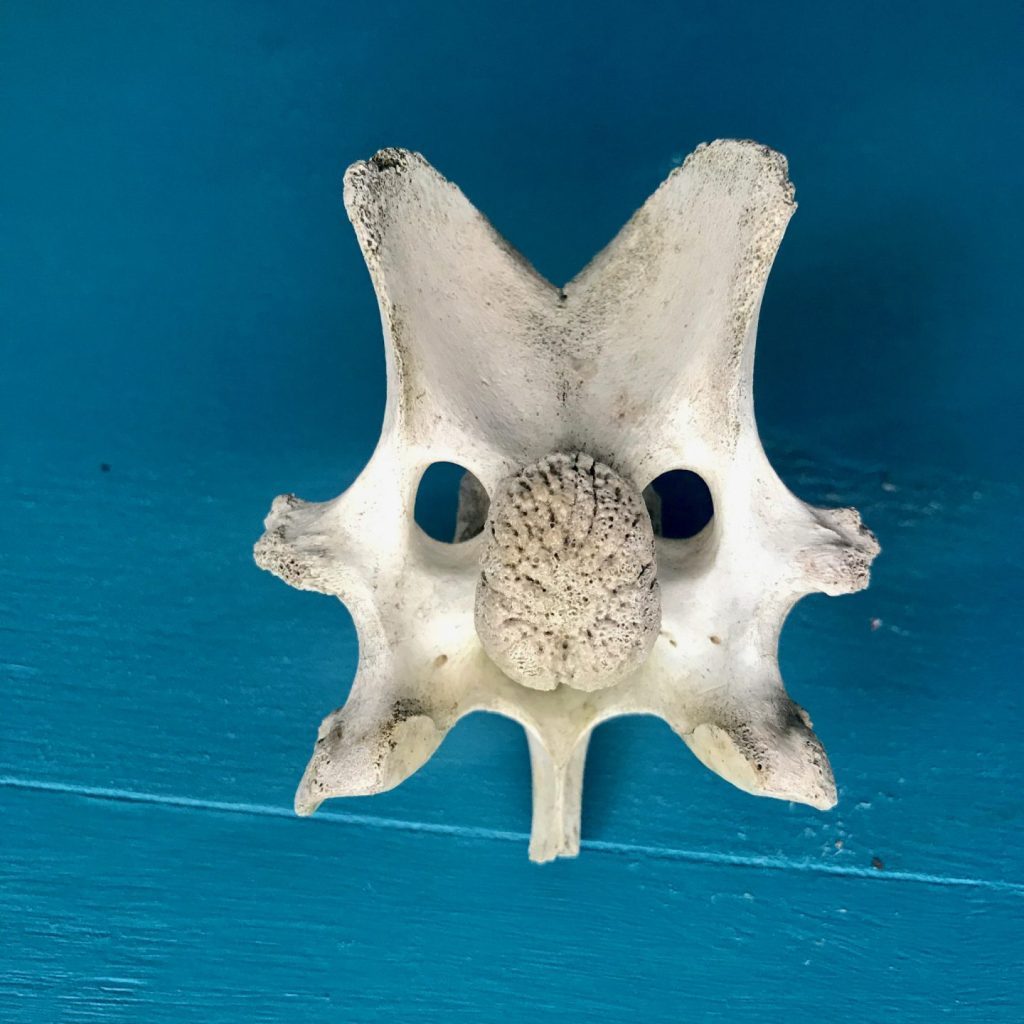
In this example, I’ll work through the process with a deer vertebra I found on a resent romp around the woods with my dogs. They argued that they should sniff it, play keep-away with it, and then chew it up, but after a long discussion they agreed I could have it for this project.
Why Bone Preservation?
Here are three reasons to invest a bit of time and energy in this DIY project.
- Fills pores and cracks. This process of bone preservation adds a measure of structural integrity to the bones. While more effective modern preservatives now exist, back in the day fossil hunters used the same glue and water process in the field on their fragile finds.
- Provides a seal. In addition to adding some structural strength, this process also seals bones to protect them.
- Promotes fun and learning. This is a chance to get up close and personal with bones, ask questions, use tools, hone physical skills, and more.
Supplies
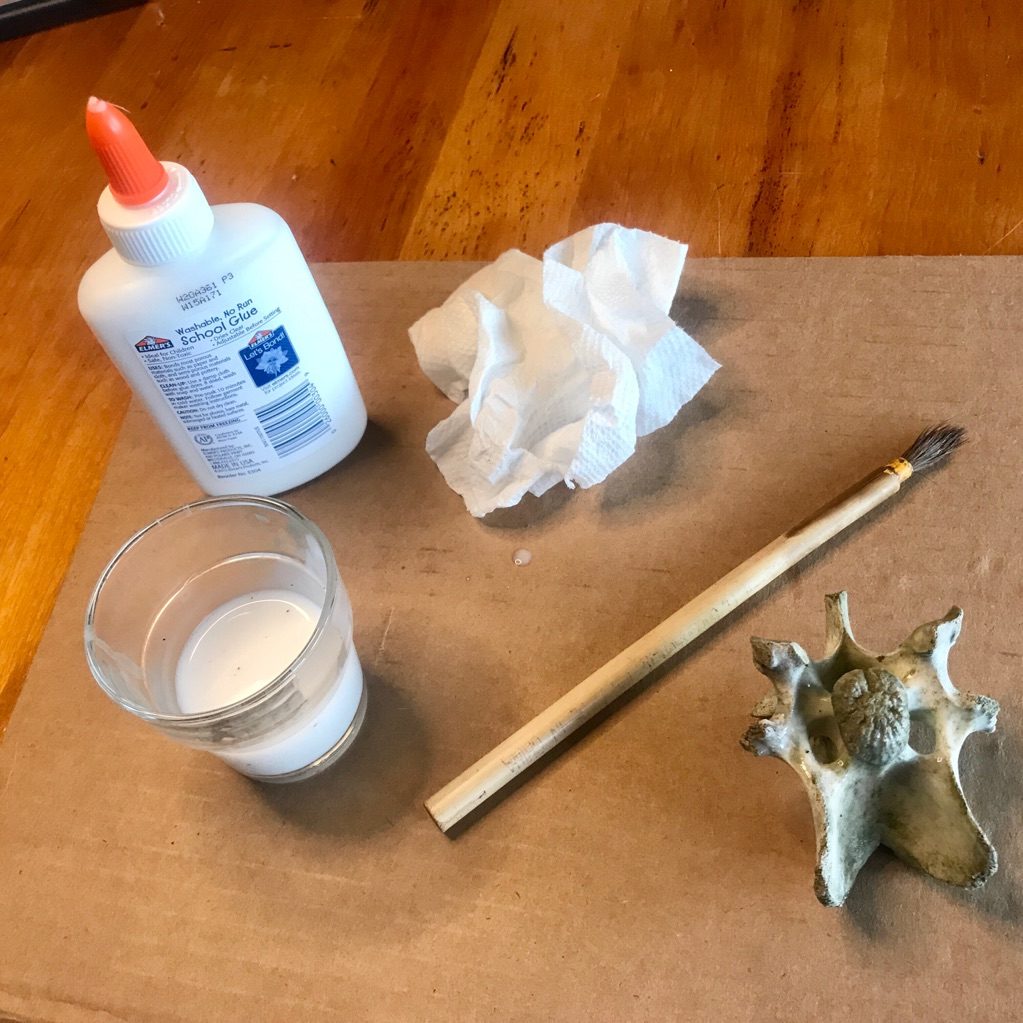
You’ll need:
- Traditional white classroom glue
- Water
- Container
- Paint Brush
- Cardboard
- Rag Or Paper Towels
Process
In a nutshell, we’ll dilute glue with water and apply multiple coats of the mixture to the bone. Here’s some more detail:
Start With A Dry Bone
First off, make sure the bone you preserving is completely dry–otherwise the sealing process will trap moisture inside. If you’re not sure, set it in a dry sunny location out of the reach of my dogs, and any other bone-loving critters, for a few days or weeks.
Mix The Mixture
Now, thoroughly mix equal parts of the two ingredients–water and glue–together. Don’t bother with measuring cups, eyeballing it will be fine. I generally grab the paintbrush I’ll be using in the next step and use it for stirring. It does a fine job and means one less thing to clean.
Apply To The Bone
The next step in the bone preservation process is to brush the diluted glue onto the bone. Make sure to cover the entire surface with a thin layer of the mixture. Pay special attention to porous areas or cracks. Apply the solution liberally to these areas and allow it to soak into the bone.

The glue and water mixture is pretty forgiving, so application doesn’t have to be perfect–and since you’ll be applying multiple coats it’s OK if you miss a spot or two. Doing this work on a small hunk of cardboard protects your table top. After five minutes or so, inspecting the bone for pooling glue or glue drips and wipe them away with the paintbrush.
Let It Dry
That cardboard comes in handy for moving your bone out of the way for drying, too. Set the glue-coated bone aside to dry for a couple hours–over night is even better. A cool-but-not- cold location is ideal–avoid hot and sunny locations if possible.
Repeat
After the first coat has dried, repeat the application process 2-4 more times. The bone preservation process is complete after the final coat dries.
Bone Preservation Video Overview
Here’s a short video overview of the application process:
Conclusion
This bone preservation DIY is a simple process kids will enjoy. If you need convincing about taking on DIY projects with young children, check out this article: Five Reasons To DIY With Kids. If you’re looking for more ways to use diluted glue, check out this one: DIY | Glue Dilution.
As always, if you give this project a try I’d love to see photos and hear your thoughts in the comments.
contribute content to Playvolution HQ
brought to you by Explorations Early Learning
Contribute content to Playvolution HQ
Brought to you by Explorations Early Learning
Browse Trainings
Post Author
Jeff Johnson is an early learning trainer, podcaster, and author who founded Explorations Early Learning, Playvolution HQ, and Play Haven.


Leave a Reply