This is our second article looking at ball peen hammer use with young children. In the first, we looked at using the ball peen (the ball shaped side of the hammer) to make dents. This time, we’ll look at using the striking face (the head with the flat surface) and a punch to make holes in steel.
What You’ll Need
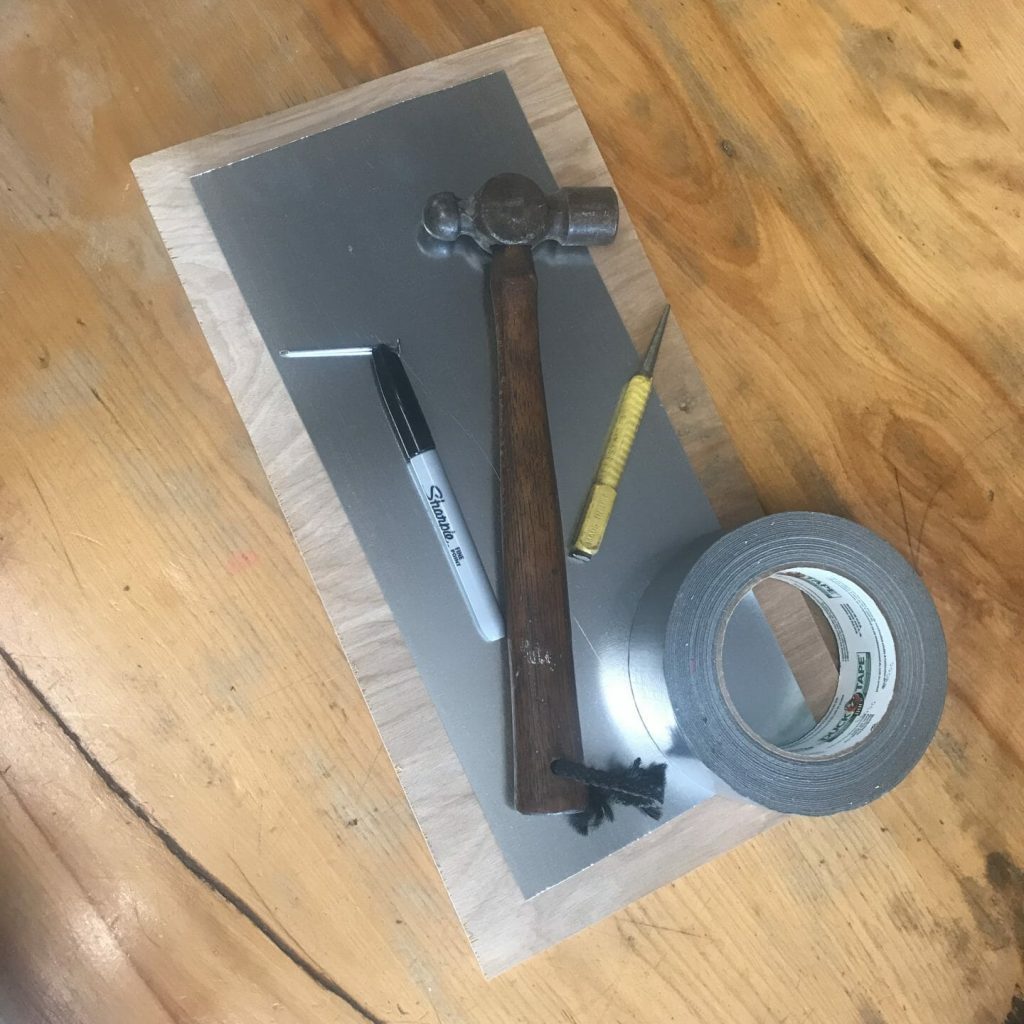
- A ball peen hammer I recommend a 4-12 ounce hammer. Here’s a short handled 4 oz hammer that’d work nice for smaller kids and here’s a larger one for bigger kids. You’ll also find these hammers for a fair price at yard sales, antique shops, and second hand shops.
- Galvanized steel flashing I recommend 6 inch wide flashing. It’s easy to work with and doesn’t take up a lot of room. Flashing is just thin steel used in roofing. You’ll find it at most any lumber yard or home center and can get it online. A fifty foot long roll costs around $30.
- Backer board This is just a piece of scrap wood a bit larger than the piece of steel. The one pictured is about 8 inches by 16 inches. In the images, I’m using a quarter inch thick piece of scrap, but for kids I’d recommend something at least half an inch thick.
- A center punch, nail set, nail. A pointy nail will work fine. The advantage of a center punch or nail set is that the child can grip these tools better than a nail.
- Work gloves I like these.
- Sheet metal snips
- Duct tape
- A permanent marker
The Setup
Use the snips to cut a section of flashing about 14 inches long.
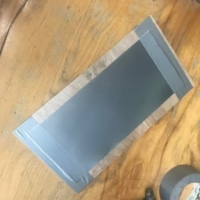
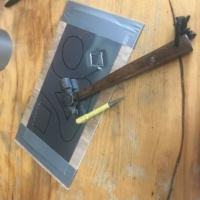
Duct tape the flashing to the backer board as shown. This holds the steel to the board and keeps little fingers away from the cut edges of the steel, which can be sharp.
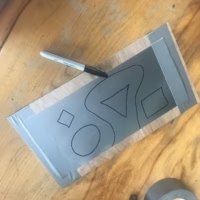
Now, use the marker to make some shapes or images on the metal. The rule of thumb is they younger the kids the simpler the drawing.
Use
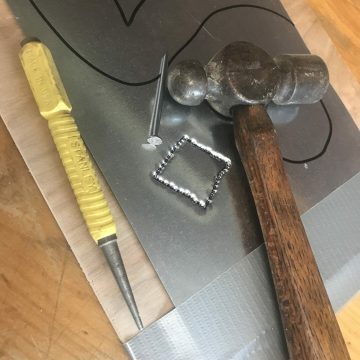
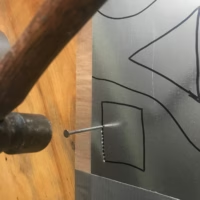
The challenge is for the child to punch holes along the lines on the piece of flashing. I strongly recommend the child wear a work glove on the hand holding the punch because they will miss and pound their hand. The glove offers a bit of protection.
Place the backer board on a solid surface (sturdy table, paved surface, etc.) and let them start pounding. You may need to demonstrate how to place the punch on the line, hold it steady, and then hit the punch with the hammer. This is a perfect time for a bit of direct instruction (more thought on direct instruction).
Younger kids might be interested in punching holes but have no interest in following a line. That’s cool, let them punch away.
Safety
When it comes to safety gear, beyond the gloves mentioned above, you may want to use goggles and hearing protection. The upside is that these items do offer some additional protection, the downside is that they can interfere with the hammering. For example, safety glasses can get foggy and/or slip off the child’s face. Use your best judgement.
The only other safety note I have is that one child per work station will drastically reduce the chances of smashed fingers, toes, and heads. Like I said above, the child hammering will hit their hand, but after a few hammer-head-to-the-hand incidents they will learn not to hit their hand.
Learning
Hole punching builds muscle strength and control, visual skills, self-regulation, and more. For example, it hones the ability to differentiate between the negative space of the flashing and the positive space of the line–a skill children need to develop before they can visually separate letters and words from the page they are printed upon. This activity can also help kids learn to focus, pay attention, and concentrate.
I don’t want to get too hung up on learning, though. This activity is fun, and that’s enough. It’s LOUD, they’re using a real hammer, and making holes in steel. Good times.
Conclusion
This is a really simple way to let kids use real tools, make some noise, have some fun, and learn a thing or two. If you give it a go, I’d love to hear how it goes. If you have questions, comments, or concerns, pop them in the comment box below. Happy Hammering!
Contribute content to Playvolution HQ
Brought to you by Explorations Early Learning
Browse Trainings
Post Author
Jeff Johnson is an early learning trainer, podcaster, and author who founded Explorations Early Learning, Playvolution HQ, and Play Haven.



Leave a Reply