Table of Contents
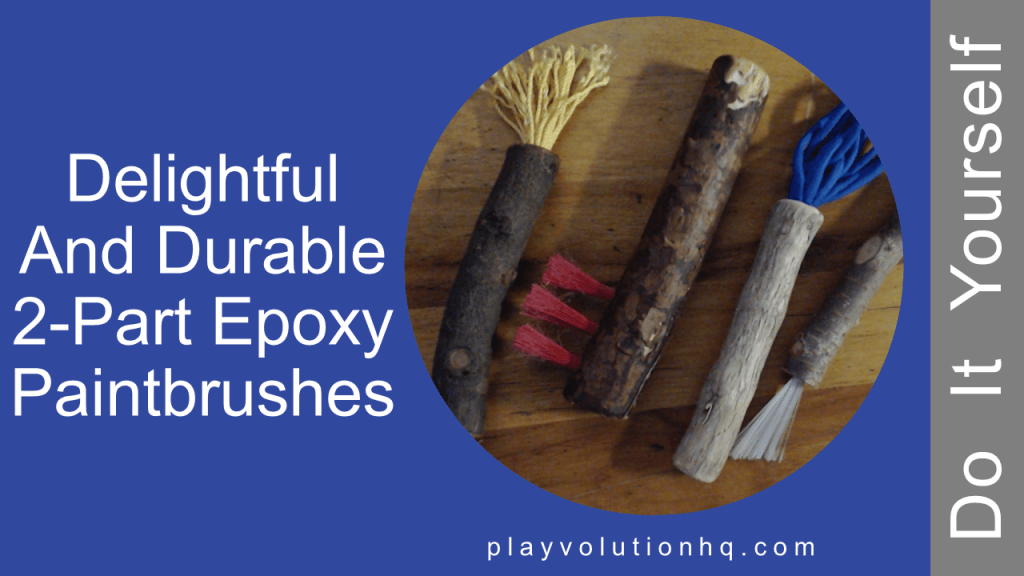
These 2-part epoxy paintbrushes are durable and easy to make. With this step-by-step guide and a few basic materials, you can make sturdy, custom brushes perfect for kids’ art projects.
Epoxy Paintbrushes Video
Here’s a quick video explaining the process:
Why 2-Part Epoxy?
2-part epoxy is ideal for creating DIY paintbrushes because it’s easy to use, waterproof, fast drying, and incredibly durable.
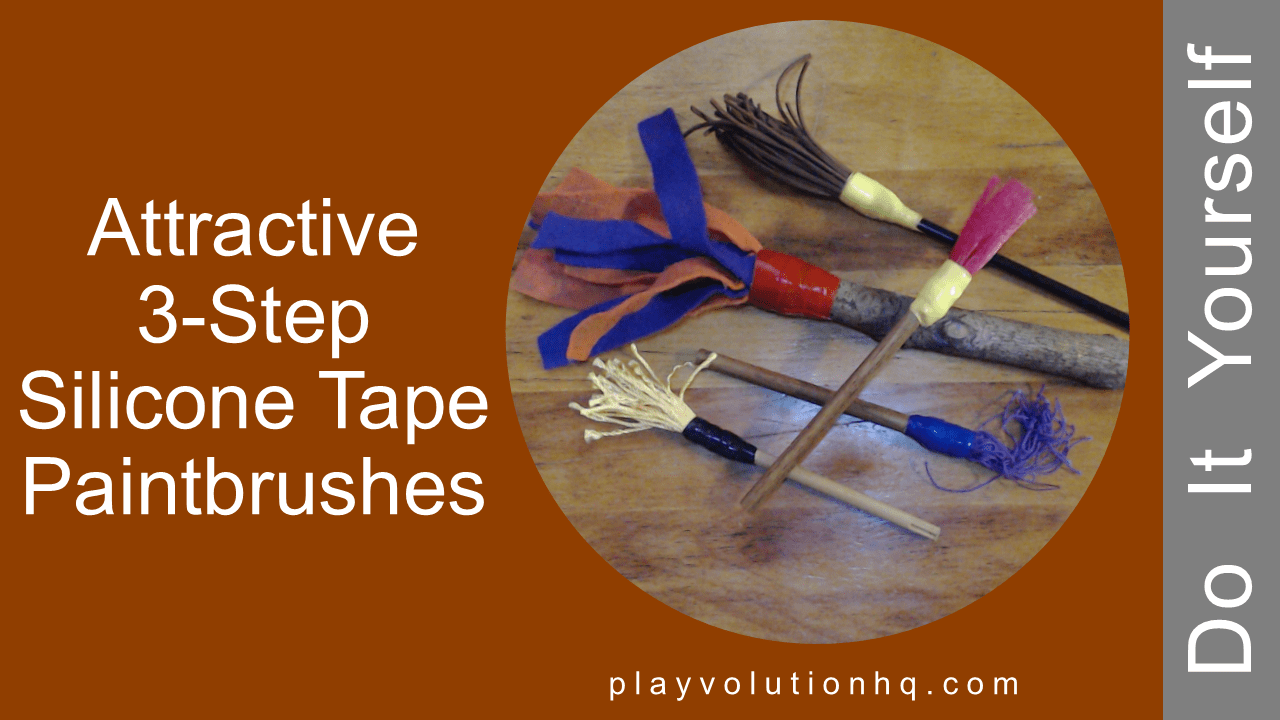
Some Examples
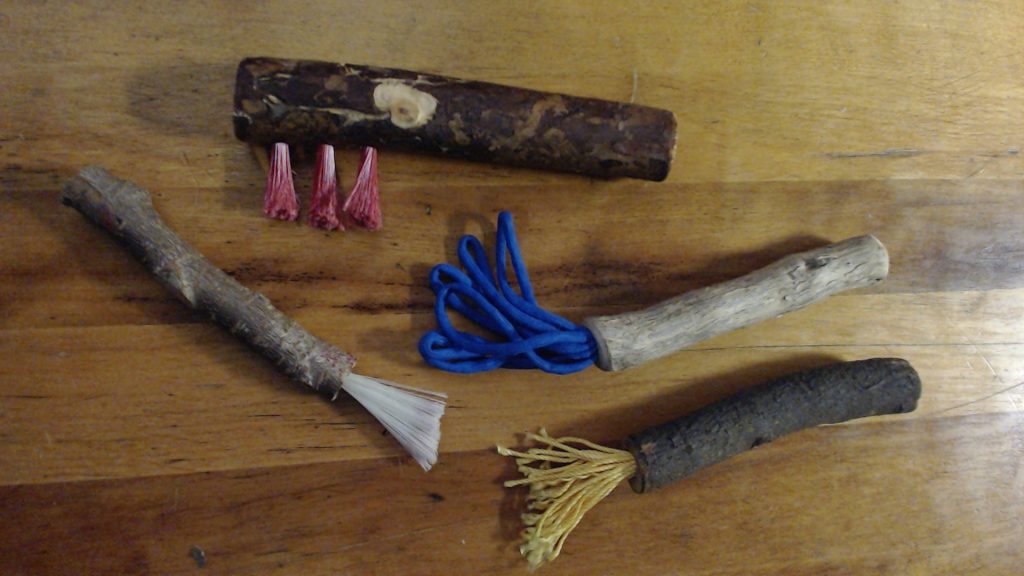
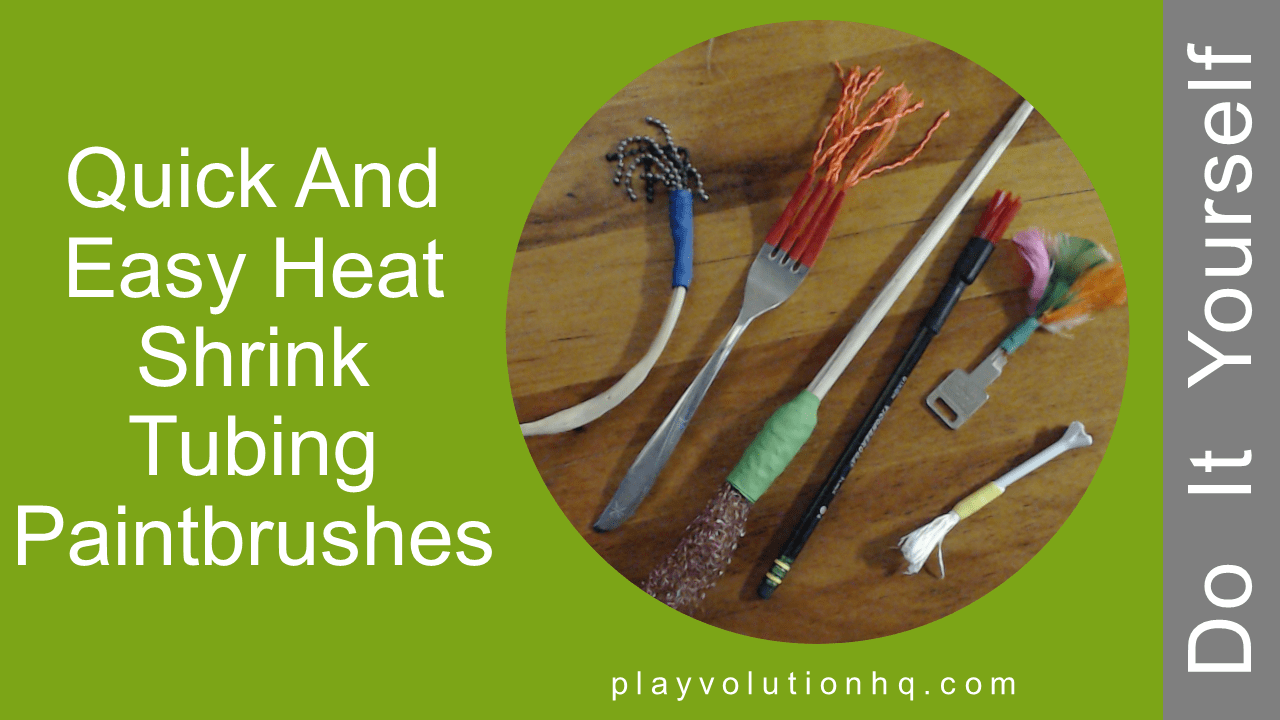
Here are some example epoxy paintbrushes I’ve made over the years:
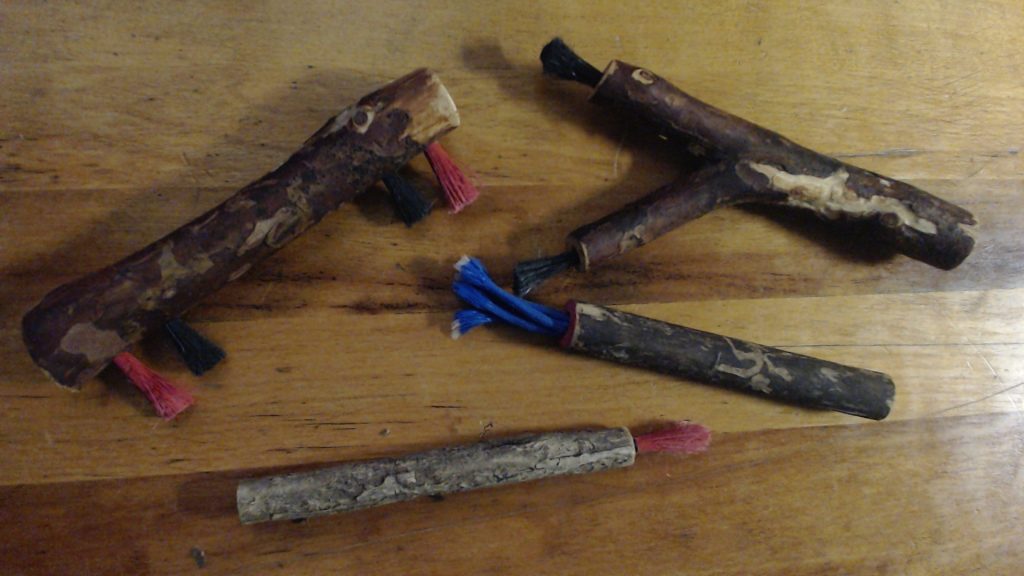
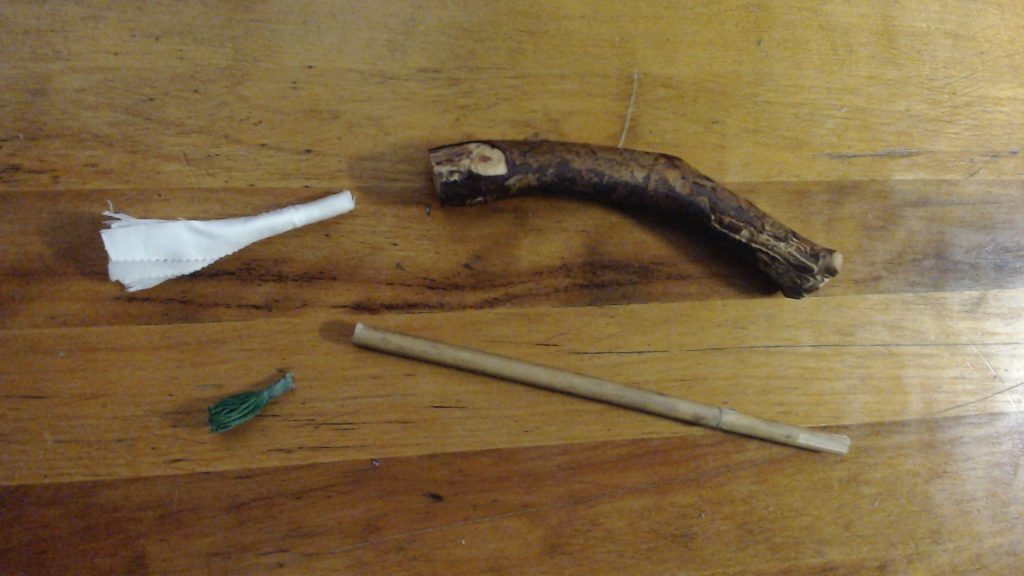
I like the look and feel of brushes made from tree branches, but wooden dowels are another option.
Materials Needed
You’ll Need:
- Drill and 1/4 to 1/2 inch bit
- Wooden sticks (or dowels) at least 1 inch in diameter
- Bristle material
- Utility knife or scissors
- Tape
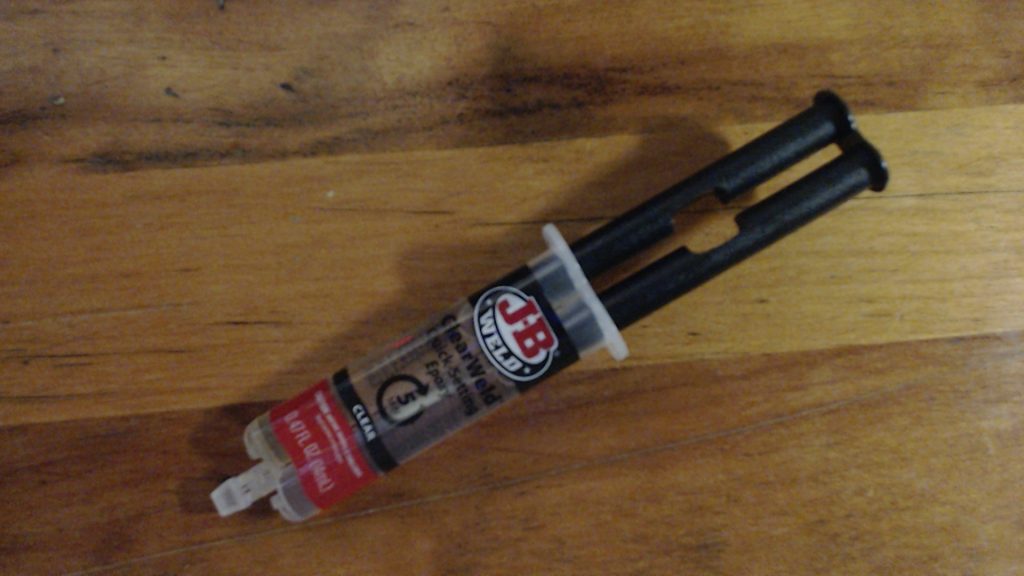
- 2-Part Epoxy Glue (Here’s the one I recommend (Commission Earned))
- Paper towels
- Index cards or small cardboard scraps
- Toothpicks, wooden matchsticks, or something similar
- Sheet of cardboard
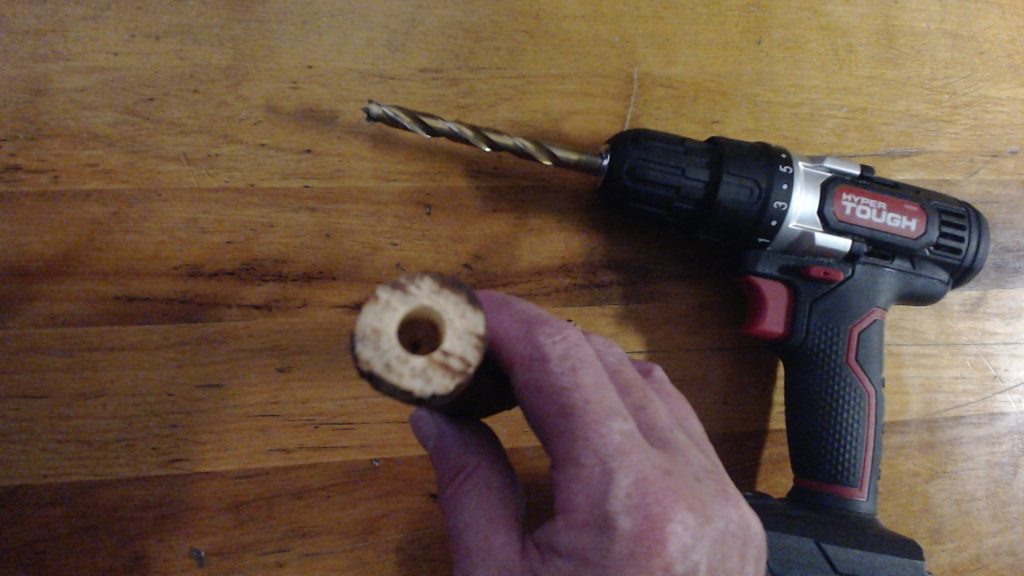
Prepare The Handle
Start by drilling a hole into the end of your wooden stick, just wide enough to fit your chosen bristle material and about one inch deep.
Select, Cut, And Arrange The Bristles
When it comes to bristle material, you can use pretty much anything you can stuff in the hole you drill at the end of the handle. That said, it’s best to select durable materials that will stand up to repeated use. Fabric, string, feathers, and yarn will work great; dried pasta, not so much.
No matter what you choose to use for bristles, the prep stage will be the same.
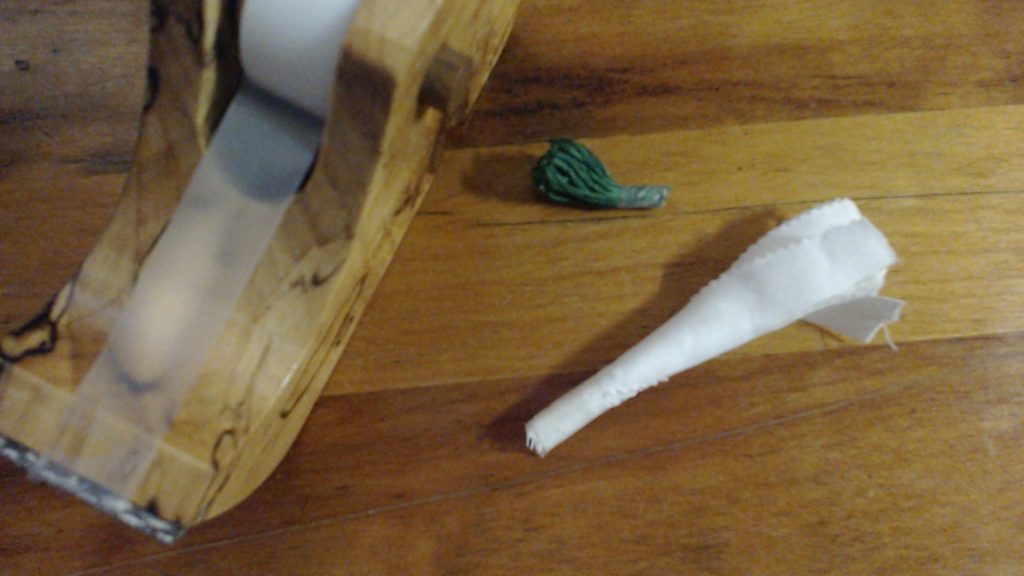
First, cut the bristle material to length–remembering that about an inch of the material will be inserted into the handle. It’s best to cut the bristle material a bit long and then trim it to your desired length after your epoxy paintbrushes dry.
Next, use tape to secure a clump of the bristle material. This makes it easier to handle during the upcoming epoxying step. Test fit it into the handle hole. You want it to fit snuggly but not tight. There must be room in the hole for both the bristle material and the epoxy.
Mix The Epoxy
It’s best to complete the rest of the paintbrush-making process on a sheet of cardboard to protect your work surface from uncured epoxy.
This step is easy if you use the self-mixing applicator I recommend in the Materials section above and demonstrated in the video. You insert the syringe nozzle into the handle hole and squeeze in some epoxy. The two parts mix as they travel through the syringe.
If you selected an epoxy that does not have a self-mixing applicator, follow the manufacturer’s instructions. This usually means squirting the resin and hardener onto an index card or a scrap of cardboard, mixing them, and using a toothpick, wooden matchstick, or something similar to transfer the mix into the handle hole. Having paper towels on hand is a good idea; this can be messy.
The self-mixing stuff saves a lot of hassle when making epoxy paintbrushes.
Secure The Bristles
Now that you have epoxy in the handle hole, you can insert your bristle bundle. Just push them into the hole and give them a twist. The twist helps ensure a good bond between the bristles, handle, and epoxy. Set the almost-done paintbrush aside until the epoxy cures. This takes as little as 5 or 10 minutes. The epoxy manufacturer’s instructions will provide their recommended cure time.
Trim The Bristles
You’re almost done. Once the epoxy is fully cured, trim the bristles to your desired length and shape them using a utility knife or scissors. Then, it’s time to hand your new brushes to an eager preschooler for a test drive.
Epoxy Paintbrushes Wrap-Up
DIY paintbrushes are a fun way to personalize your art tools. This method for making 2-part epoxy paintbrushes gives you strong, long-lasting, and intriguing art tools kids will enjoy. If you give it a try, I’d love to see your creations. For more DIY paintbrush ideas, check these links:
Contribute content to Playvolution HQ
Brought to you by Explorations Early Learning
Browse Trainings

Post Author

Jeff Johnson is an early learning trainer, podcaster, and author who founded Explorations Early Learning, Playvolution HQ, and Play Haven.
Leave a Reply